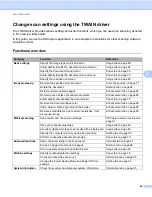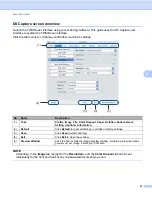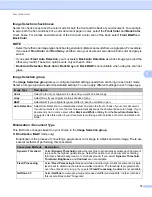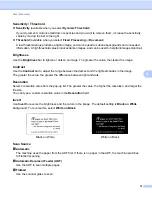
Scan (Windows
®
)
57
5
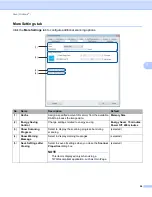
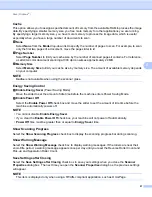
Cache
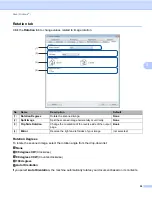
This option allows you to assign a specified amount of memory from the available RAM to process the image
data. By specifying a smaller memory size, you free more memory for other applications you are running.
By specifying a larger memory size, you have more memory to process the image data, which is useful
especially when you have a large number of documents to scan.
None
Select
None
from the
Mode
drop-down list to specify the number of pages to scan. For example, to scan
only the first two pages of a document, move the page slider to
2
.
Page Number
Select
Page Number
to limit your cache size by the number of scanned pages it contains. For reference,
a Letter/A4 color document scanning at 300 dpi consumes approximately 24 MB.
Memory Size
Select
Memory Size
to limit your cache size by memory size. The amount of available memory depends
on your computer.
NOTE
Cache
is not available when using the scanner glass.
Energy Saving Control
Enable Energy Saver
(Power Saving Mode)
Move the slider to set the amount of idle time before the machine enters Power Saving Mode.
Enable Power Off
Select the
Enable Power Off
check box and move the slider to set the amount of idle time before the
machine automatically powers off.
NOTE
• You cannot disable
Enable Energy Saver
.
• If you clear the
Enable Power Off
check box, your machine will not power off automatically.
•
Power Off
time must be greater than or equal to
Energy Saver
time.
Show Scanning Progress
Select the
Show Scanning Progress
check box to display the scanning progress bar during scanning.
Show Warning Message
Select the
Show Warning Message
check box to display warning messages. If the rollers are near their
end-of-life period, a warning message appears once per day until you reset the Reverse Roller Count and
Pick-up and Separation Roller Count.
Save Settings after Closing
Select the
Save Settings after Closing
check box to save your settings when you close the
Scanner
Properties
dialog box. The next time you open the
Scanner Properties
dialog box, the previous settings
will appear.
NOTE
This item is displayed only when using a TWAIN-compliant application, such as OmniPage.

