


Confidential
9-52
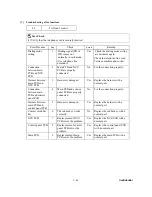
[ 4 ] Incorrect printout
When the data is not printed correctly as it is seen on the PC screen, follow the procedures below in
the event of a specific error.
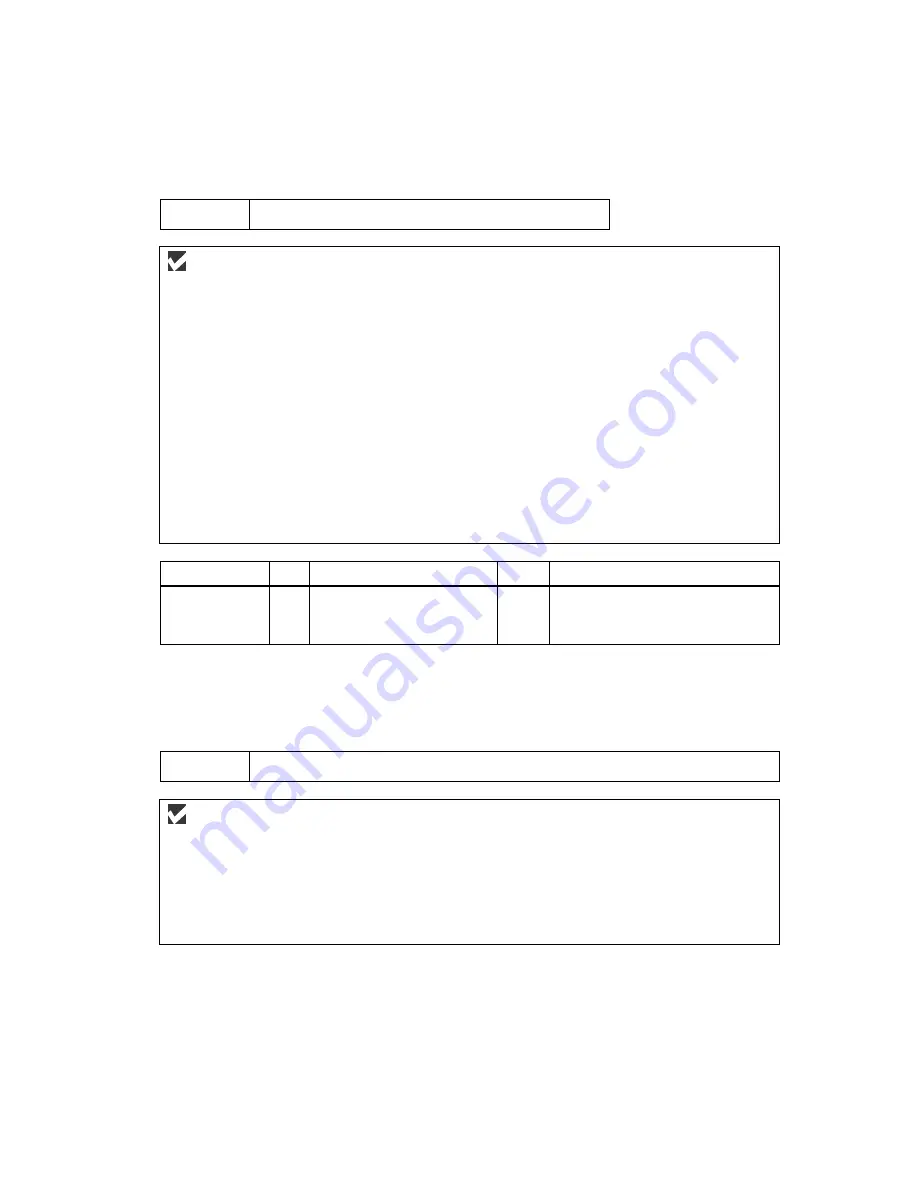
P-1
The machine prints unexpectedly or it prints garbage.
User Check
(1) Check if the printer cable is not too long. It is recommended to use a parallel cable of less
than 2 meters (6.6 feet) in length.
(2) Check that the printer cable is not damaged or broken. Check also that the printer cable is
connected to the correct interface connectors of both the machine and PC.
(3) If an interface switching device is used, remove it and connect the computer directly to the
machine and try again.
(4) Check that the appropriate printer driver is selected as ‘Set as Default’. Check also that the
correct print port is set for the selected printer driver.
(5) Check that the machine is not connected to the same port which is also connected to a mass
storage device or scanner. Remove all other devices and connect the port to the machine
only. Turn off the machine status monitor in the device options tab in the printer driver.
(6) If the print port is set as an ECP port, change it to a normal port.
(7) Try printing the test page.
(8) Try resetting the factory settings.
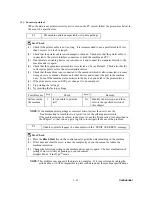
Possible cause
Step
Check
Result
Remedy
Failure inside
the machine
1 Is it possible to print the
test?
No Identify the error type, and then
refer to the specified section of
this chapter.
NOTE:
If the machine prints garbage or incorrect fonts, instruct the user to use the
‘Troubleshooting for machine won’t print’ tool of the self-diagnostics tools.
If the problem cannot be solved, instruct user to use the ‘Diagnostics’ tool described in
the Chapter 7 so that you can get a log file to investigate the cause of the problem.
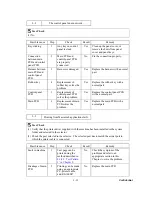
P-2
Unable to print full pages of a document with the “PRINT OVERRUN” message.
User Check
(1) Press the
Black
Start
key on the control panel to print the data remaining in the machine.
(2) If this does not clear the error, reduce the complexity of your document or reduce the
machine resolution.
(3) Change the following setting in the machine driver and try again. The best combination of
settings below will vary depending on your document.
Graphic Mode / TrueType
TM
mode
NOTE:
This problem may appear if the data is too complex. If it is not cleared by taking the
actions above, it will be impossible to print such data under the machine specifications.
Summary of Contents for MFC-9420CN
Page 1: ...Confidential FACSIMILE EQUIPMENT SERVICE MANUAL MODELS MFC 9420CN ...
Page 16: ...Confidential CHAPTER 1 PARTS NAMES FUNCTIONS ...
Page 22: ...Confidential CHAPTER 2 SPECIFICATIONS ...
Page 33: ...Confidential CHAPTER 3 THEORY OF OPERATION ...
Page 48: ...Confidential 3 1 4 CBV DBV Fig 3 16 Y M C K Fig 3 17 ...
Page 69: ...Confidential 3 3 5 Fig 3 35 ...
Page 73: ...Confidential 3 3 9 3 Interface Circuit Printer side Fig 3 38 ...
Page 82: ...Confidential CHAPTER 4 TRANSFER OF DATA LEFT IN THE MACHINE TO BE SENT FOR REPAIR ...
Page 85: ...Confidential 4 2 Cover page sample End page sample Fig 4 1 ...
Page 86: ...Confidential CHAPTER 5 DISASSEMBLY REASSEMBLY AND LUBRICATION ...
Page 94: ...Confidential 5 5 5 1 1 AC Cord 1 Disconnect AC cord from the machine Fig 5 1 AC cord Machine ...
Page 175: ...Confidential CHAPTER 6 ADJUSTMENTS AND UPDATING OF SETTINGS REQUIRED AFTER PARTS REPLACEMENT ...
Page 203: ...Confidential CHAPTER 7 CLEANING ...
Page 205: ...Confidential CHAPTER 8 MAINTENANCE MODE ...
Page 213: ...8 6 Confidential Fig 8 2 Scanning Compensation Data List a b c d e f g h i j k l m n q ...
Page 224: ...8 17 Confidential Cover page sample End page sample Fig 8 8 ...
Page 255: ...Confidential CHAPTER 9 ERROR INDICATION AND TROUBLESHOOTING ...
Page 279: ...Confidential 9 23 2 Image failure 1 2 3 4 5 6 7 8 9 10 11 12 13 14 ...
Page 280: ...Confidential 9 24 15 a 15 b 16 17 18 19 20 21 22 23 24 25 Fig 9 1 ...
Page 325: ...App 1 5 Confidential 6 Transfer Unit X X X X X X 7 1 2 3 Location SERIAL NO YEAR MONTH DATE ...
Page 398: ...B Power Supply PCB 100V 127V Confidential ...


