18
● ● ● ● ● ● ● ● ● ● ● ● ● ● ● ● ● ● ● ● ● ● ● ● ● ● ● ● ● ● ● ● ● ● ● ● ● ● ● ● ● ● ● ● ● ● ● ● ● ● ● ● ● ● ● ● ●
MAKING AN EMBROIDERED APPLIQUÉ FROM A ONE-POINT PATTERN
CONTENTS
Chapter 1
Chapter 2
Chapter 3
Chapter 4
Chapter 5
INDEX
Chapter 6
2
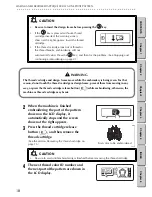
When the machine is finished
embroidering the part of the pattern
shown on the LCD display, it
automatically stops and the screen
shown at the right appears.
3
Press the thread cartridge release
button (
), and then remove the
thread cartridge.
(See the section
Removing the thread cartridge
on
page 15.)
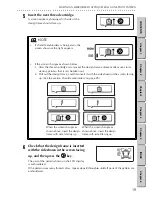
4
The next thread color ID number and
the next part of the pattern are shown in
the LCD display.
CAUTION
•
Be sure to insert the design frame before pressing the
key.
•
If the
key is pressed without a thread
cartridge inserted, the warning screen
shown at the right appears. Insert the thread
cartridge.
•
If the thread cartridge runs out of thread or
the thread breaks, embroidering will not
automatically stop. Press the
key, and then fix the problem. (See
Stopping and
continuing embroidering
on page 41.)
WARNING
The thread cartridge and design frame move while the embroidery is being sewn. For that
reason, do not touch the thread cartridge or design frame, prevent them from moving in any
way, or press the thread cartridge release button (
) while embroidering; otherwise, the
machine or thread cartridge may break.
CAUTION
•
Be sure to wait until embroidering is finished before removing the thread cartridge.
First color to be embroidered


