


Troubleshooting and routine maintenance
57
C
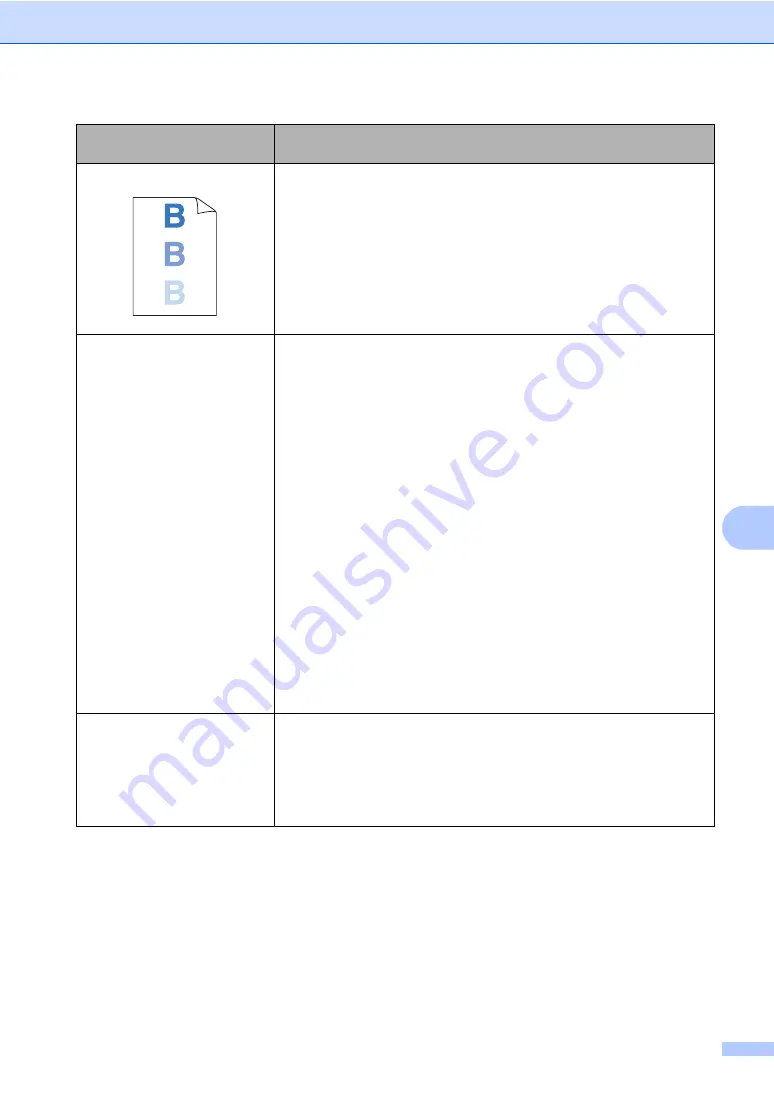
Ghost
Make sure that you use paper that meets our specifications. Rough-
surfaced paper or thick paper may cause the problem. (See
Acceptable paper and other media
Make sure that you choose the proper media type in the printer driver
or in the machine
’
s Paper Type menu setting. (See
Basic tab in the Software User’s
Guide on the CD-ROM
.)
The drum unit may be damaged. Put in a new drum unit. (See
The color of your printouts are
not what you expected.
Make sure that the toner cartridges are installed properly. (See
Make sure that none of the toner cartridges have reached the end of
their life.
Make sure that the drum unit is installed properly. (See
Make sure that the belt unit is installed properly. (See
Perform the calibration. Press
Menu
,
3
,
5
. (See
Software User’s
Guide on the CD-ROM
.)
Adjust the color by using the custom setting in the printer driver.
Colors the machine can print and colors you see on a monitor are
different. The machine may not be able to reproduce the colors on
your monitor.
Make sure that you use paper that meets our specifications. (See
Acceptable paper and other media
The drum unit may be damaged. Put in a new drum unit. (See
Put in a new belt unit. (See
All one color
Clean the corona wires of the drum unit for the color causing the
problem. (See
on page 87.) If the print
quality has not improved, put in a new drum unit. (See
The drum unit may be damaged. Put in a new drum unit. (See
Examples of poor print
quality
Recommendation
Summary of Contents for DCP-9040CN
Page 1: ...USER S GUIDE DCP 9040CN DCP 9042CDN Version 0 USA CAN ...
Page 13: ...Section I General I General information 2 Loading paper and documents 9 General setup 21 ...
Page 36: ...Chapter 3 24 ...
Page 37: ...Section II Copy II Making copies 26 ...
Page 45: ...Section III Software III Software and network features 34 ...
Page 92: ...80 g Close the back cover h Put the paper tray firmly back in the machine ...


