Embroidering Preparation
25
EMB
R
OI
DE
R
Y
2
Follow the steps below to prepare the machine for
embroidery.
Attaching the embroidery unit
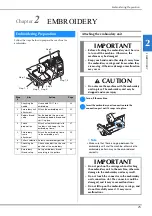
a
Turn off the machine.
b
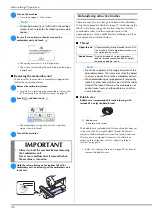
Insert the embroidery unit connection into the
connection port until it snaps into place.
Chapter
2
EMBROIDERY
Embroidering Preparation
Step
#
Aim
Action
Page
1
Checking the
needle
Use needle 75/11 for
embroidery.
24
2
Embroidery unit
attachment
Attach the embroidery unit.
25
3
Bobbin thread
setup
For the bobbin thread, wind
embroidery bobbin thread and
set it in place.
17
4
Fabric
preparation
Attach a stabilizer material to
the fabric, and hoop it in the
embroidery frame.
27
5
Embroidery
frame
attachment
Attach the embroidery frame
to the embroidery unit.
29
6
Pattern selection Select an embroidery pattern.
31
7
Checking the
layout
Check and adjust the size and
position of the embroidery.
34
8
Embroidery
thread setup
Set up embroidery thread
according to the pattern.
34
Step 3
Step 1, 2
Step 5 Step 6
Step 4
Step 7, 8
Step 9
IMPORTANT
• Before attaching the embroidery unit, be sure
to turn off the machine. Otherwise, the
machine may be damaged.
• Keep your hands and other objects away from
the embroidery carriage and frame when they
are moving. Otherwise damage or malfunction
may occur.
CAUTION
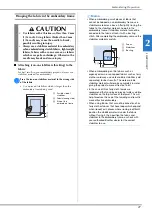
• Do not move the machine with the embroidery
unit in place. The embroidery unit may be
dropped and cause injury.
Note
• Make sure that there is no gap between the
embroidery unit and the machine, otherwise the
embroidery pattern may not be embroidered
correctly.
IMPORTANT
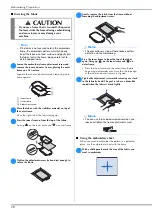
• Do not push on the carriage when attaching
the embroidery unit to the machine, otherwise
damage to the embroidery unit may result.
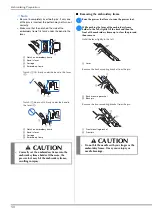
• Do not touch the connector in the embroidery
unit connection slot. The connector could be
damaged, and it may cause malfunctions.
• Do not lift up on the embroidery carriage, and
do not forcefully move it. It may cause
malfunctions.

