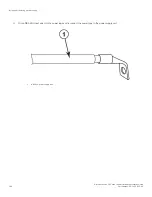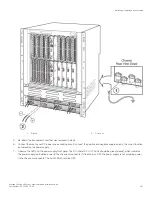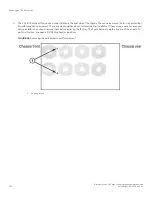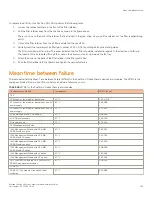
1.
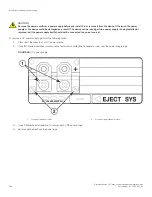
Ground
2.
DC power
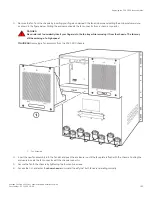
5. Re-attach the transparent cover that was removed in step 1 .
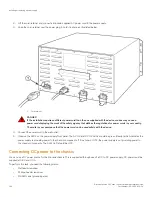
6. Connect the wire to your DC power source making sure to connect the positive and negative supply wires to the correct location
as marked on the power supply.
7. Observe the LEDs on the power supply front panel. The DC IN and DC OUT LEDs should be green (steady), which indicates
the power supply is providing power to the chassis components. If it is amber or OFF, the power supply is not providing power
to the chassis components. The ALM LED should be OFF.
Installing or replacing a power supply
Brocade FastIron SX Series Chassis Hardware Installation Guide
Part Number: 53-1003613-04
147
Summary of Contents for FastIron SX
Page 10: ...Brocade FastIron SX Series Chassis Hardware Installation Guide 10 Part Number 53 1003613 04 ...
Page 12: ...Brocade FastIron SX Series Chassis Hardware Installation Guide 12 Part Number 53 1003613 04 ...
Page 46: ...Brocade FastIron SX Series Chassis Hardware Installation Guide 46 Part Number 53 1003613 04 ...
Page 80: ...Brocade FastIron SX Series Chassis Hardware Installation Guide 80 Part Number 53 1003613 04 ...
Page 118: ...Brocade FastIron SX Series Chassis Hardware Installation Guide 118 Part Number 53 1003613 04 ...
Page 158: ...Brocade FastIron SX Series Chassis Hardware Installation Guide 158 Part Number 53 1003613 04 ...
Page 164: ...Brocade FastIron SX Series Chassis Hardware Installation Guide 164 Part Number 53 1003613 04 ...
Page 172: ...Brocade FastIron SX Series Chassis Hardware Installation Guide 172 Part Number 53 1003613 04 ...


