


11
45
Before You Start
IMPORTANT SAFEGUARDS About this manual
Be sure to connect the color coded leads
according to the diagram. Incorrect con-
nections may cause the unit to malfunct-
,
ion or damage the vehicle s electrical
system.
Be sure to connect the speaker (-) leads
to the speaker (-) terminal. Never con-
nect the left and right channel speaker
cables each other or to the vehicle body.
Make sure all the connections are com-
pletely correct before turning on your unit.
When replacing the fuse(s), the replace-
ment must be of the same amperage as
shown on the fuse holder.
Do not block vents or radiator panels.
Blocking them will cause heat to build
up inside and may result in fire.
This unit features a number of sophisti-
cated functions ensuring superior
operation. All the functions have been
designed for the easiest possible use,
but many are not self-explanatory. This
manual will help you understand the
functions and operations of the unit.
This manual main explains
remote
control operation.
However, in
addition to those functions related with
DVD/VCD/CD/MP3/MP4 operation
that can only be operated by the remote
control, there are also functions can be
operated by the buttons provided for
the main unit.
To
nstall the unit in an apt
place.
lest the driver distrack his attention
from, please i
Using the unit after starting the engine,
otherwise
the electric energy of battery was
used up.
the unit can not be started, be-
cause
The unit must be screened from direct
sunlight, or the
will be wasting for the high temperature.
electric energy of battery
Do not use the unit in extreme high tem-
perature or such low temperature con-
ditions, and also avoid humidity and direct
sunlight.
Take care of the magnetism of the unit.
Do no put the credit card, cassette or
watch around the unit, or they would be
broken or some information in them lose.
To lest disturb the video frequency, keep
far away from the unit when using your
phone.
Do not put the remote
under high
temperature or where the sun strikes it,
or else the control remote can not work
normally.
control
12
1
2
3
4
5
6
7
8
9
10
11
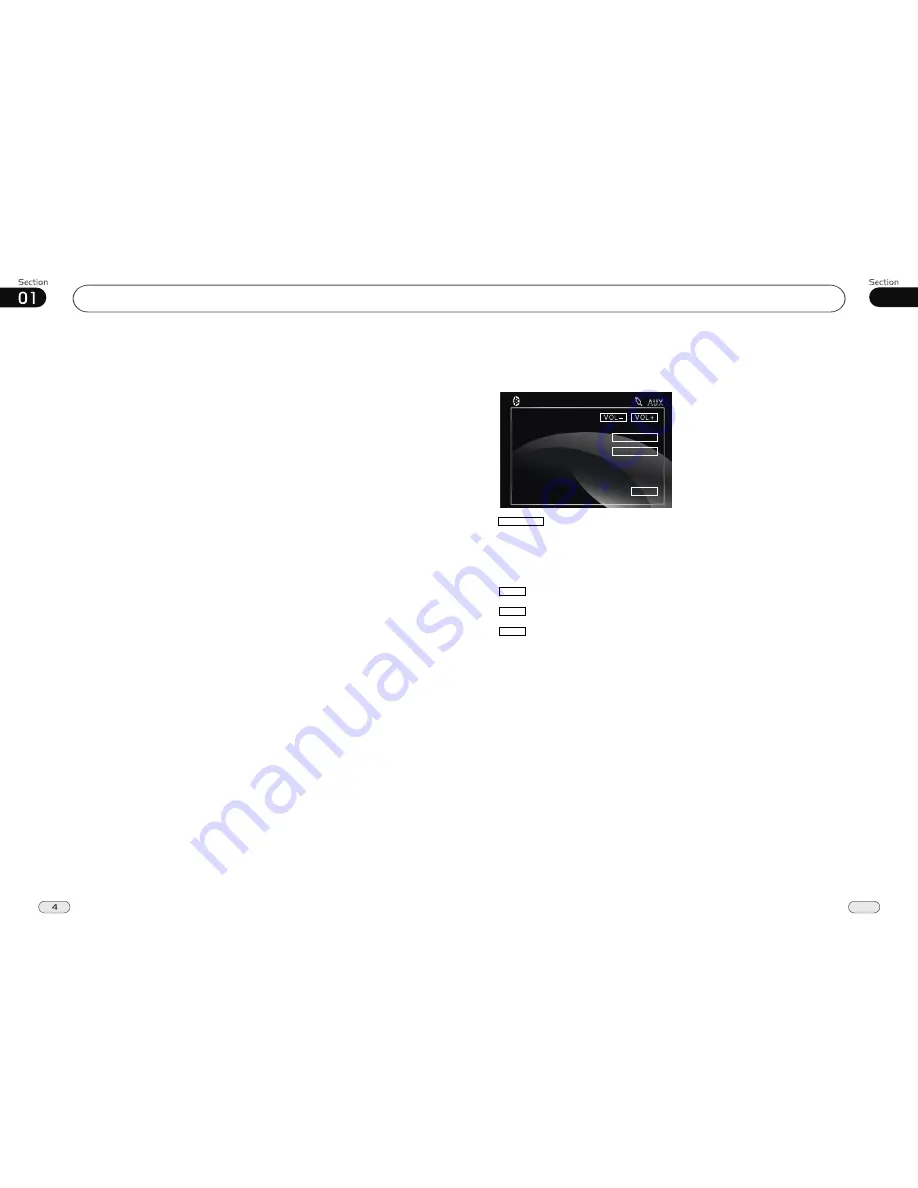
AUX
Press SRC to switch to the AUX mode:
AUX Touch Screen Menu
AV SET
VOL+
VOL-
For more details to adjust AUDIO and PIC-
TURE, please refer to pages 18 to 19.
To adjust VIDEO ADJUST, a disc should be
inserted and played normally at first.
To decrease the volume
To increase the volume
AV SET
SRC
BLUET
BLUET
To enter into the bluetooth mode
Summary of Contents for BV9985
Page 1: ......


