1 695 655 779
2010-11-9
|
Robert Bosch GmbH
�4 | WBE 4140 | Standard calibration
en
7.4.1
Reference measurement
i
Exact centering of the wheel is a basic prerequisite
for this reference measurement and for all
balancing operations.
i
Sound and automatic start are active in the following
description (refer to Section 8.3.3 ).
1.
Attach a motor vehicle wheel of medium size (e. g.
width 5.5", diameter 14") and in very good condition
to the flange.
2.
Enter the wheel data (refer to Section 8.2).
3.
Close the wheel guard.
Measurement commences.
4.
Create an artificial unbalance by attaching a test
weight of e. g. 60 g to one of the two sides.
5.
Close the wheel guard.
Measurement commences.
The WBE 4140 must display precisely this unbalance
(value and position) on this side. The value indicated
for the other side must not exceed 5 g.
i
To check the position of the unbalance, turn
the wheel until the position recommended for
attachment of the balance weights is attained. The
test weight attached must be vertically beneath the
axis of rotation (6 o'clock position).
!
Calibration must be repeated in the following cases:
$
Deviation from specified unbalance value
(greater than 1 g on test weight side, more than
5 g on other side).
$
Deviation from specified unbalance position (test
weight not between 5:30 and 6:30 position).
6.
Remove the test weight.
7.
Release the wheel and turn it through approx. 35°.
8.
Re-attach the wheel.
9.
Close the wheel guard.
Measurement commences.
"
On completion of this reference measurement, the
display must not exceed a maximum unbalance of 10 g
per side (15 g for particularly heavy wheels). This error
may be caused by the rim centering tolerances. If this
reference measurement indicates greater unbalance,
the components used for centering the wheel must be
checked for wear, play and contamination.
7.5
Factory calibration
i
We recommend carrying out the factory calibration
during software updating, replacement of the
pick-up, of the measurement unit or of the board,
following the sequence below:
1.
Flange calibration
2.
Calliper gauge/measurement arm calibration
3.
Calibration with sample weight.
!
At the end of every calibration carry out a control
measurement.
7.5.1
Recalling of the calibration menu
1.
From the "
Settings and Service
" menu select
Calibration
and confirm by pressing <
OK
>.
2.
Enter password: <
z
> <
u
> <
v
>.
"
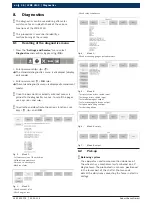
The factory calibration menu is displayed.
Calibration with sample weight.
Flange calibration
Back to main page.
Calliper gauge and measurement arm calibration
Factory settings
7.5.2
Calibration with sample weight
i
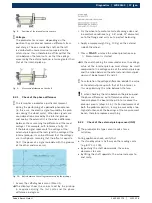
Keep to the indications displayed on the monitor.
1.
Select
Calibration with sample weight
and confirm
by pressing <
OK
>.
Calibration is started.
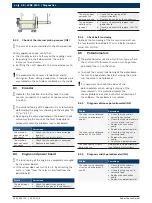
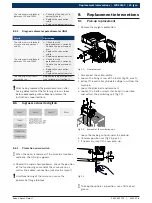
2.
Bring the calliper gauge on the flange.
3.
Bring the calliper gauge back to stand-by position
4.
Press <
START
> or close the wheel protection cap.
Measurement is started.

