1 692 106 011
2019-03-26
|
Robert Bosch GmbH
Calibration device | HTD 6xx / HTD 8xx | 53
en
3. Calibration
device
3.1
Visual inspection of beam setter
1.
Check the wheels for damage or excessive wear.
2.
Check housing and moving parts for dents and tra-
ces of corrosion.
3.
Check that moving parts function.
4.
The light box must be subjected to a thorough visual
inspection and functional test.
5.
Check that the lens is undamaged and clean.
6.
The inclination angle dial must move freely and be
easy to read (not necessary with HTD 8xx).
7.
Check the condition of the rating plate.
!
If the rating plate is damaged or not easy to read, it
must be replaced immediately as this is an important
approval criterion for performing general inspec-
tions.
3.2
Checking the laser visor
The beam setter must be subjected to certain geomet-
ric accuracy checks prior to testing with the calibration
device:
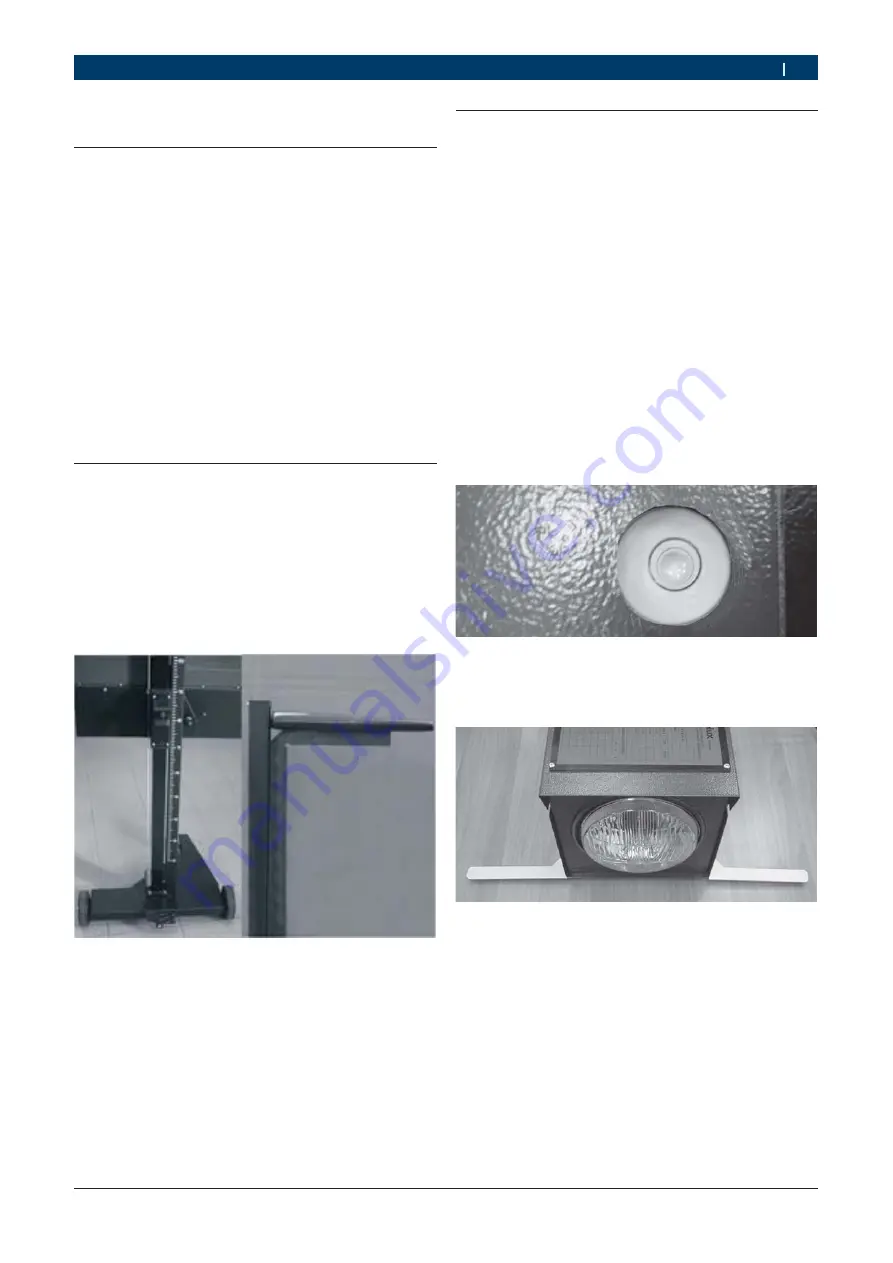
1.
Use a plumb line to check that the post is vertical.
2.
Use a square to check that the attached laser visor is
perpendicular to the post.
3.
Check that the laser is visible when switched on.
Replace the batteries if it is not clearly visible.
Fig. 2:
Checking geometric accuracy
3.3 Preparation
3.3.1 Description
The calibration device is a measuring instrument desi-
gned for the regular and occasional checking of beam
setters. It simulates a headlamp with known characte-
ristics such as brightness, inclination angle in percent,
etc.
3.3.2
Calibration device 965 050 102
1.
Set up the calibration device on a surface parallel to
the floor at a height of 70 to 80 cm.
2.
If necessary, adjust the parallelism of the calibrati-
on device with respect to the floor by means of the
height adjustable feet.
i
When perfectly parallel, the spirit level which can be
seen from above will be in the center of the round
black mark.
Fig. 3: Spirit
level
3.
Open the alignment bars
Fig. 4:
Headlamp calibration device with alignment bars open


