13
Connections
Connecting a Wireless Keyboard
Your wireless keyboard installation is fast
and easy, as described below.
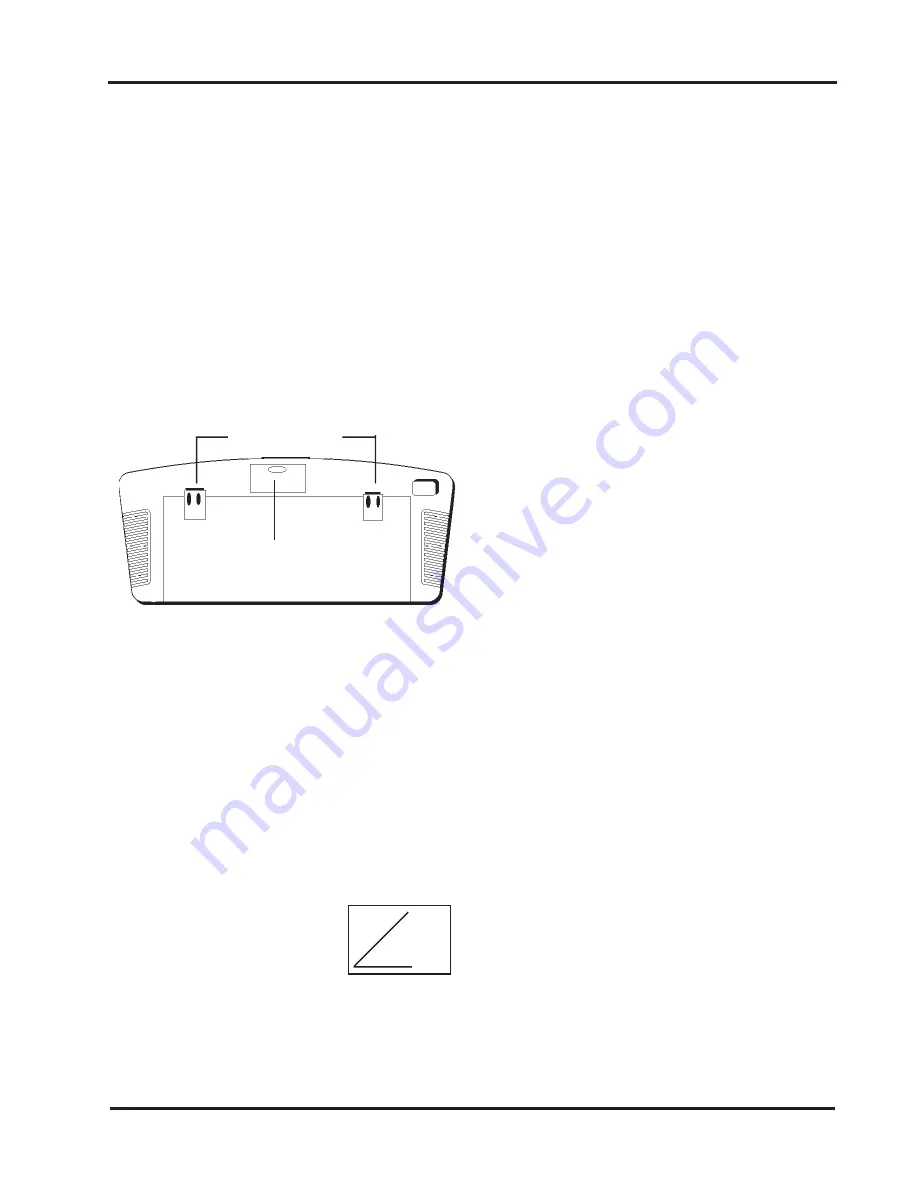
Inserting the batteries
1. Remove the battery compartment door.
2. Insert batteries (included) as shown in the
diagram inside the battery compartment.
3. Replace the battery compartment door.
Adjusting the Keyboard Height
To raise the keyboard, lift up the keyboard
legs until they snap into place. To lower the
keyboard, push each leg down until it fits
securely back into its cavity.
Pointing the Keyboard
The wireless keyboard should be used
within 25 feet of the unit. For best results it
should be pointed at no more than a 45
o
angle. The keyboard works
on “line of sight”. If there are
obstructions between the
keyboard and the unit, or if
the keyboard is tilted at too severe an angle,
it may appear as if the keyboard isn’t
working.
Keyboard Functions and Features
Arrows and ENTER / OK. Use the arrows to
highlight items on the menu screens, and when
surfing the web. Press ENTER / OK to select a
highlighted item.
ALT. In ICA-application sessions, performs
standard keyboard functions.
CLEAR/ESC. In ICA-application sessions,
performs standard keyboard functions.
CTRL. In ICA-application sessions, performs
standard keyboard functions.
FAV. Displays sites that are stored under
‘Favorites’ (when you are on-line).
FUNC. In combination with number keys, FUNC
provides the equivalent function of pressing F1
to F10 on a PS/2-compatible keyboard.
GO BACK. Returns you to the preceding frame,
web page, menu, or toolbar.
GO TO. Displays the URL Entry Toolbar so you
can type in an URL to “go to” that web page.
GUIDE. Reserved for future applications.
HOME. Takes you back to the URL specified
during setup.
INFO. Gives you web page details for a web
site.
(continued on next page)
Battery Compartment Door
Keyboard Legs
45
o
angle


