


Changing Settings using Teranex Mini Smart Panel
You can also change settings using the optional Teranex Mini Smart Panel. This control panel
mounts to the front of your Teranex Mini and replaces the original basic front panel that shipped
with the converter. You get fast access to your settings using buttons and a rotary knob and you
can see the input on the built in LCD.
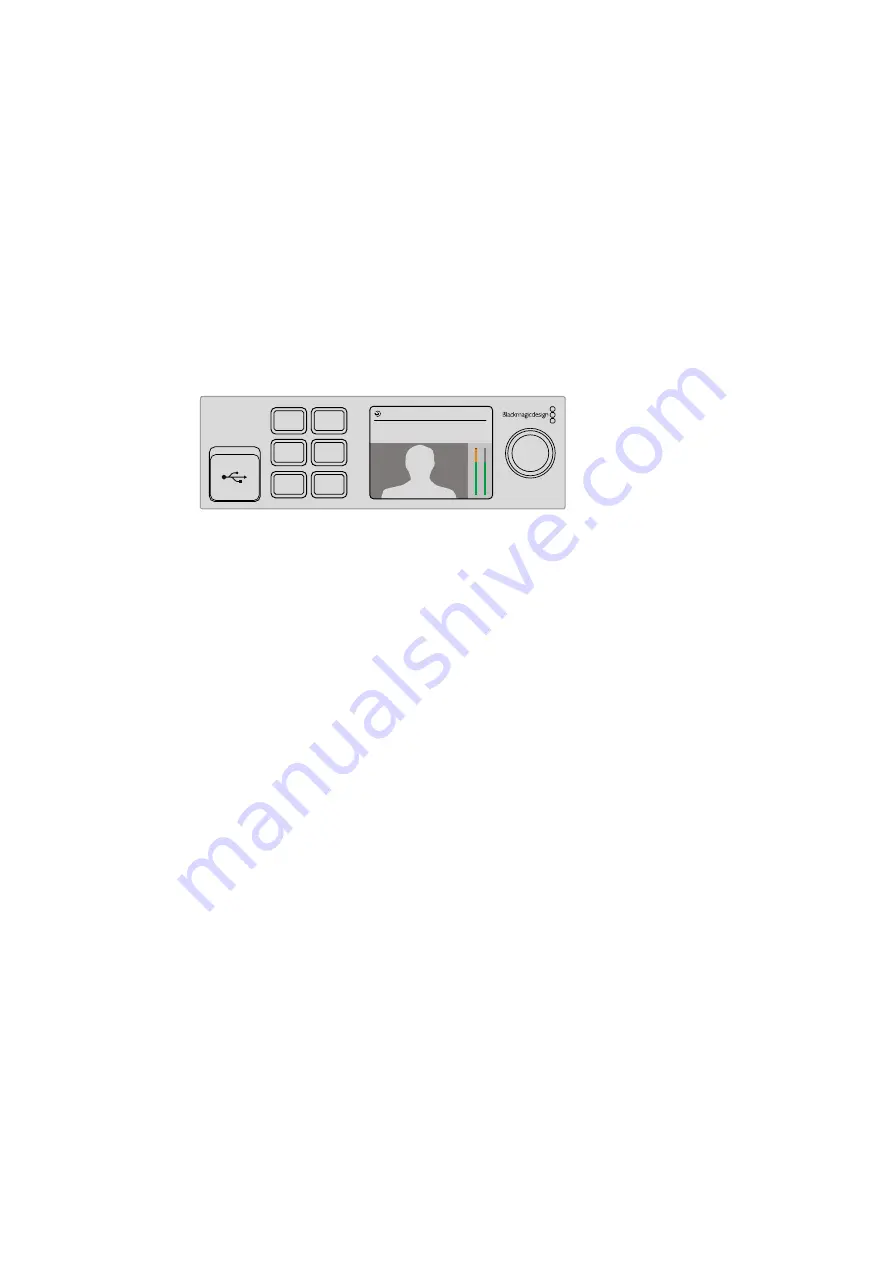
The converter’s USB port is still accessible with the Teranex Smart Panel attached. To access
the port, simply open the rubber USB dust cover. With the Teranex Smart Panel installed, the
front panel small switches are covered up and no longer used and this is because all the switch
settings and more are now in the menu on the Teranex Smart Panel and can be set using the
LCD. The settings available will vary between Teranex Mini converters because the features are
different between models, but navigation layout on screen is the same, so its easy to move
between models to make changes to settings.
You can quickly check your settings and set new ones using an
optional Teranex Mini Smart Panel. The Smart Panel easily
mounts to the front of your Teranex Mini converter.
Changing Network Settings
Accessing your Teranex Minis over a network is the easiest way to manage multiple converters.
You can do this using Blackmagic Teranex Setup. By default, your Teranex Minis are configured
to automatically acquire a network address, making it easy to immediately select them from the
Blackmagic Teranex Setup splash screen, as detailed in the section ‘changing settings using
Blackmagic Teranex Setup.’
If you are having trouble finding a Teranex Mini on your network, or you have previously
set it to use a static address incompatible with your current network, you may need to change
its network settings locally. You can do this via USB or the Teranex Mini Smart Panel.
Changing Network Settings via USB
To change network settings via USB, connect your Teranex Mini to a computer running the
Teranex setup utility with a USB cable. You can find your Teranex Mini’s USB connector on its
front panel, regardless of whether you are using the original basic panel or the Smart Panel.
Once connected, select your Teranex Mini from the Teranex setup utility splash screen, and
navigate to the ‘configure’ tab. Here you can toggle your converter between dynamic and static
network addresses. If you select a static IP, you can manually configure your converter’s
IP address, subnet mask, and gateway.
1
MENU
2
VIDEO
SET
AUDIO
2160p59.94
SDI to Analog 12G
01:23:47:08
12
12
Changing Network Settings
Summary of Contents for teranex mini
Page 84: ...2017 4 Teranex Mini Converters...
Page 166: ...Manuel d utilisation et d installation Fran ais Avril 2017 Teranex Mini Converters...
Page 248: ...Installations und Bedienungsanleitung Teranex Mini Converters Deutsch April 2017...
Page 330: ...Manual de instalaci n y funcionamiento Conversores Teranex Mini Abril de 2016 Espa ol...
Page 412: ...2017 4 Teranex Mini Converter...
Page 494: ...2017 4 Teranex Mini Converter...
Page 576: ...Teranex Mini 2017...


