


Working with Clips in DaVinci Resolve
You can use DaVinci Resolve’s ‘clone’ tool, in the ‘media’ page, to create running backups as
you scan your clips. This is recommended as any type of media is susceptible to becoming
damaged or developing a fault so creating backups ensures your scanned files will be immune
to loss. Once you have used DaVinci Resolve to back up your media, you can add your scanned
clips to the DaVinci media pool, then arrange the clips in a timeline, color correct, and finish
your production without ever having to leave DaVinci Resolve.
TIP
You can identify HDR clips via the HDR icon in the bottom left corner of the
clip thumbnail.
Because your Cintel Scanner captures a CRI raw image format with a wide dynamic range,
DaVinci Resolve will help you adjust your shots to get any kind of look you are after. DaVinci
Resolve is the same tool used on most major blockbuster movies, so it’s much more than a
simple NLE software tool, as it has extremely advanced technology built in for high end digital
film. You get the advantage of this technology when you use DaVinci Resolve to edit and color
correct your scans.
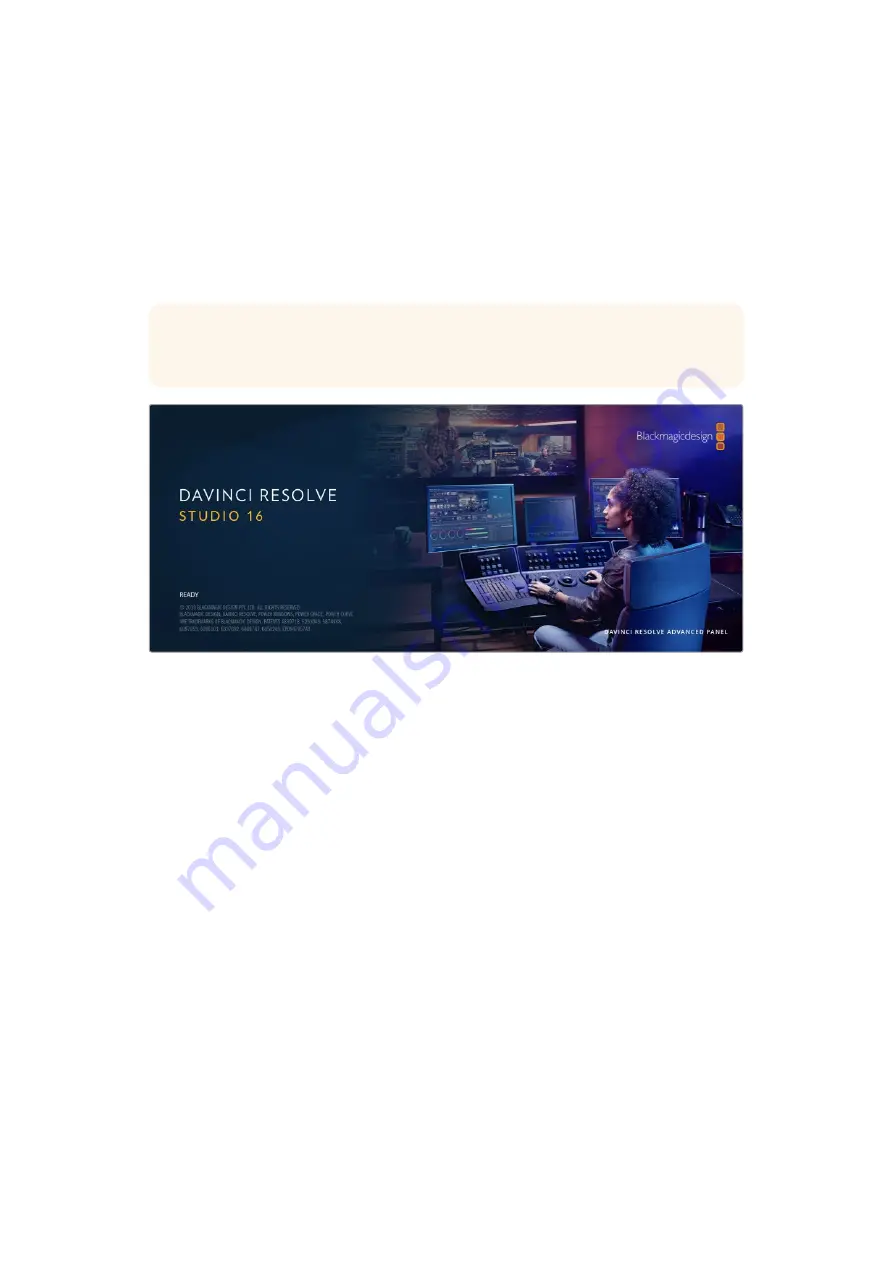
Included here is information on how to get started using DaVinci Resolve with your scanned
files. Of course, DaVinci Resolve is extremely advanced and includes a lot more features
than you immediately see when first looking at its user interface. To learn more about how to
use DaVinci Resolve, please check for the DaVinci Resolve instruction manual PDF file on the
DaVinci Resolve software disk, or check online for the many training courses and tutorial
videos available.
Project Manager
Before you import your clips and start editing, you will need to set up your project using the
project manager.
The project manager is the first screen you will see when launching DaVinci Resolve, but you
can open the manager at any time by clicking on the ‘home’ icon at the bottom right of the user
interface. This is helpful when you want to open previous projects and create new ones.
To create a new project, click on ‘new project’ at the bottom of the window and give your
project a name. Click ‘create’.
Using the ‘cut’ page, you can start working on your edit immediately.
59
Working with Clips in DaVinci Resolve
Summary of Contents for cintel
Page 99: ...Cintel Scanner インストール オペレーションマニュアル 2020年5月 日本語 ...
Page 196: ...Manuel d utilisation et d installation Mai 2020 Français Cintel Scanner ...
Page 293: ...Installations und Bedienungsanleitung Mai 2020 Cintel Scanner Deutsch ...
Page 395: ...Manual de instalación y funcionamiento Escáner Cintel Mayo 2020 Español ...
Page 492: ...安装操作手册 2020年5月 中文 Cintel Scanner ...
Page 589: ...설치 및 사용 설명서 Cintel 스캐너 2020년 5월 한국어 ...
Page 686: ...Руководство по установке и эксплуатации Русский Май 2020 г Cintel Scanner ...
Page 783: ...Manuale di istruzioni Cintel Scanner Maggio 2020 Italiano ...
Page 880: ...Manual de Instalação e Operação Cintel Scanner Maio 2020 Português ...
Page 977: ...Kurulum ve Kullanım Kılavuzu Cintel Tarayıcı Mayıs 2020 Türkçe ...


