


User Manual 3D-Printer
Version 2018-3.1_ENG
36
7.1.1
Using custom support
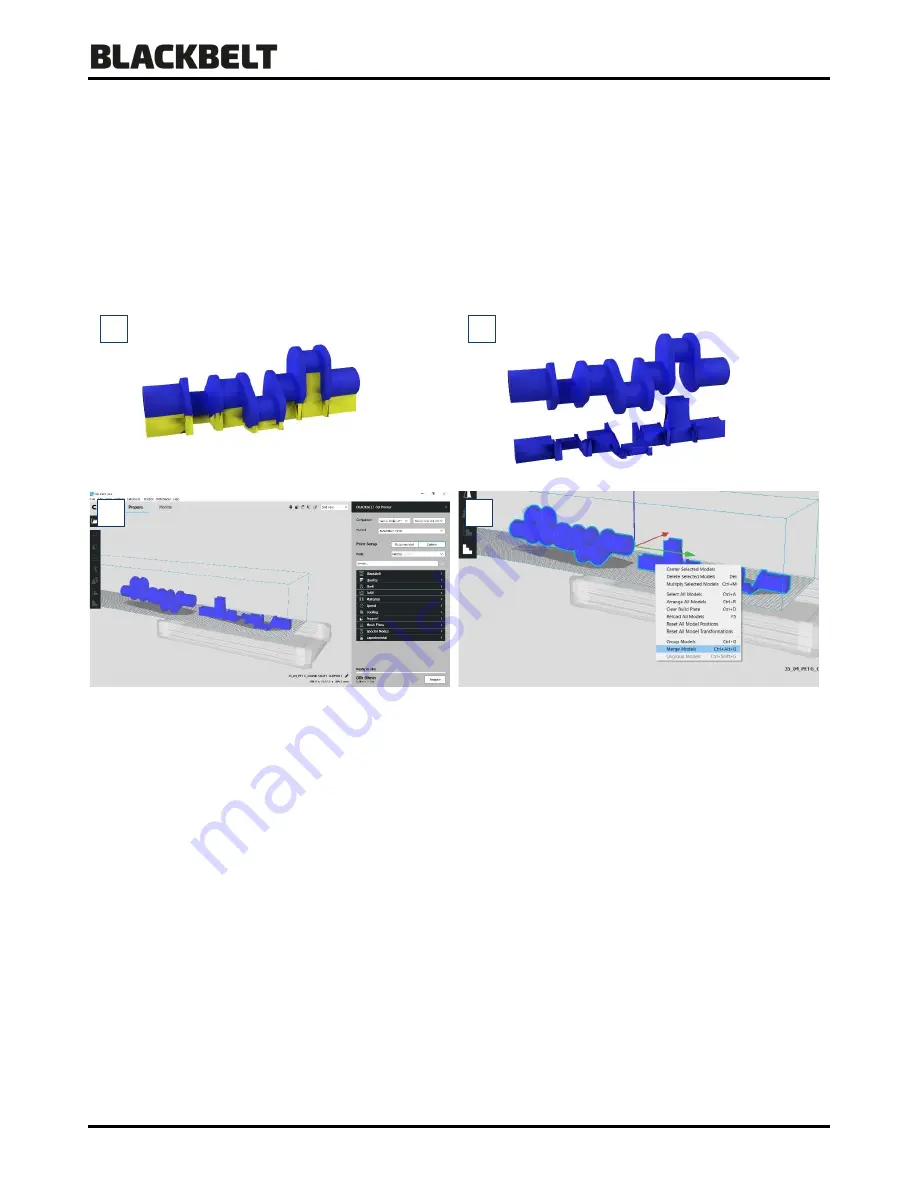
The custom support mentioned in the previous chapter can be designed in your CAD program [1-2].
Make sure that the support geometry is an apart volume body that has no offset to the product geometry. It may
interfere however.
1.
Save both files to a folder on your system on which BlackBelt Cura is installed. Make sure both files share a
common origin. If the models
don’t
align in the next steps this is the most common issue.
2.
Open both models in the same BlackBelt Cura window.
3.
Before further positioning, Merge the models by selecting both via ctrl +
“
A
”
or holding
Shift
key down and
clicking on the models [3]. Then right click and select
“
Merge Models
”
in the pop-up screen [4].
4.
When both files are merged they should be aligned and positioned as drawn in your CAD software [5].
5.
Select the support structure by holding
Ctrl
and clicking on the model. The
“Per model Settings”
are now
available. Choose in this menu to
“Print as Support”
.
When applied correctly the model get a chequered texture.
[6]
6.
Slice the model and
use the “layer view”
to see if the support is generated as imagined [7-8].
1
2
3
4