20
21
– By pressing the START button for a longer
time (at least two sec.) you can exit the
settings menu. The scale then switches to
sleep mode. If the scale was in a settings
menu, the last setting isn’t accepted here.
Step 1:
As already described in Section 3.4, with the
device switched off, first press the SET button
and when the user no. “0” appears, press the
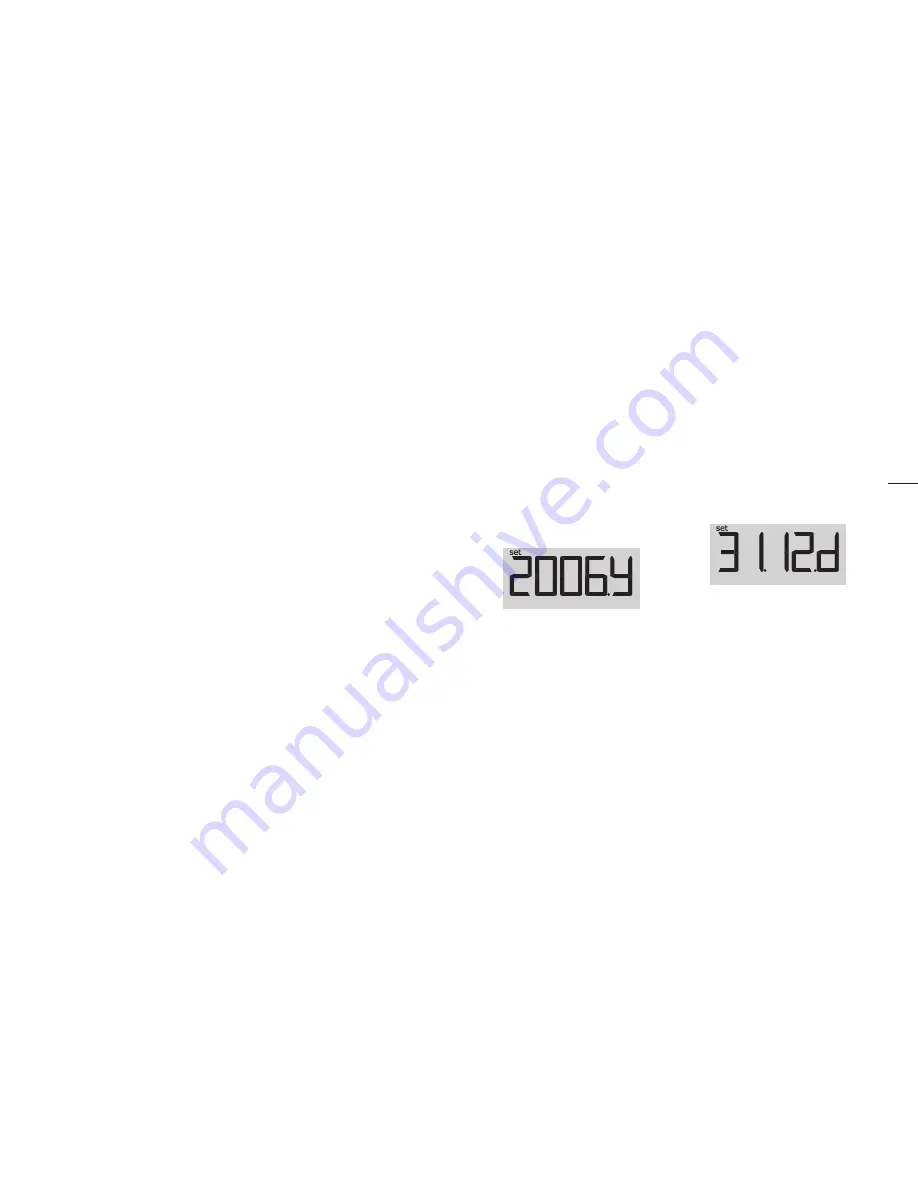
START button. A four-digit year appears, fol-
lowed by a blinking “Y” (for year) separated
by a dot (Fig. 3.6).
Fig. 3.6
Step 2:
Setting the year
To set the current year, press the UP/MEM
button until the correct year is displayed.
Press the SET or the START button to perma-
nently store the set value.
Afterwards, a menu image appears for enter-
ing the date (Fig. 3.7). First the month begins
to blink (digits in the 3rd and 4th places) as
well as the character “d” (for date) in the last
place, separated by a dot.
Fig. 3.7
Step 3:
Setting the month
The current month can be selected, again
using the UP/MEM button as described be-
fore. Press the SET or START button again.
Now the display for the day is blinking to-
gether with the “d” (for date).
3.5 Setting the common setting values
For the scale type BSC105 (scale with wire-
less module), the parameters are set via the
Health Manager from the PC or PDA. It is not
possible to make settings via the correspond-
ing scale menus, but the values can be
viewed to make sure they’re correct.
3.5.1 Setting the date and time
Note:
The measured body data, the weight, as well
as the fat, water and muscle percentages, are
stored with the date and time. The correct
setting of the date and time makes it easier
for you to make a correct time allocation of
your measurements. In order to set the cor-
rect date and time on your
scaleo-comfort
diagnostic scale, proceed as follows:
G
et
tin
g s
ta
rt
ed
3


