25
BetterOutdoorProducts.com
Motion Control Interlock Switch
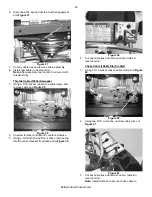
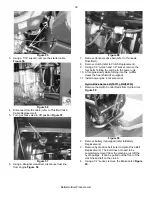
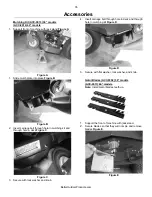
1. Remove the hairpin cotter
Figure 32
.
Figure 32
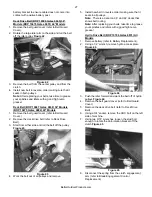
2. Remove the clevis pin
Figure 33
.
Figure 33
3. Remove motion control lever.
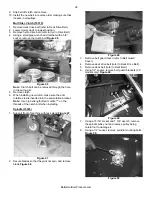
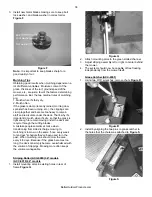
4. Remove the interlock switch by pressing the tabs in
through the holes in the base of hydro control
Figure 33
.
Figure 33
5. Replace switch and install in reverse order.
Blade Engagement Control Cable (10081)
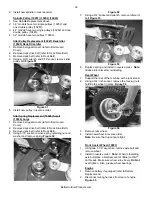
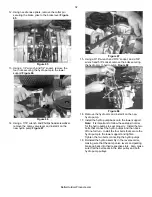
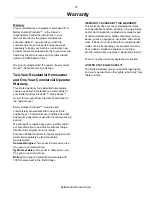
1. Disconnect the wiring plug from the safety switch
under the PTO control
Figure 34
.
Figure 34
2. Remove PTO knob by turning counter clockwise.
3. Using a 3/8” wrench, remove the 4 mounting screws
Figure 35
.
Figure 35
4. Remove the belt guard cover (refer to
Belt Guard Cover).
5. Remove cotter pin and release cable from bracket
Figure 36
.
Figure 36
3
5


