45
Tab Panels
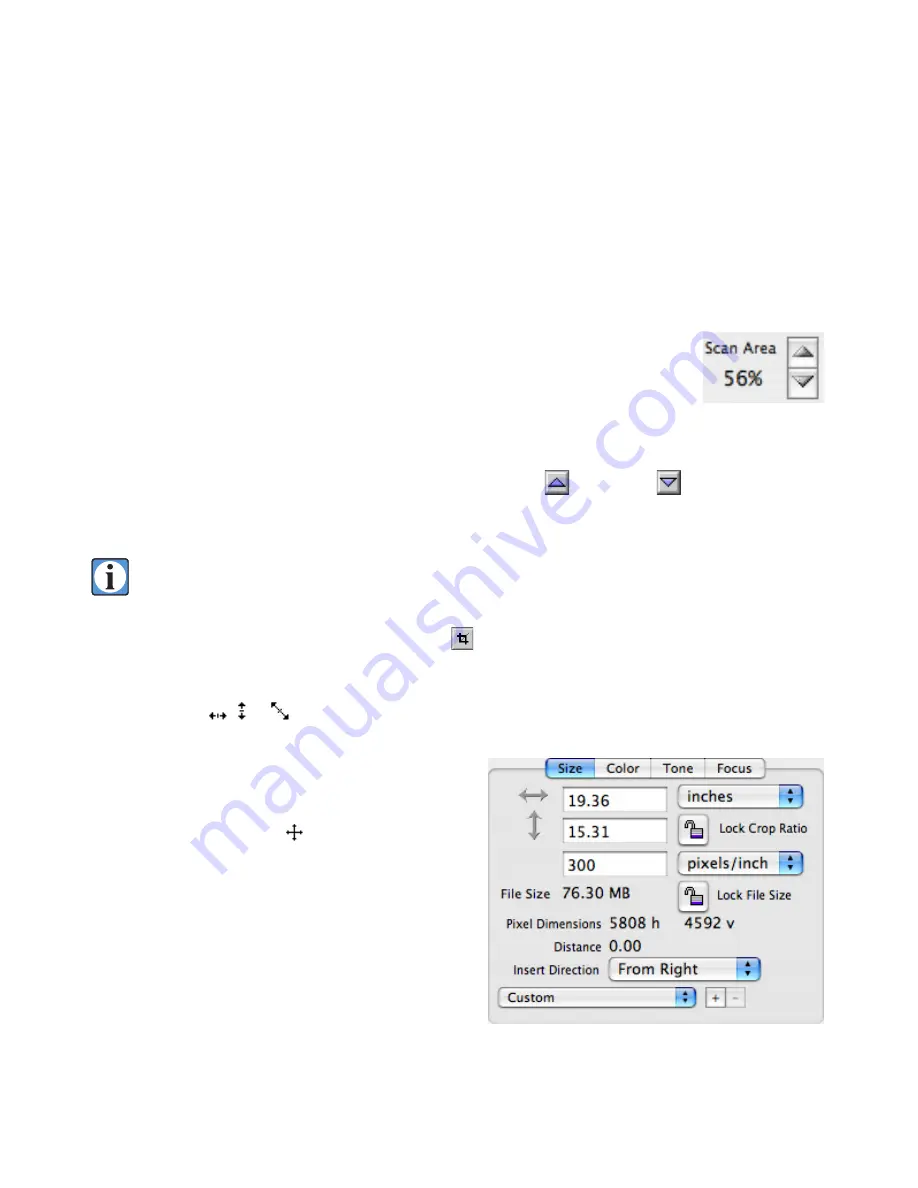
Size Panel
Scan Area & Cropping
For those instances not requiring the full scan area of the camera, fully variable
image cropping is provided. Both proportional cropping (using the
Scan Area
up/
down buttons) and manual cropping (using the crop tool or the
Size
panel) can be
used to select any desired rectangular area within the full scan area. In addition to
reducing the size of a scanned image file by eliminating unwanted data, cropping
can decrease overall scan times by reducing the number of lines to be scanned.
To use proportional cropping
, click the
Scan Area Increase
or
Decrease
buttons; click and
hold either button to advance rapidly through the selections. Each click causes the cropping rectangle
to grow or shrink proportionally, until an image boundary is reached.
Hold down the Option key and click on the
Scan Area Increase
button to move immediately
to the largest scan area (100%) or the
Scan Area Decrease
button to move to the smallest
scan area (1%).
To use manual cropping
, select the
Crop Tool
from the tools located above the preview
window. The crop rectangle will appear in the preview window with a handle in the center of each
edge and a handle in each corner. When the mouse cursor is moved over one of the handles the cursor
will change to a , or to indicate the direction the edge or corner can be moved. Click and drag
one of the handles to resize the crop rectangle. The crop rectangle will change as long as the mouse
button is held down. When the rectangle edge or
corner is at the desired location, release the mouse
button. When the cursor is within the crop rectangle
the cursor will change to a to indicate that the
crop rectangle may be repositioned by clicking and
dragging the cursor to move the crop rectangle to
the desired location. Changes to the crop rectangle
will affect the
Scan Area
,
Scan Time
,
Image Size
and
histogram
displays and these will update in real
time as the crop rectangle is adjusted.
Scan Area controls
Size tab panel.
Summary of Contents for ViewFinder 7
Page 4: ...4 ...
Page 11: ...11 Connector Identification ...


