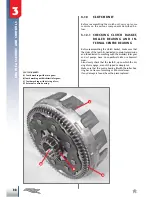
3
92
E
N
G
IN
E ASS
E
M
B
LY AN
D CO
NTRO
LS
A
B
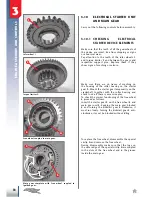
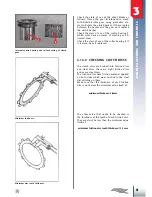
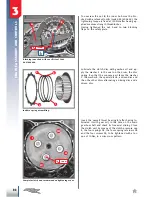
Also check the distortion of the steel discs. This
operation is done by placing the steel discs on a
perfectly flat surface and using a thickness gauge to
check that the clearance between the disc and the
surface is not greater than:
allowable distortion
steel discs: 0.10mm
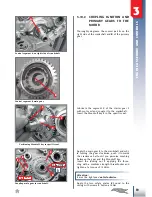
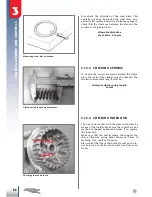
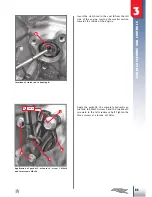
3.12.3 CHECKING SPRINGS
To ensure the correct pressure between the clutch
discs, the state of the springs must be checked. The
minimum acceptable length must be:
minimum clutch spring length:
42 mm
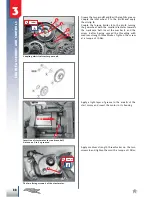
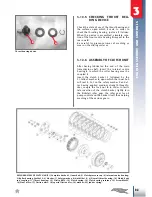
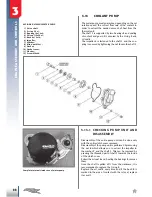
3.12.4 CHECKING INNER HUB
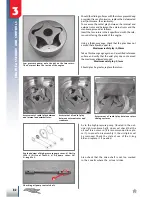
The inner hub meshes with the steel clutch discs by
means of the teeth
A
: Make sure these teeth are not
meshed or shaped by abnormal wear. If so, replace
the inner hub.
Make sure that the seat
B
where the support wa
-
sher of the disc spring slides shows no traces of
meshing. If so, replace the drum.
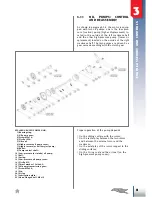
Also control that the radial holes present on the in
-
ner hub are not obstructed and are free from sedi
-
ments.
Measuring steel disc distortion.
Clutch spring length measurement.
Checking inner hub teeth.

