background image

Chapter 4    Adjusting the monitor 
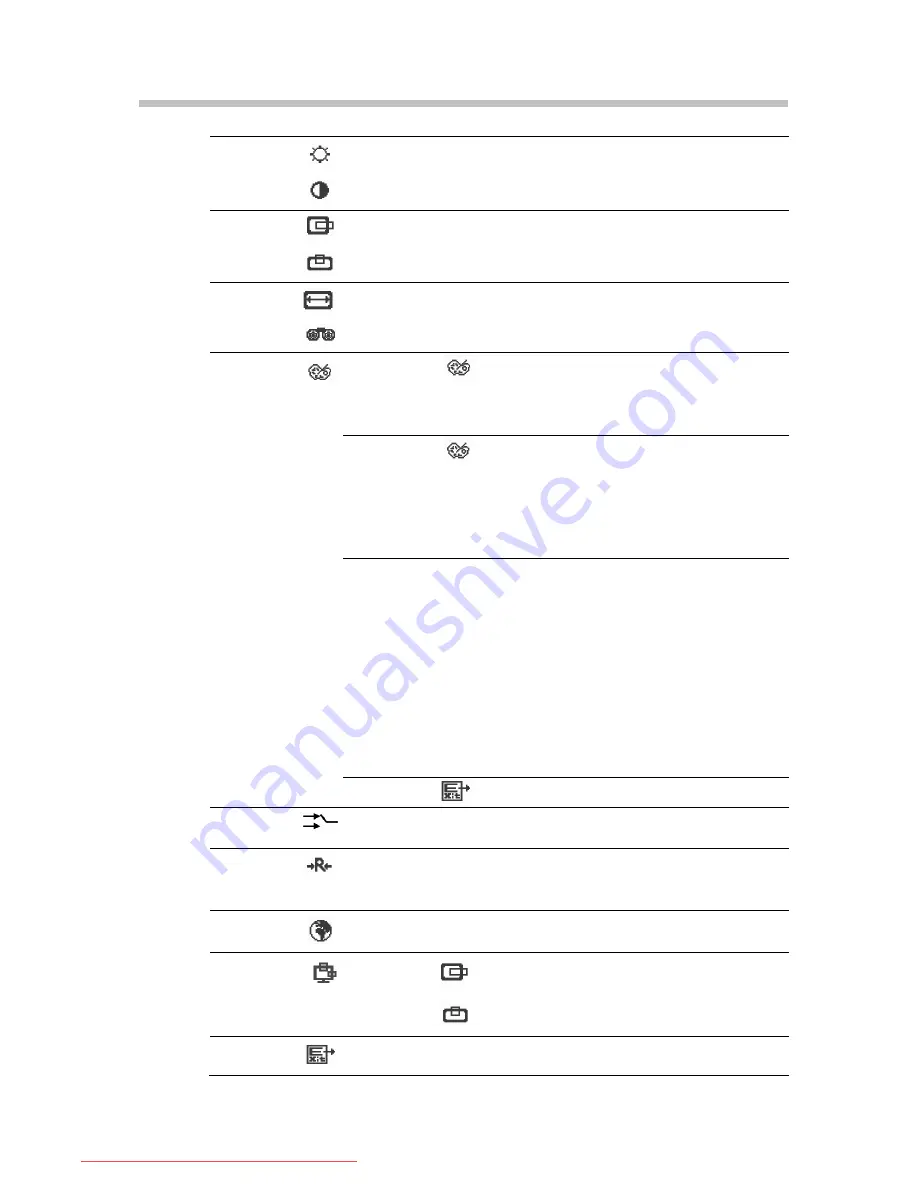
 

Brightness     

  Adjust the overall image and background screen brightness.

Contrast         

  Adjust the image brightness in relation to the background. 

H Position 


  Move the picture image horizontally left or right. 

V Position     

  Move the picture image vertically RIGHT or LEFT. 

H Size           

  Increase or decrease the horizontal size of image. 

Phase     


  Improve focus clarity and image stability. 

User Mode     

User color - you can adjust to individual 
color gum intensity by yourself. Increase or 
decrease Red. Green, or Blue depending 
upon your needs. 

MWE Mode   


MWE (Media Windows Enhancement) 
modes - you can select one mode of 
STANDARD, NIGHT, GAME, THEATER, 
SCENERY, and SPLIT MODE depending 
upon you needs, and you can enable or 
disable the dynamic contrast function. 

COOL / WARM / 
NATIVE / sRGB 

This control adjusts the color temperature 
of the screen image. This item is preset by
factory, and you can not adjust these 
setting.     
Warm: Setting colour temperature to 

WARM

 (more red). 

Cool: Setting colour temperature to 

COOL


(more blue). 

Native: To give the white color a natural 
tint. 
sRGB: standard Red, Green and Blue. 

Color Select 


Exit                 

To exit the sub menu. 

VGA / DVI / HDMI For switching between VGA, DVI, and 

HDMI video input. 

Input Select 


Reset the currently highlighted control to the factory setting. 
Use  this  function  when  you  are  in  the  factory 

Reset             


preset  video

mode. 

Language   


You  can  choose  one  of  16-languages  for  the  OSD  menu
language depending upon you needs. 

OSD H-Pos 

Move the position of the OSD menu to left 
or right. 

OSD Position


OSD V-Pos 


Move  the  position  of  the  OSD  menu  to 
RIGHT or LEFT. 

Exit                 

  Exiting the OSD menu. 


10

Downloaded from ManualMonitor.com Manuals

Summary of Contents for T261W

Page 1: ...T261W User Manual ENGLISH DEUTSCH ESPAÑOL ITALIANO FRANÇAIS ﻋﺮﺑﻲ 日本语 繁體中文 简体中文 한국어 Magyar Čeština POLSK PORTUGUÊS Русский 0 Downloaded from ManualMonitor com Manuals ...

Page 2: ...ing the monitor 8 4 1 Direct Functions 8 4 1 1 Power Switch 8 4 1 2 Volume and Mute 8 4 1 3 Input Source 8 4 1 4 Auto Adjustment 8 4 2 OSD Menu Functions 9 4 2 1 Menu Features 9 4 2 2 OSD Menu 9 Chapter 5 Technical Information 11 5 1 General Specification 11 5 2 Preset mode 12 5 3 Plug and Play 12 5 4 Signal connector pin assignment 13 5 4 1 DVI D signal connector pin assignment 13 5 4 2 D Sub sig...

Page 3: ...sed for a long periods of time This will prevent damage to the monitor due to power line surge Installing Do not use the monitor near water for instance near a bathtub washbowl kitchen sink or laundry tub in wet basement or near a swimming pool etc Do not place the monitor on an unstable table or small surface area and car The monitor may fall and cause damage to the product or injury to personal ...

Page 4: ...t operate normally in particular if there are any unusual sounds or smells coming from it d If the monitor does not operate normally by following the operations instructions Adjust only those controls that are coverd by the operating instructions as improper adjustment of other controls may result in damage and will often require extensive work by a qualified technician to the restore the monitor ...

Page 5: ...cluded in your package check to see they are enclosed with your monitor 9 One monitor 9 One monitor pedestal 9 One 15pin D Sub cable 9 One 19pin DVI D cable 9 One AC power cord 9 One CD 9 One QSG Quick Setup Guide If anything of these contents are missing or damaged please contact with your dealer for technical support and customer service Note Be sure to save original box and all packing material...

Page 6: ...e Monitor Warning Observe the Safety in the chapter Safety Introduction in this operating manual before you connecting the monitor 2 2 1 Connecting Cables 2 2 1 1 Turn off your computer and unplug its power cable 2 2 1 2 Use a connection appropriate for your computer refer to Fig 2 2 Fig 2 2 1 Connect the power cord for your monitor to the AC IN port on the back of your monitor 5 Downloaded from M...

Page 7: ... all the connectons again Note The details on the computer connections and interfaces are contained in the operating manual for your computer 2 2 2 HDMI Connecting You can enjoy better screen and sound quality through the HDMI cable or HDMI to DVI cable connecting to the digital output devices 2 2 2 1 Connecting the HDMI cable 1 Connect one end of the HDMI cable sold separately to the HDMI port on...

Page 8: ...anti clockwise or adjust to decrease and MUTE hot key 3 RIGHT key Select clockwise or adjust to increase and INPUT hot key 3 Auto Button AUTO 1 Press it to perform the auto adjustment of the screen 2 This will automatically adjust your display image to the ideal settings for the current screen resolution size 4 Power Button and LED Indicator 1 Use this button to turn the monitor on and off 2 Indic...

Page 9: ...volume and the RIGHT button to increase the volume 2 Press the LEFT button longer than 3 seconds to get audio mute function Important information on audio playback To achieve optimum sound quality from the monitor speakers the audio cable should be connected to the Line Out socket headphone socket of the computer If you connect the audio cable to the Speaker Out socket soundcard of the computer pl...

Page 10: ...h icons for the setting functions Step 2 If necessary use the or buttons to select the icon Step 3 Press the MENU button to activate the highlighted icon Step 4 Use the or button to make the desired setting Step 5 Select the EXIT icon to exit the OSD menu Step 6 Repeat step 2 through 5 to make further adjustments All changes are stored immediately 4 2 2 OSD Menu 1 Main menu OSD main menu gives you...

Page 11: ...able the dynamic contrast function COOL WARM NATIVE sRGB This control adjusts the color temperature of the screen image This item is preset by factory and you can not adjust these setting Warm Setting colour temperature to WARM more red Cool Setting colour temperature to COOL more blue Native To give the white color a natural tint sRGB standard Red Green and Blue Color Select Exit To exit the sub ...

Page 12: ... 5 Sync Signal Separate H V Composite TTL High 2 0V Low 0 8V Audio and Speaker Audio Input Interface Audio in 3 0mm Ear Jack HDMI Audio Amplifier and Speaker Class D Hidden Type 3W x 2ch Power Power Supply AC 100 240 V 10 50 60 Hz 3 Hz Total Power Consumption Maximum 70 W Power Saving Sleep mode 2 W Dimensions H x W x D Dimensions with Stand 472 5 mm x 613 2 mm x 218 9 mm Dimensions with Wall Moun...

Page 13: ...66 587 kHz 10 1920 x 1200 60 Hz 74 038 kHz 5 3 Plug and Play This monitor is equipped with the VESA DDC Display Data Channel standard When your computer is equipped with a DDC compatible video card the adjustments of monitor will be easier With VESA DDC 1 2B when the monitor is powered up it will automatically notify a Windows 2000 XP Vista host computer of its scanning frequencies capabilities an...

Page 14: ... TMDS Data 3 open 20 TMDS Data 5 open 5 TMDS Data 4 open 13 TMDS Data 3 open 21 TMDS Data 5 open 6 DDC Clock 14 5V Power 22 Clock shield 7 DDC Data 15 GND 23 Clock 8 Analog Vertical Sync 16 Hot Plug Detect 24 Clock 5 4 2 D Sub signal connector pin assignment The PIN assignment of the mini D SUB connector cable is as following PIN Signal PIN Signal PIN Signal 1 Red 6 Ground Red 11 Ground open 2 Gre...

Page 15: ... and the computer 3 Adjust the brightness and contrast controls 4 Monitor in power saving mode 2 Display image is too large or small 1 Use the OSD controls to adjust Auto Setup 3 The colors are discord 1 Signal cable properly connected 2 Use OSD controls to adjust the color control setting 4 The image is too light or too dark 1 Use OSD controls to adjust the brightness and contrast 5 There is no s...

Reviews: