Commissioning
EL33xx-00x0
85
Version: 4.2
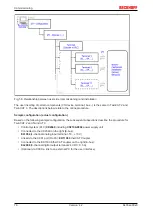
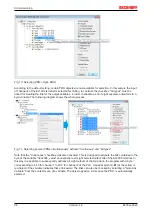
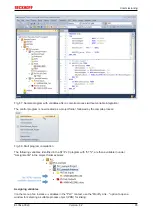
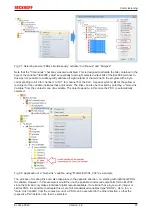
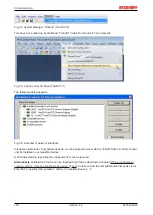
Fig. 72: Application of a "Goto Link" variable, using "MAIN.bEL1004_Ch4" as a sample
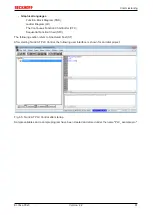
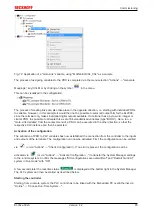
The process of assigning variables to the PDO is completed via the menu selection "Actions" → "Generate
Mappings”, key Ctrl+M or by clicking on the symbol
in the menu.
This can be visualized in the configuration:
The process of creating links can also take place in the opposite direction, i.e. starting with individual PDOs
to variable. However, in this example it would then not be possible to select all output bits for the EL2008,
since the terminal only makes individual digital outputs available. If a terminal has a byte, word, integer or
similar PDO, it is possible to allocate this a set of bit-standardised variables (type "BOOL"). Here, too, a
"Goto Link Variable” from the context menu of a PDO can be executed in the other direction, so that the
respective PLC instance can then be selected.
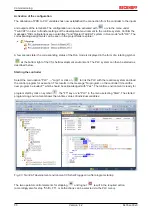
Activation of the configuration
The allocation of PDO to PLC variables has now established the connection from the controller to the inputs
and outputs of the terminals. The configuration can now be activated. First, the configuration can be verified
via
(or via "Actions" → "Check Configuration”). If no error is present, the configuration can be
activated via
(or via "Actions" → "Activate Configuration…") to transfer the System Manager settings
to the runtime system. Confirm the messages "Old configurations are overwritten!" and "Restart TwinCAT
system in Run mode" with "OK".
A few seconds later the real-time status
is displayed at the bottom right in the System Manager.
The PLC system can then be started as described below.
Starting the controller
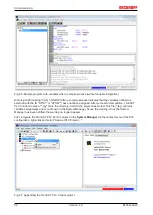
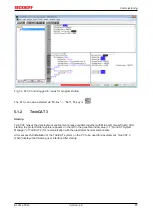
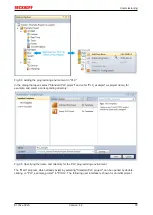
Starting from a remote system, the PLC control has to be linked with the Embedded PC over Ethernet via
"Online" → “Choose Run-Time System…":
Summary of Contents for EL33-00 Series
Page 2: ......
Page 6: ...Table of contents EL33xx 00x0 6 Version 4 2...
Page 17: ...Product overview EL33xx 00x0 17 Version 4 2 Fig 10 EL3312 Fig 11 EL3314...
Page 18: ...Product overview EL33xx 00x0 18 Version 4 2 Fig 12 EL3314 0002 Fig 13 EL3314 0010...
Page 61: ...Mounting and wiring EL33xx 00x0 61 Version 4 2 Fig 45 EL3314 0010 Fig 46 EL3314 0090...


