FUNCTION MENU CONT...
MIXER
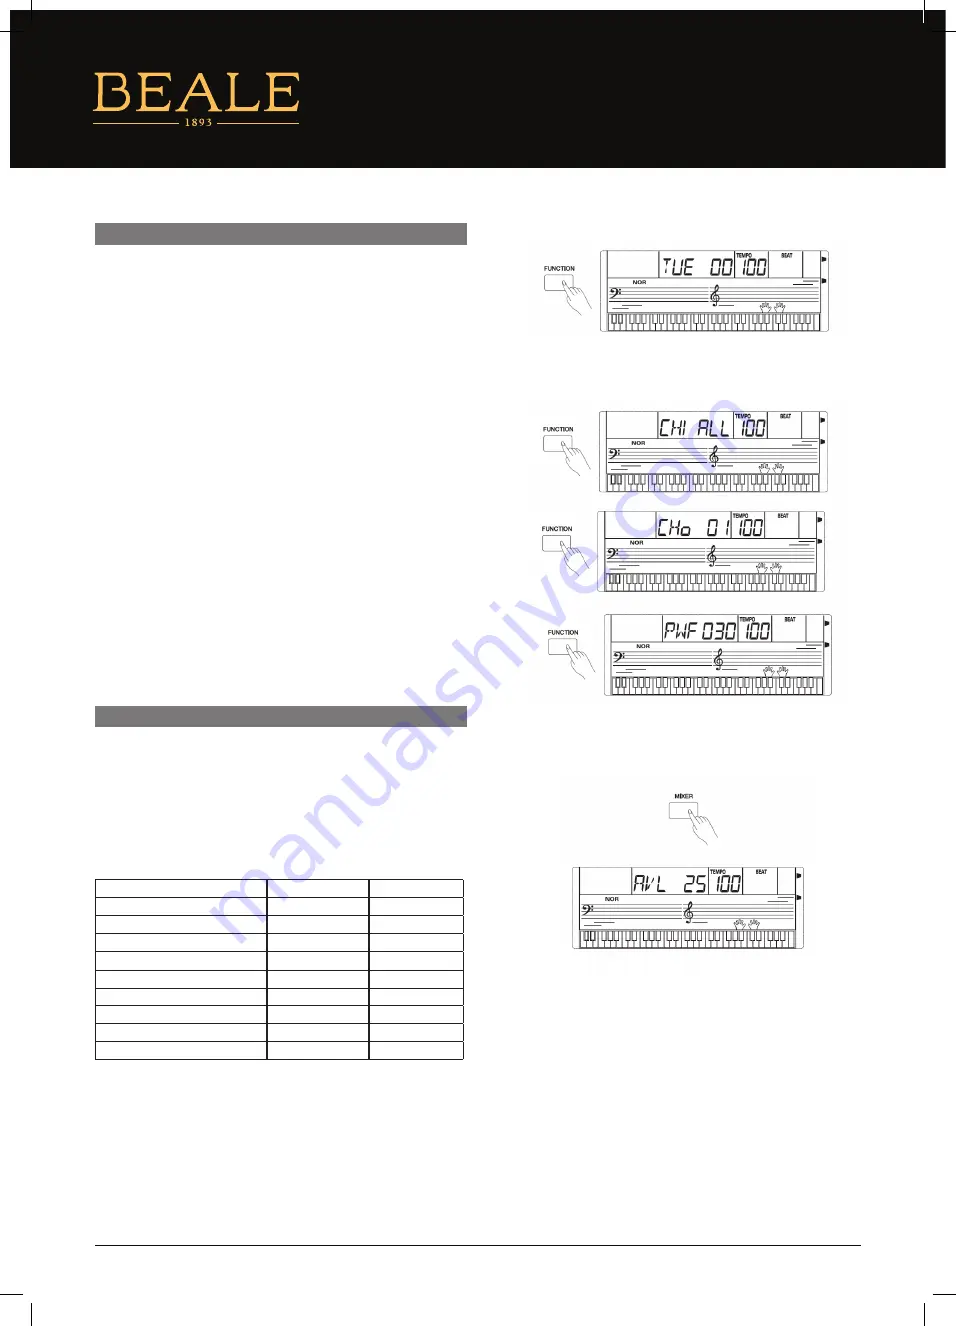
TUNE
Press the [FUNCTION] button to select the Tune menu. The LCD
will display the tune value. Use the [+]/[–] to change the tune value.
Its range is from –50 to +50 cents. Pressing the [+] and [–] buttons
together will set the TUNE to its default value.
Note:
The tune setting will apply to both keyboard and style.
MIDI SETTING
1. Press the [FUNCTION] button to select the MIDI IN/OUT
menu. The LCD will display “CHI ALL” or “CHo 01” respectively.
2. Use the [+]/[–] buttons to select a desired channel.
Channels for MIDI IN: 1–16, ALL, the default setting is All.
Channels for MIDI OUT: 1–16, the default setting is 01.
AUTOMATIC POWER OFF
1. Press the [FUNCTION] button repeatedly until the LCD
displays “PWF 30”.
2. The LCD displays the time value. The options are OFF, 30
and 60. The default value is 30.
2. Use the [+] or [–] buttons to change the Power Off time
value. Press [+] and [–] simultaneously to restore the
default value: 30.
Press the [MIXER] button to enter the Mixer menu. The default option
of the menu is “Accomp”. When you enter the menu next time, it will
display the same option of your last operation. Press the [MIXER]
button to select the option you want to set. Use [+]/[–] to set the
parameter.
The option and the parameters are as follows:
Note:
It will quit the Mixer menu if there is no operation in 3 seconds. By
pressing the [+] and [–] buttons simultaneously, the LCD will display
“OFF”. This means the parameter volume is turned off. By pressing
the [+] and [–] buttons simultaneously again, the LCD will display the
last volume level.
CONTENT
LCD DISPLAY
RANGE
Accompaniment VOLUME
AVL 25
0–32
Rhythm Main VOLUME
RTh 31
0–32
Bass VOLUME
bAS 31
0–32
Chord 1 VOLUME
CH1 31
0–32
Chord 2 VOLUME
CH2 31
0–32
Chord 3 VOLUME
CH3 31
0–32
Voice R1 VOLUME
UP1 28
0–32
Voice R2 VOLUME
UP2 20
0–32
Voice L VOLUME
LOE 20
0–32
14
AK140