


AUTO ACCOMPANIMENT
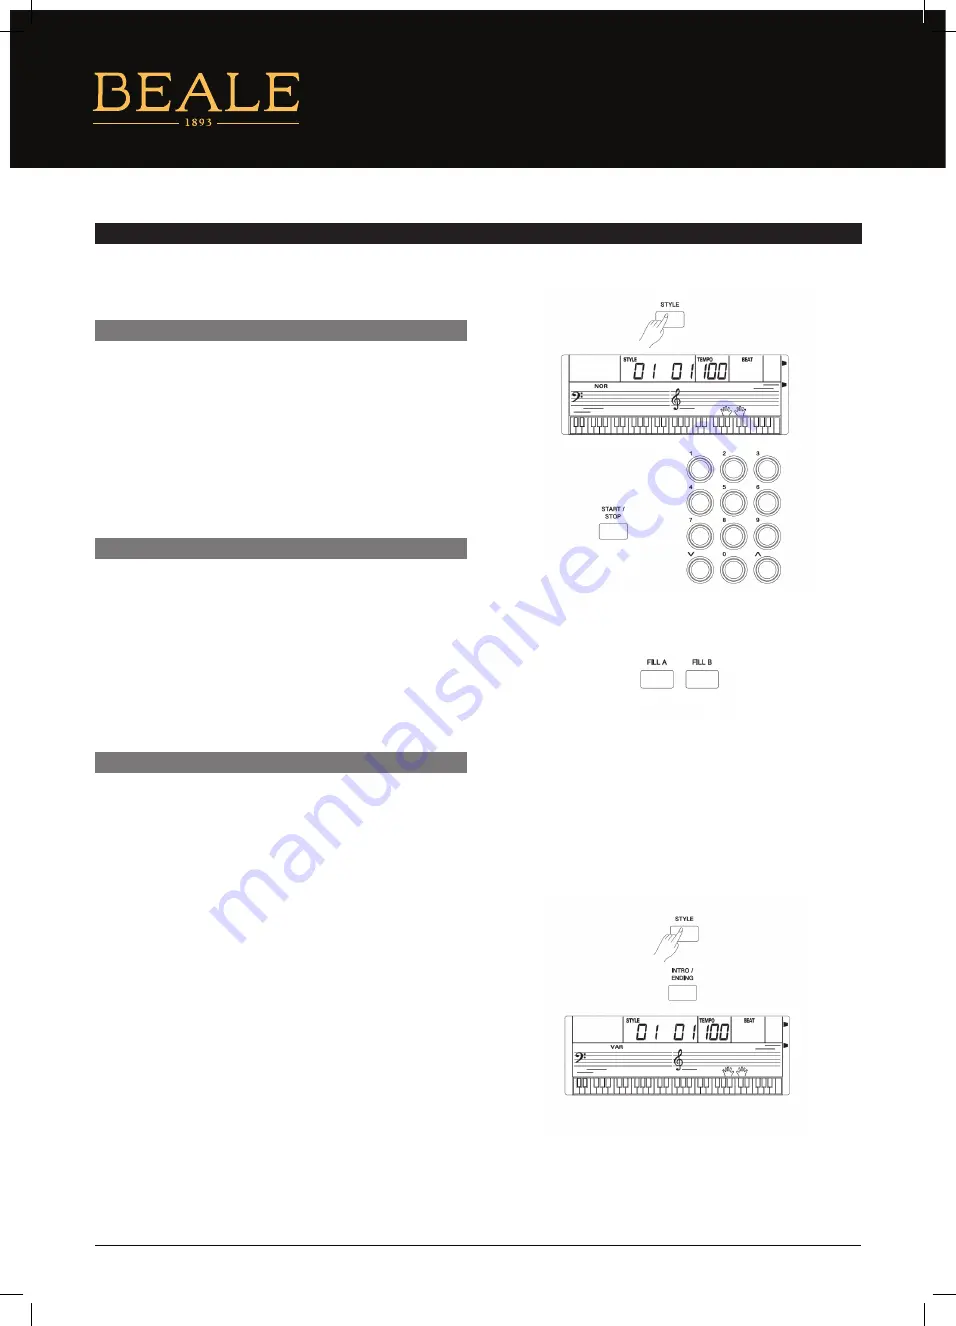
1. Press the [STYLE] button.
Enter the STYLE mode. The LCD will display “STYLE” and
the style number.
2. Use the number keys, the [+] button or the [–] button to
select the style you want to play.
3. Press the [START/STOP] button to start the rhythm
tracks of the auto accompaniment.
Auto fill in function automatically adds a fill to your performance.
When the fill–in is finished, the accompaniment shifts to the Main
section (A, B).
Note:
By holding down the FILL–IN A/B button when the style is playing,
the selected FILL pattern repeats continuously until the button
is released. Press FILL–IN A/B when the style has stopped, it will
change to the normal section.
The intro is an opening section of the song. Each preset style features
two different patterns. When the intro pattern is finished, the system
will automatically shift to the main section. Ending is used for the
ending of the song. When the ending is finished, accompaniment
automatically stops. The length of the ending differs depending on
the selected style.
1. Press the [STYLE] button.
2. Select a style.
3. Turn the Chord Mode on.
4. Turn SYNCHRONIZED START on.
5. By pressing the [INTRO/ENDING], the “VAR” flashes on the
LCD. The style is ready to play.
6. It will start the accompaniment as soon as you start playing
in the Chord section. When the playback of the intro is
finished, it automatically leads into main A or B section.
7. Pressing the [INTRO/ENDING] again will lead it into the
ending section. When the ending is finished, the auto
accompaniment automatically stops.
Note:
Pressing [FILL A] or [FILL B] before the ending finishes will lead it
into main A or main B section.
The AK140 features 110 styles of different musical genres. Try selecting some of the different styles (refer to
Style List) and play
with the auto accompaniment.
PLAY AUTO ACCOMPANIMENT
PLAY A FILL
INTRO/ENDING
10
AK140


