20
HTS Customer Care Kits User’s Guide
8
Secure the silicon tubing so that it does not slide back into the hole, and
carefully remove the sample injection port assembly.
Assembling the Sample Injection Tubing Assembly
1
Connect the sample injection port to the sample injection port tubing
assembly.
2
Connect the injection port tubing assembly to the sample injection tubing
assembly.
3
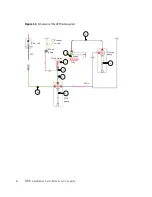
Lower the sample injection port tubing assembly into the port hole and
connect the silicon tubing to the sample injection port base (as shown in the
following figure). The magnets will secure the sample injection port in
place.
To prevent the cross-threading of fittings, ensure that mating fittings are
aligned to one another before screwing them together. All fittings should be
secured only finger tight and not beyond.
Summary of Contents for 644787
Page 3: ...History Revision Date Change Made 23 11165 00 Rev A 1 2010 Initial release ...
Page 4: ......
Page 14: ...THIS PAGE INTENTIONALLY LEFT BLANK ...
Page 28: ...THIS PAGE INTENTIONALLY LEFT BLANK ...
Page 32: ...THIS PAGE INTENTIONALLY LEFT BLANK ...
Page 42: ...THIS PAGE INTENTIONALLY LEFT BLANK ...
Page 46: ...THIS PAGE INTENTIONALLY LEFT BLANK ...


