Bayrol NATURALLY SALT Salt Relax POWER, Operating And Installation Manual
Unlock the power of relaxation with Bayrol NATURALLY SALT Salt Relax POWER. This premium salt product is designed to enhance your spa experience. Make sure to download the Operating And Installation Manual for free from manualshive.com, for detailed instructions on how to properly use and maintain this innovative product.
Share
Download


Reviews:
No comments
Related manuals for NATURALLY SALT Salt Relax POWER
Avalanche
Brand: Jacuzzi Pages: 23
Jandy Pro Series
Brand: Jandy Pages: 2
UNO
Brand: Racer Pages: 36
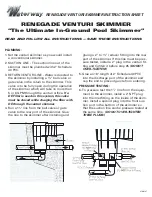
RENEGADE
Brand: Waterway Pages: 2

pH Perfect
Brand: Zodiac Pages: 20
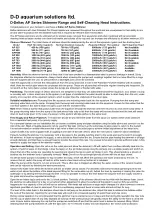
D-Deltec AP Series
Brand: D-D The Aquarium Solution Pages: 4

CPP Series
Brand: Pool Pro Pages: 24

10601029
Brand: MARIMEX Pages: 50
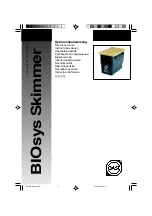
BIOsys Skimmer
Brand: Oase Pages: 44
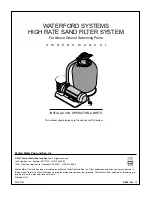
HIGH-RATE SAND FILTER SYSTEM
Brand: Pentair Pool Products Pages: 36
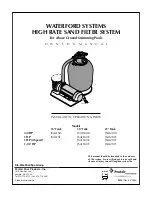
JSAL210F
Brand: Waterford Pages: 40
Sunsun CBF-350
Brand: TeichTip Pages: 7
RJ PLUS series
Brand: CircuPool Pages: 32

ProfiSkim Wall 100
Brand: Oase Pages: 118

91001
Brand: Splash Pages: 8
Minisalt Series
Brand: Pool Technologie Pages: 16

Speed Clean Classic 310
Brand: Steinbach Pages: 48

Chloromatic ESC 16
Brand: Monarch Industries Pages: 16


