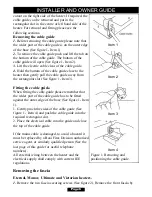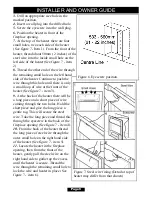
positioned away from the fire (See figure 13).
4.
Position the supply cable in the spacer frame slot
5.
Slide the nylon grommet along the supply cable towards the heater. When the
grommet reaches the slot, push it into the slot up to its flange (See figure 13).
Fitting the heater.
1.
Locate the spacer frame and heater over the screw heads ensuring a tight fit. If the fit
is loose, remove the spacer frame and heater from the wall. Tighten the wall screws
slightly and reposition the spacer frame and heater.
Setting the position of the light bulb shroud.
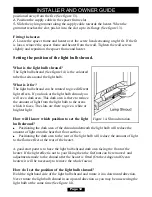
What is the light bulb shroud?
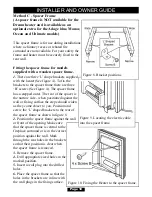
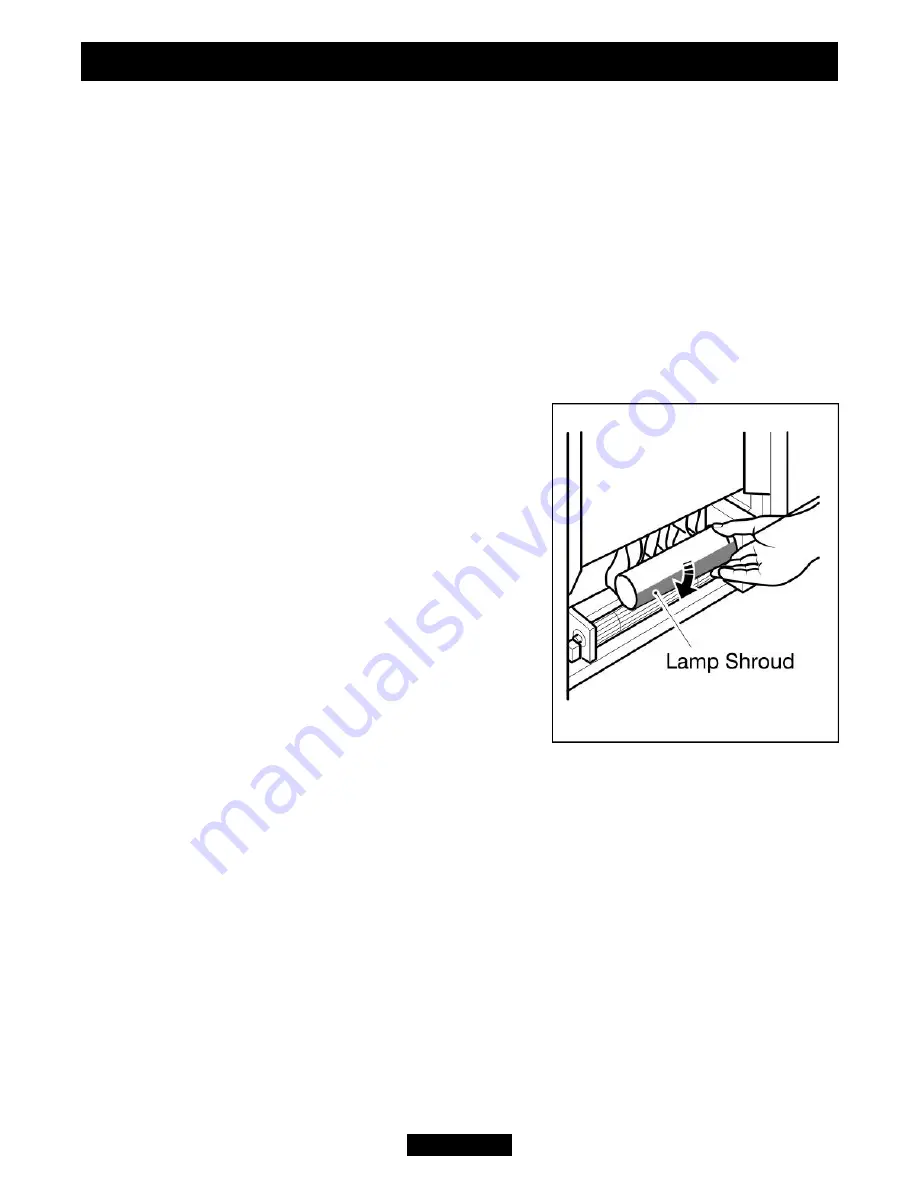
The light bulb shroud (See figure 14) is the coloured
tube that sits around the light bulb.
What is it for?
The light bulb shroud can be rotated to give different
light effects. If you look at the light bulb shroud you
will see a dark area. This dark area is there to reduce
the amount of light from the light bulb to the areas
which it faces. The slots are there to give a white or
brighter light.
How will I know which position to set the light
bulb shroud?
!
Positioning the dark area of the shroud underneath the light bulb will reduce the
amount of light onto the hearth or floor surface.
!
Positioning the dark area to the rear of the light bulb will reduce the amount of light
to the flame effect at the rear of the heater.
A good start point is to have the light bulb shroud dark area facing the front of the
heater. If the light effect is not to your liking then the firefront can be removed and
adjustments made to the shroud after the heater is fitted (On the Adage and Ocean
heaters it will be necessary to remove the whole fascia).
How do I set the position of the light bulb shroud?
Hold the right hand side of the light bulb shroud and rotate it in a downward direction.
Never rotate the light bulb shroud in an upward direction as you may be unscrewing the
light bulb at the same time (See figure 14).
Page 12
INSTALLER AND OWNER GUIDE
Figure 14. Shroud rotation


