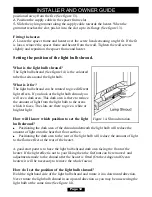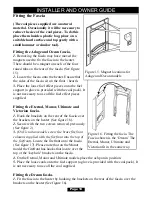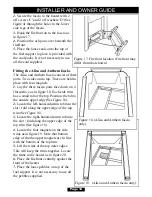
the heater.
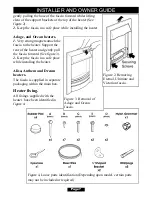
2. For drilling into brickwork you will need an electric hammer drill and appropriate
size drill bit for the wall plugs supplied (See figure 4).
Where can I fit the heater?
This heater can be fitted into fireplaces or surrounds where the following dimensions
are available.
Width
390mm - 450 mm (15.35 inches - 17.72 inches)
Height
555mm - 590 mm (21.9 inches - 23.2 inches)
Depth
At least 75mm (At least 3 inches)
There should be at least 30mm (1.2 inches) clearance between the top of the fascia and
anything such as a shelf, fireplace surround or mantel etc. This will allow the fascia to
be lifted off or removed during servicing. To check this gently place the fascia against
the surface to which it is to be fixed. Measure the distance from the top of the fascia.
Using the 75mm (3 inch) spacer kit supplied, the Adage (Not Adage blue), Anthem and
Victorian heaters can also be used where a fireplace opening or fireplace surround
opening are not available i.e. a flat wall. The
Dream
heater does not have the 75mm (3
inch spacer) and
cannot
be used against flat walls unless it is fitted to a rebated
surround or suite.
A 75mm spacer kit is available for the Adage blue, Manor, Ocean and Ultimate models
as an optional extra. Please contact your dealer quoting Part number 05801T1.
Important electrical safety.
The heater must
not
be located in front of or under an electrical socket, the socket must
always be accessible in order to disconnect the heater from the electrical supply for
maintenance and cleaning.
Important! This heater must be earthed.
!
The heater is supplied with a 3 pin 13 Amp fused re-wireable plug with 1mm² 3 core
cable.
!
The wires in the cable are coloured in accordance with the following code: -
Live =Brown
Neutral = Blue
Earth = Green /Yellow
!
The mains supply must be safely routed from the heater to an electrical socket.
Moving the cable guide.
At the base of the heater you will find an electric cable which runs through a
rectangular plastic cable guide. As supplied the cable guide is fitted into the rectangular
Page 5
INSTALLER AND OWNER GUIDE


