


7.
8.
1.
2.
3.
4.
1.
2.
3.
Select which type of user you want to receive the notification. If you select
all administrator who have sufficient
Administrative User
rights to act on the event will receive the notification.
Click
.
Add
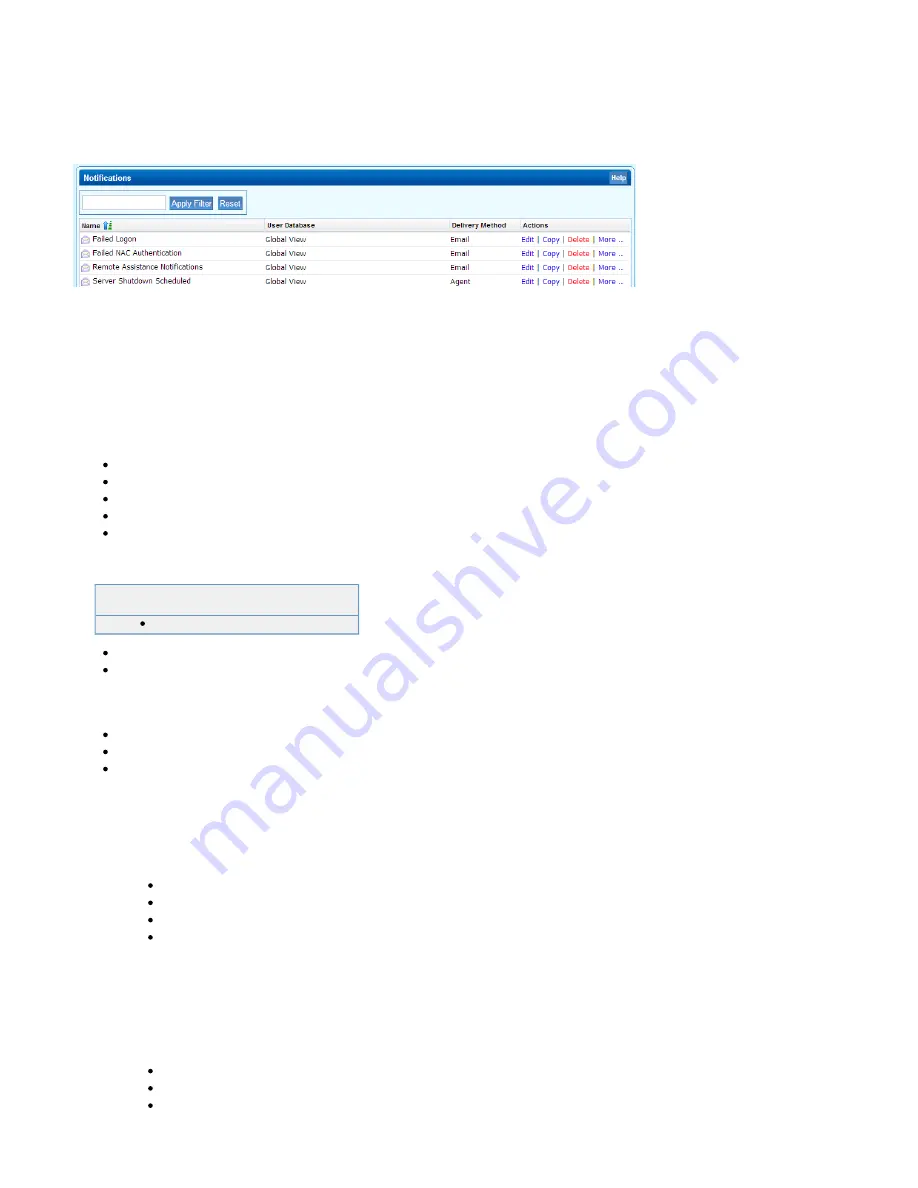
The notification is now listed in the
section below.
Notifications
If you want to modify a notification after it has been created, or define the recipients in a more granular way, click
next to the
Edit
notification, make the necessary changes and save your settings. To remove a notification, click Delete.
SNMP
All Barracuda SSL VPNs model 480 and larger offers the ability supply various
information to Network Management Systems via SNMP. Both SNMP version 2c and 3
are supported. Barracuda Networks recommends using SNMP v3 as it is more secure.
In this article:
SNMP v2
Related Article
IP address (range) from which the Network Management System will contact the Barracuda SSL VPN SNMP service.
SNMP community string.
SNMP v3
User and password to authenticate the NMS.
Authentication Method (supported encryption methods).
Allowed IP address or range for the Network Management System.
Configure SNMP v2
Log into the
.
Open the
page.
ADVANCED > Administration
In the
section, configure the following settings:
SNMP Manager
Enable SNMP Agent – Select Yes.
SNMP
– Select
.
Version
v2c
SNMP Community String – Enter a password to authenticate the SNMP server.
Allowed SNMP IP/Range – Enter the IP addresses or range from which the Barracuda SSL VPN should accept SNMP queries.
Click
.
Save Changes
Configure SNMP v3
Log into the
.
Open the
page.
ADVANCED > Administration
In the
section configure the following settings:
SNMP Manager
Enable SNMP Agent – Select
.
Yes
SNMP Version – Select
.
v3
User – Enter a username.