


25
R5911443 /08
UDM
Warning:
Never switch on the projector if the
OVERVOLTAGE
status light lit up. Neglecting will
cause irreversible damage to the projector.
► If no,
proceed with the next step.
2.
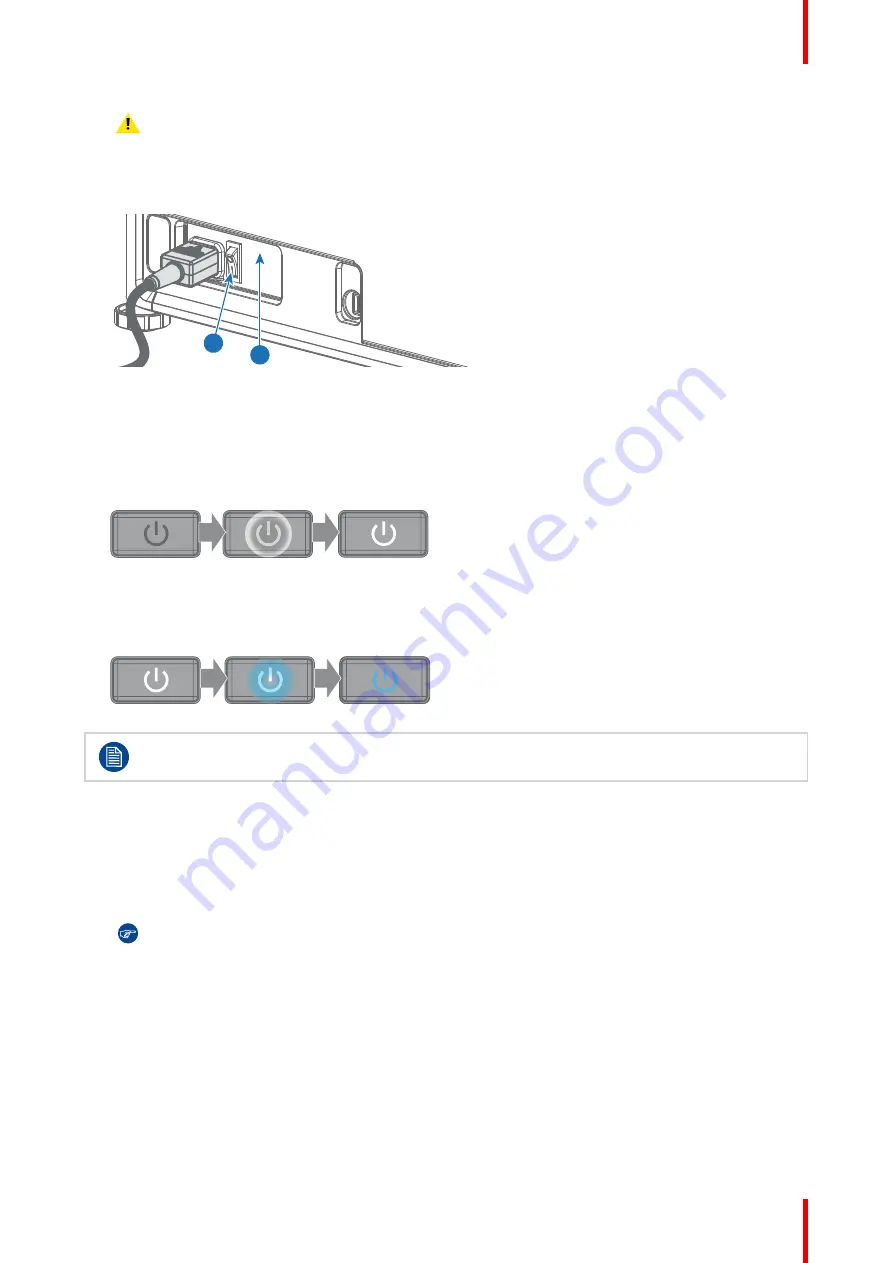
Press the mains switch (reference 2) to switch on this projector.
2
1
OVERVOL
TAGE
Image 2–6
•
When '0' is pressed, the projector is switched off.
•
When 'I' is pressed, the projector is switched on.
The projector starts up to ready mode. The
Power on/off
button will blink until ready mode is achieved.
Once in ready mode, the Power on/off button will be lit WHITE.
The start up screen is displayed on the touch panel.
Image 2–7
3.
Press the
Power on/off
button on the projector, or the
Power On
button on the remote control.
The projector will continue to power on mode. The
Power on/off
button will blink until the projector is
ready. Once the projector is ready, the Power button will be lit BLUE.
Image 2–8
The background image of the startup screen and info screens can be changed with Projector
Toolset with an installed UDM plug-in.
2.3 Start image projection
Connect the source
1.
Connect the source cable with the appropriate input port on the Input & Communication module.
Tip:
See chapter
“Input & Communication”, page 37
, for more info about supported input formats.
Summary of Contents for UDM 4K15
Page 1: ...ENABLING BRIGHT OUTCOMES User manual UDM ...
Page 76: ...R5911443 08 UDM 76 GUI Image ...
Page 156: ...R5911443 08 UDM 156 GUI System Settings ...
Page 168: ...R5911443 08 UDM 168 GUI Status menu ...
Page 176: ...R5911443 08 UDM 176 Product maintenance ...
Page 192: ...R5911443 08 UDM 192 Video timing tables ...
Page 198: ...R5911443 08 UDM 198 DMX chart ...
Page 202: ...R5911443 08 UDM 202 WiFi GSM compliance information ...
Page 212: ...R5911443 08 UDM 212 List of tools ...
Page 218: ...R5911443 08 UDM 218 Index ...
Page 219: ......


