LED-PRO • User’s Guide
91
4. Operation
Using the Expert Mode Menu
To communicate with LED-PRO via Ethernet:
a.
Ensure that all Ethernet setup is complete
b.
On a Microsoft
®
Windows
®
PC, open a command prompt window and
type the following and press
ENTER
:
> telnet xxx.xxx.xxx.xxx 10001
... where xxx.xxx.xxx.xxx is the IP address as set, 10001 is the port.
c.
Once Ethernet communications have been established, the
Telnet
window functions in a similar manner to a serial COM port
communication session. If required, consult with your network
administrator to ensure that LED-PRO can communicate with the PC.
•
IP
— indicates the current IP address. If an IP address has not been established,
if no DHCP server has been found, or if the network cable is not connected, the IP
address reads "
000.000.000.000
.”
•
M
— indicates the
MAC
(hardware) address of the Ethernet port.
bafa=asf=få=cêãí
On the
System Menu
, select the
EDID In Frmat
function to display the
EDID In Format
Menu
, which enables you to update LED-PRO's preferred EDID resolution. Refer to the
“
Programming EDID
” section on page 53 for instructions.
içÅâ=cêçåí=m~åÉä
On the
System Menu
, scroll to the
Lock Front Panel
function and press
SEL
to lock all
front panel controls. This function is designed to prevent tampering with the panel while
LED-PRO is under remote control. The
Front Panel Lockout Menu
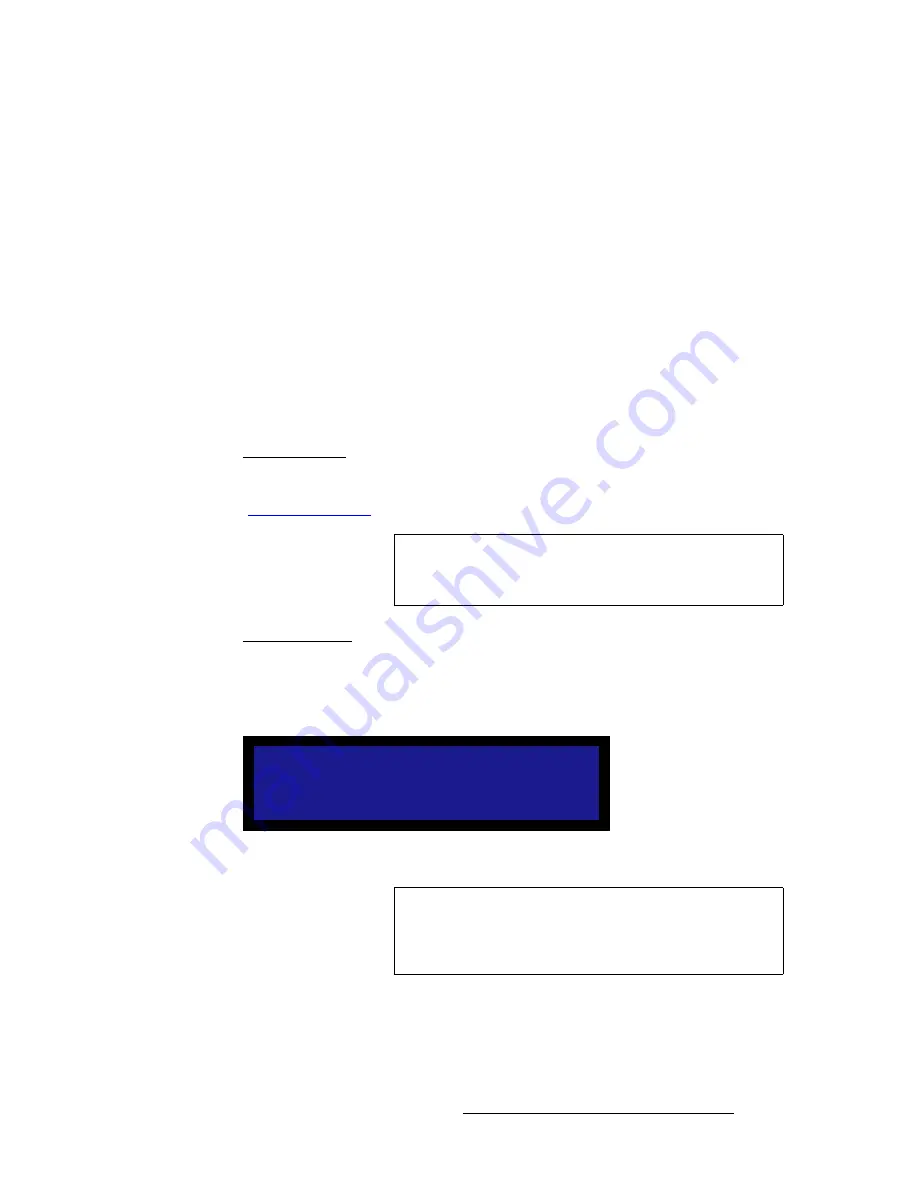
appears, which alerts
the user and display’s the system ID:
Figure 4-74.
Front Panel Lockout Menu (sample)
To unlock the panel from the front panel:
1.
Press and hold the
SEL
and
ESC
buttons simultaneously, for 3 seconds. When
the panel unlocks, the system returns to the
Status Menu
.
Note
This procedure is identical to the
EDID DVI
procedure located
in the
Source Alignment Menu
(
SETUP > Source
Alignment > EDID DVI
).
F r o n t P a n e l
L o c k e d O u t .
L E D P R O I D : 0 0 0 1
Note
The system ID is preset at the factory to
1
, and can only be
changed with the
Director Toolset
. If you use Director
Toolset to change the ID, and then perform a factory reset on
LED-PRO or run the Setup Wizard, the ID returns to 1.
Summary of Contents for LED-PRO
Page 1: ...r d ibaJmol Manual 26 0501000 00 Revision B qj...
Page 14: ...xiv LED PRO User s Guide Table of Contents...
Page 38: ...24 LED PRO User s Guide 3 Installation Format Connection Table...
Page 124: ...110 LED PRO User s Guide 4 Operation Using the Input Position Menu...
Page 174: ...160 LED PRO User s Guide _K o m LED PRO Remote Commands...
Page 186: ...172 LED PRO User s Guide Index v YUV 15 16 w Zoom 97 ZOOM nnn n 159...


