Display Controller Installation
26
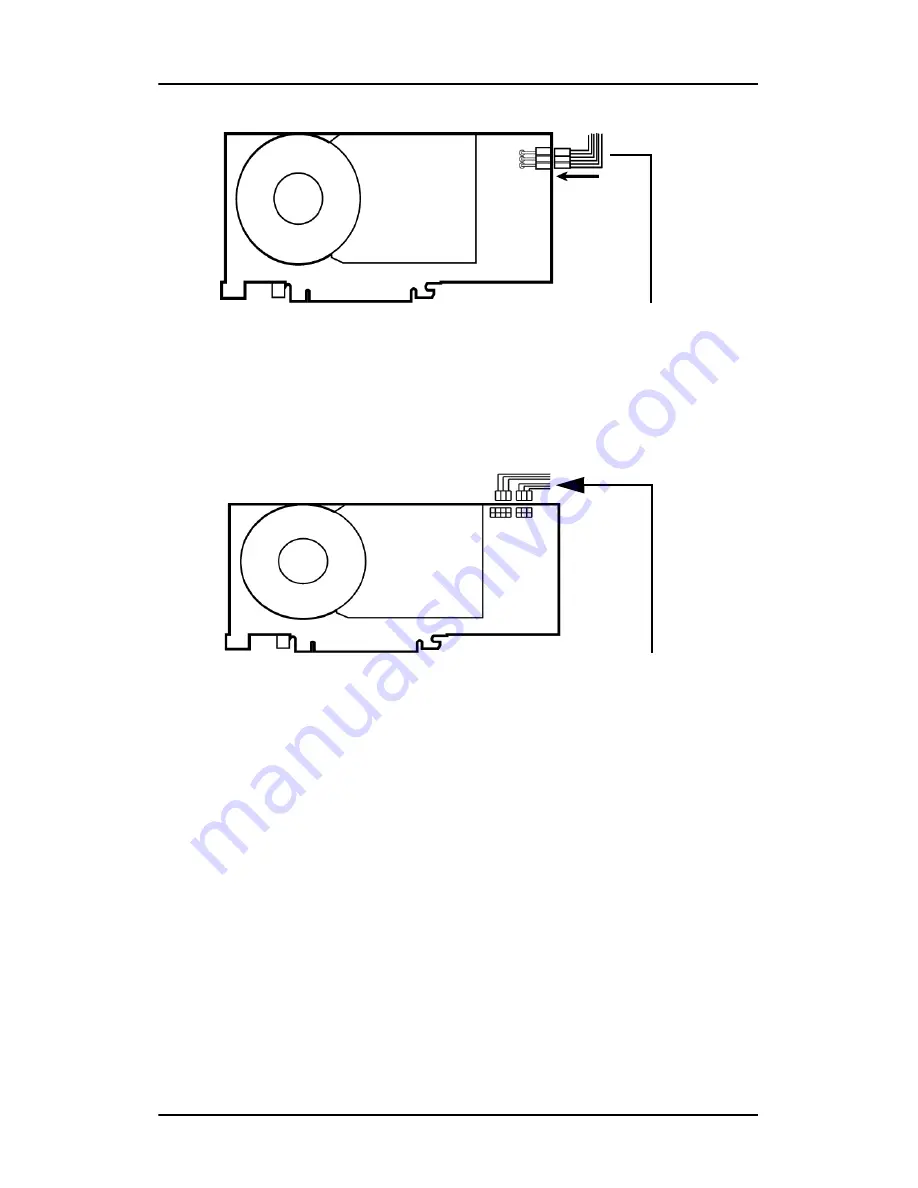
Figure 3: Power connection for the MXRT 5100 and 7100 controllers
Figure 4: Power connection for the MXRT 7200 controller
9.
Screw in or fasten the display controller securely. Replace and
secure the computer cover.
10.
Connect your B
ARCO
N
IO
F
USION
Displays to the display
controller(s) for your B
ARCO
N
IO
F
USION
Display System using the
cables supplied. Make sure all cables are securely connected
6-pin graphics controller
power cable
6-pin graphic controller
power cables - connect
2 cables as shown
Summary of Contents for LCD Display
Page 1: ...Getting Started Guide Nio Fusion...
Page 2: ...This page intentionally left blank 2 This page intentionally left blank...
Page 7: ...Preface 7 Preface...
Page 20: ...Recommendations for using your display system This page intentionally left blank 20...
Page 21: ...Display controller installation 21 Display controller installation...
Page 30: ...Display Controller Installation This page intentionally left blank 30...
Page 31: ...Display installation 31 Display installation...
Page 42: ...Connecting the signal cables 42 Figure 15 Control panel...
Page 48: ...Cleaning instructions This page intentionally left blank 48...
Page 49: ...Software installation 49 Software installation...
Page 57: ...Where to get more information 57 Where to get more information...
Page 59: ...Where to get more information 59...
Page 60: ...Where to get more information This page intentionally left blank 60...
Page 61: ...Troubleshooting 61 Troubleshooting...
Page 66: ...Configuring Windows This page intentionally left blank 66...
Page 67: ...Technical specifications 67 Technical specifications...
Page 70: ...Technical specifications This page intentionally left blank 70...
Page 71: ...Warranty Statement 71 Warranty Statement...
Page 77: ...Warranty Statement 77...
Page 78: ...Warranty Statement 78...
Page 79: ...Warranty Statement 79...


