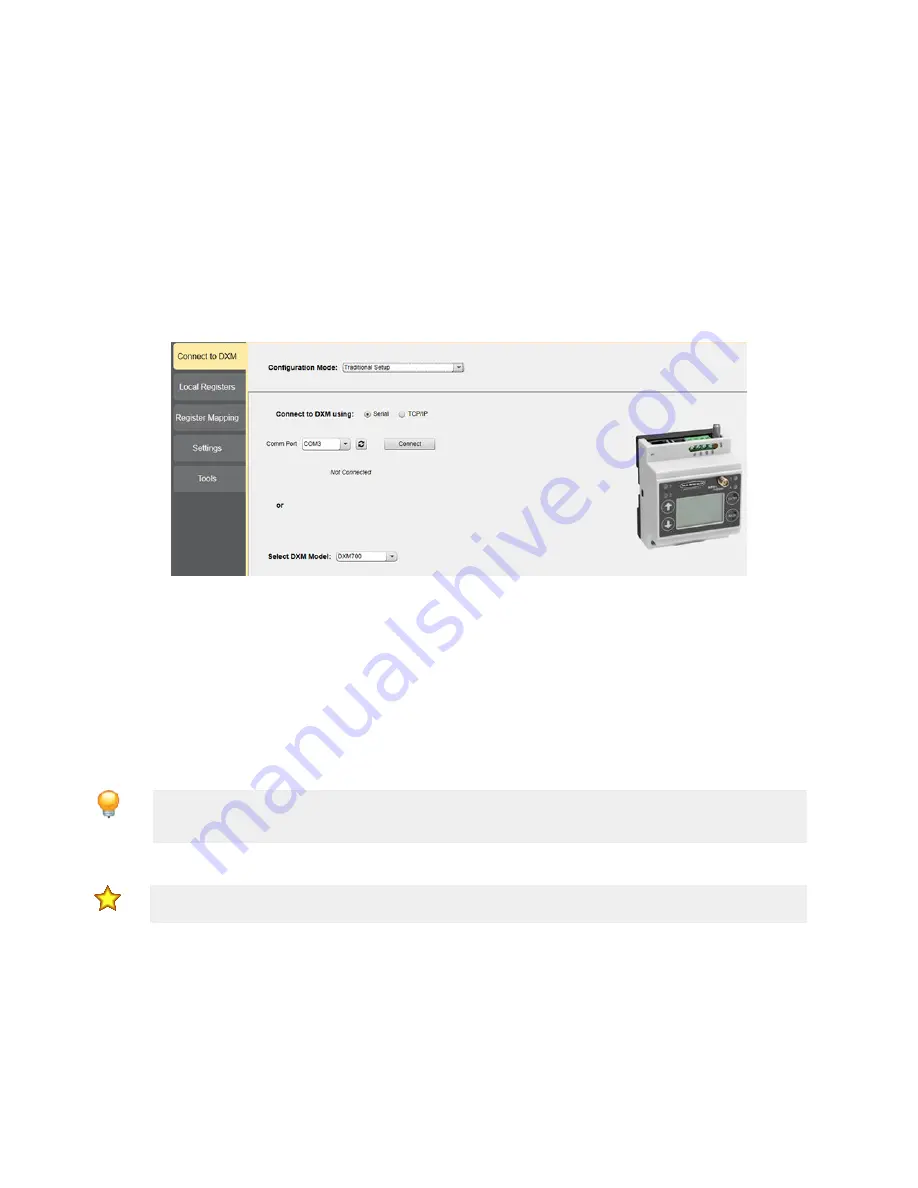
2.2.2 Introduction to Traditional Setup Mode
This section will walk you through the traditional method of setting up the DXM Configuration Software and communicating
with a connected DXM device. Version 4 of the configuration software supports multiple DXM device models, each of which
incorporates different features.
As of DXM Configuration Software v4.10.28, the Simple Setup procedure is only available with the
,
models.
As soon as a DXM model is connected to your computer, the software automatically detects the correct model and loads the
appropriate screens. You may also manually select which model of DXM you are configuring if you intend to create a
configuration file without connecting a device. This ensures that the interface and the configuration file use the correct
features.
Not all screens are available for all models. To change to another model of DXM, go to the
Connect to DXM
screen and use
the drop-down list to select another model. If the active configuration is incompatible with the selected model, you will be
prompted to either proceed and wipe out the active configuration or cancel the model change and preserve the configuration.
Figure 8. Traditional Setup opening screen
Connect via USB or Ethernet. If connecting via Ethernet, set network parameters through the DXM LCD menu in the
System
Cfg
>
Ethernet
menu. Network parameters can also be set within the configuration software. Setting parameters on the LCD
menu overrides the parameters stored in the configuration file. To use the network parameters in the configuration file, reset
the network parameters on the DXM LCD menu.
Since the DXM-R90x connects only via TCP, its
Connect to DXM
screen differs from the other DXM models. When the
Select DXM Model
drop-down is set to DXM-R90x, a new network discovery table is displayed. Click
Scan Network for
DXMs
to detect DXM devices on the host computer's network. Discovered DXMs are listed in the network discovery table.
Double-click any row entry to connect to that DXM. If the DXM's IP address is already known, the standard TCP connection
option is available below the network discovery table.
Banner recommends disconnecting the COMM port through the
Device
menu before turning off power or disconnecting the
USB cable. Use
Device
>
Reboot
to restart the DXM if needed; the tool automatically disconnects the COMM port, then
reconnect it again.
Tip:
If connection attempts are failing (Application Status Icon in the footer of the tool is Red), close the
configuration software and disconnect the USB cable from the computer. Reconnect the cable, launch the
software, and attempt connecting again.
If you cannot connect to your DXM Controller, refer to
Product Support and Maintenance
on p. 66 for more information.
Important:
Any model of DXM may connect to the configuration software regardless of which device model
is selected in the tool. Compatibility is checked before configuration files are uploaded to the device.
Configuration Example: Reading Registers on a Modbus Slave Device
The local registers are the main global pool of registers that are defined by the user to store data within the DXM. The local
registers are listed on the
Local Registers
>
Local Registers in Use
screen.
The bottom status bar displays the communications status, application status, and the DXM Configuration Software version.
In this short example, we will configure the DXM to read six registers on an external Modbus Slave device and save the data
into the local registers.
Sure Cross
®
DXM700-Bx Wireless Controller
14
www.bannerengineering.com - Tel: + 1 888 373 6767


