Banner Engineering Corp.
Vibration Monitoring Solutions Kit Quick Start Guide
Page 10
214301 Rev. C
Register Number
Description
1011 + S × 36
Z Axis Velocity Peak Frequency 2x Band
1013 + S × 36
Z Axis Velocity 3x-10x Band
1015 + S x 36
Z Axis Peak Velocity 3x-10x Band
1017 + S × 36
Z Axis Velocity Peak Frequency 3x-10x Band
1019 + S × 36
X Axis Velocity 1x Band
1021 + S x 36
X Axis Peak Velocity 1x Band
1023 + S × 36
X Axis Velocity Peak Frequency 1x Band
1025 + S × 36
X Axis Velocity 2x Band
1027 + S x 36
X Axis Peak Velocity 2x Band
1029 + S × 36
X Axis Velocity Peak Frequency 2x Band
1031 + S × 36
X Axis Velocity 3x-10x Band
1033 + S x 36
X Axis Peak Velocity 3x-10x Band
1035 + S × 36
X Axis Velocity Peak Frequency 3x-10x Band
Where S is the sensor number 1-40
Connect the DXM and HMI to a Wide Area Network (WAN)
By default, the HMI and DXM Wireless Controller are configured to communicate using static Internet Protocol
(IP) addresses. To connect to a WAN, the two devices need to be configured to either have new static IP
address on the new network or to acquire their own IP address via Dynamic Host Configuration Protocol
(DHCP).
Connecting to a WAN allows the devices to be configured by any computer on the network and allows the DXM
to be configured to push data to a cloud webserver for remote monitoring.
1.
Open the solution box and connect an ethernet cable from the WAN to the ethernet switch inside the
solution box.
2.
On the DXM: With power applied to the DXM, use the arrow keys to select
System Config
and hit
Enter
.
3.
Use the arrow keys to select
Ethernet.
4.
If you are using a static IP address, select the IP address shown and click
Enter
. Then use the arrow
and Enter keys to set the new static IP address. If you are using DHCP, click
Enter
on
DHCP
and use
the arrow keys to select
DHCP ON
and hit
Enter
. A device reboot is requested if any changes are made
to these settings.
5.
If you are using DHCP, navigate to the
System Info-> Ethernet
and write down the IP address to enter
into the HMI. Subnet mask can be adjusted here as well if needed.
6.
On the HMI: From the main screen go to the
HMI Options
screen and then choose
HMI System Setup.
7.
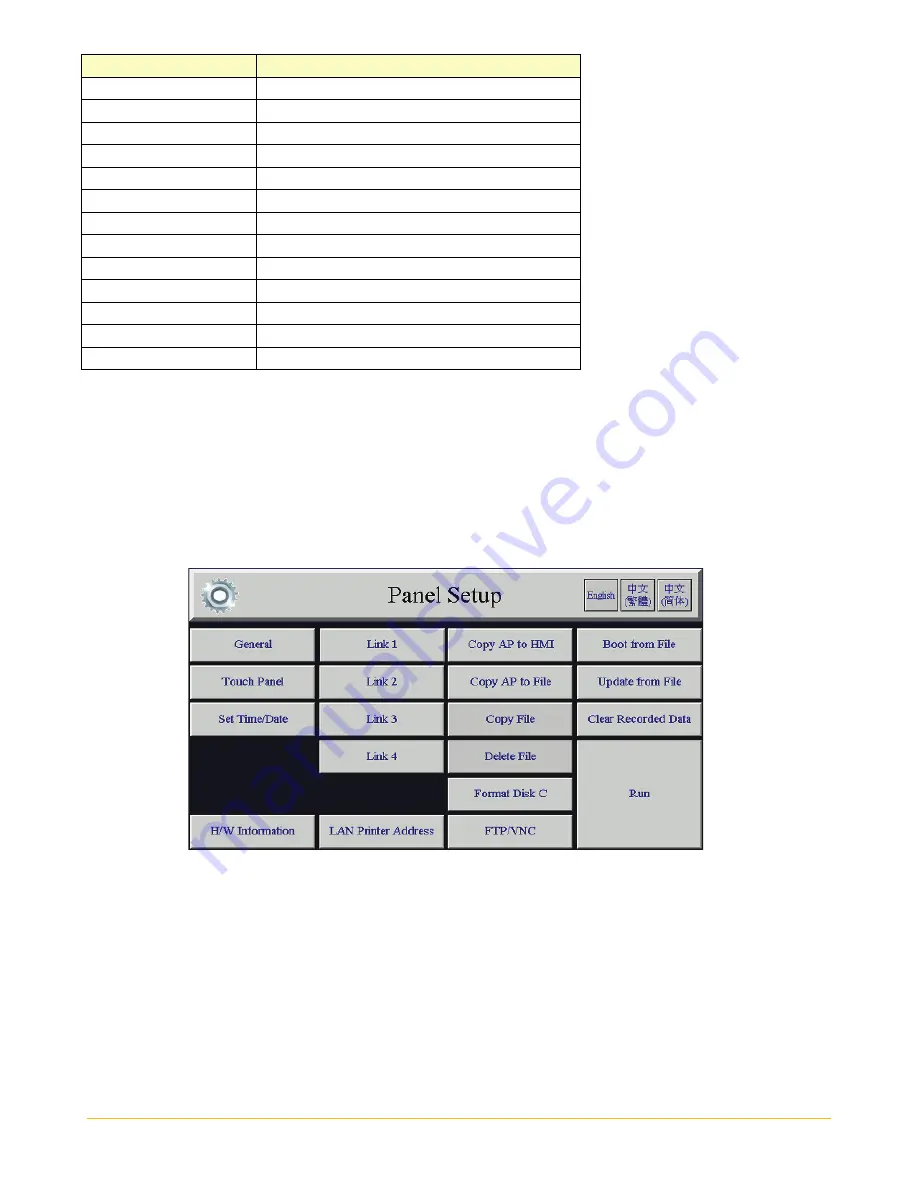
In the Panel Setup screen select
General
.


