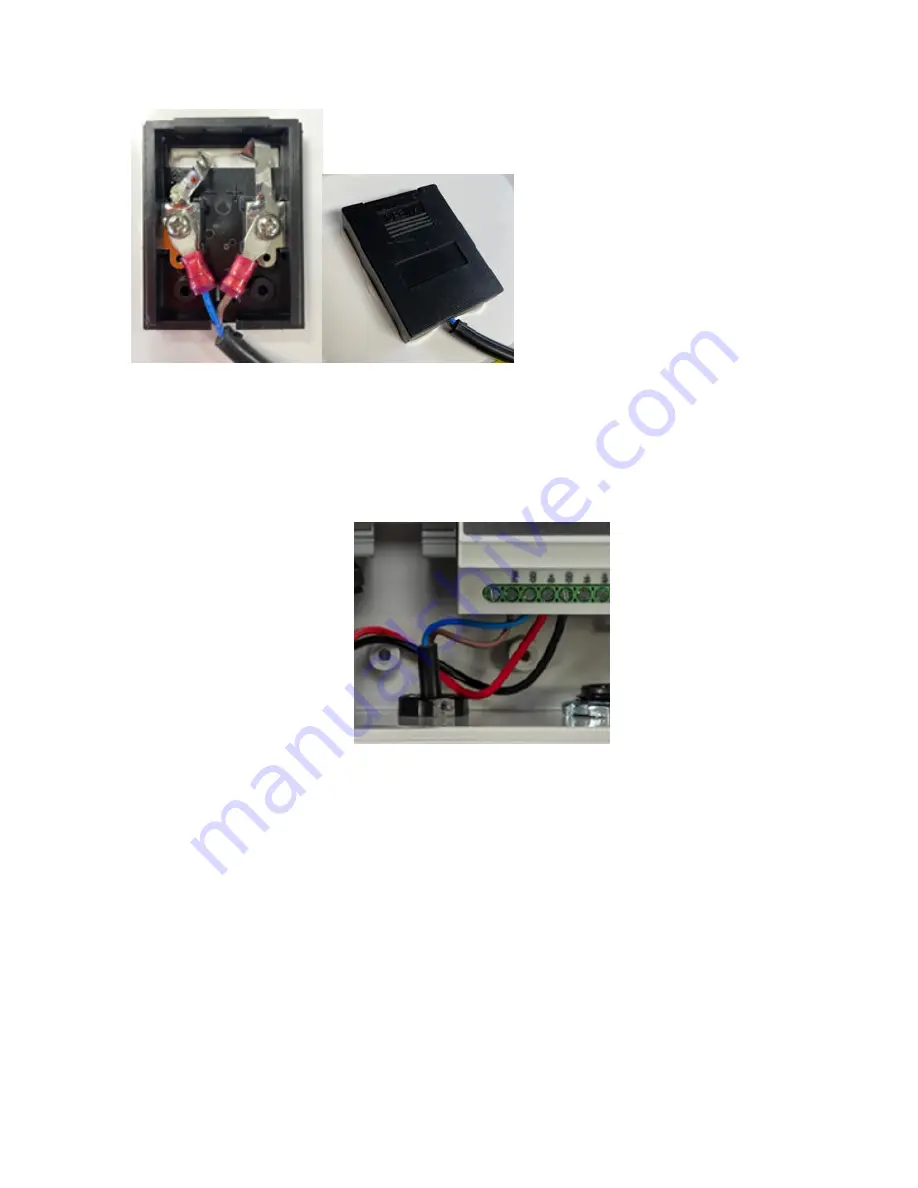
Figure 4. Solar panel wiring
a) Place the solar panel
face down
to prevent unplanned power applied to the kit.
b) Remove the black sliding cover to expose the terminals.
c) Wire the two-wire cable lead to the back of the panel. First, wire the blue lead to the negative terminal as marked
on the plastic wiring chamber, then connect the brown lead to the positive terminal.
d) Tighten both screws and press down on the terminals to ensure they lay flat against the wiring chamber base.
e) Replace the cover by sliding it from the bottom back up to the top until it clicks closed.
3. Wire the solar panel to the DXM.
Figure 5. Solar panel wiring to the DXM
a) Feed the cable from the solar panel to the DXM through the small cable gland.
b) Connect the brown lead to the
PW
terminal on the bottom of the controller.
c) Connect the blue wire to the
GD
terminal next to the
PW
terminal.
d) Set the slack on the solar panel wire to prevent excess tension on the wire. Slide it in or out to leave some strain
relief for the wire.
e) Tighten the cable gland by twisting the nut in a clockwise rotation.
f) Pull gently on the cable to verify it is engaged by the clamp. Adjust if necessary.
The DXM is now ready for its inputs to be configured.
DXM Enclosure Kit (DEK) Series
6
www.bannerengineering.com - Tel: + 1 888 373 6767


