


BeoMedia 1 Installation Guide
Page 21
9. Setting up the editing PC
The next step is to install the client software on the editing PC, so that it is possible to transfer and maintain media files
into BeoMedia 1. It can be either a BeoPlayer or BeoPort software depending on the configuration.
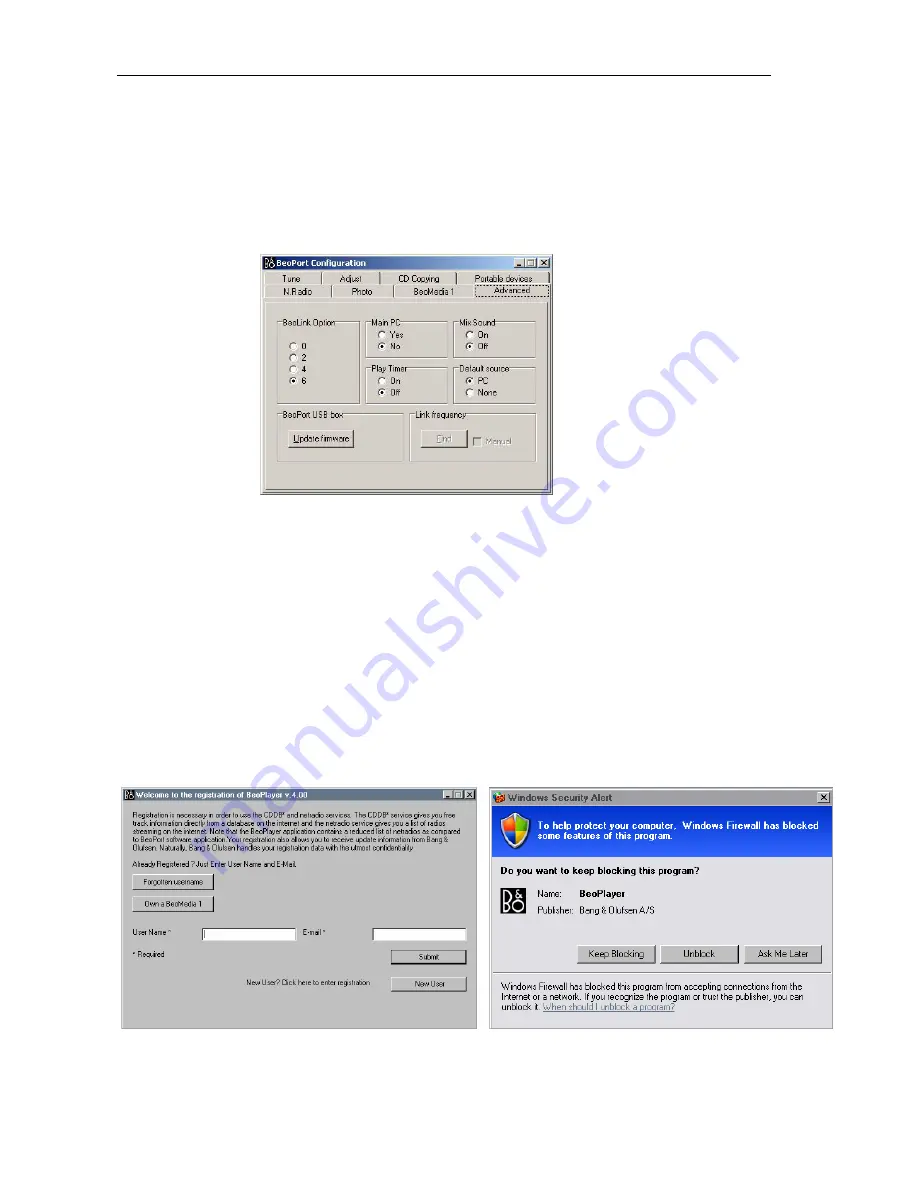
If the customer has a BeoPort/BeoLink PC 2
in his MasterLink system, BeoPort software must be installed.
Remember to set Main PC = 0 as shown below during the installation procedure.
If the customer does not have a BeoPort/BeoLink PC 2
in his MasterLink system it is only necessary to install
BeoPlayer software.
It is important that the editing PC is connected to the same network as BeoMedia 1, and that it is correctly configured
and connected to the network, before the client software is installed on the PC.
Note: Only one BeoMedia 1 may be connected to the network at the time. This means – In your home
network you can only connect
one
editing PC to
one
BeoMedia 1
Start the installation of the client software from the CD-ROM supplied and follow the on-screen instructions. This is
done by selecting the appropriate .exe file from the CD-ROM.
On the registration page, click on
“
Own a BeoMedia 1
”.
If you have Windows Xp with servicepack 2 installed on
the client PC, click on “unblock” when the “Windows Security Alert” shows. Afterwords
the PC automatically searches
the network and tries to establish a connection to Beomedia 1. This ensures that there is access from BeoPlayer/BeoPort
to the location on the BeoMedia 1 hard disk where the media files are stored.


