BOX / FINGER JOINTS
15
• Max timber width - 300mm
• Min timber thickness - 6mm
• Max timber thickness - 25mm
Parts needed -
• Template A (through / box)
• 12.5mm Straight cutter
• ¾” (19mm) Guide bush
All boards are cut vertically
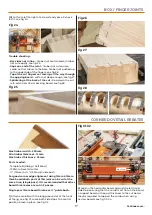
Fig 01-02
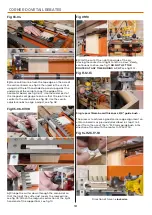
Fig 03-04-05-06
Fig 07-08-09
Fig 10
1)
Attach comb A with the straight fingers at the front of
the jig, see fig 01 & level the comb by placing a 15-20mm
thick, 150mm - 200mm x 200mm - 250mm flat board
underneath the comb locking the comb in place using
the comb lock knobs, see fig 02.
2)
Remove the magnetic extraction then use the hex
key provided to move the side stop to the left. Load in
vertically the first board on the left of the jig pushing
up to the underside of the comb & centralised to the
fingers, see fig 03-04-05-06.
3)
Undo the comb lock knobs & use the comb adjuster
knobs to ensure that the two finger lines on the comb
are centralized to the top of the board & look equal along
the length, see fig 07-08-09.
4)
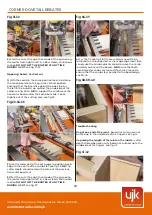
Slide the side stop to the right to make contact with
the side of the material, see fig 10 & lock in place.
5)
Use the opposing board to mark a cutter depth set line
on the material then plunge the cutter down through
the fingers in front of the material so that the tip of the
cutter just meets the marked line, see fig 11-12-13.
Side Stop
Continues over...
Equal distance


