Basic Installation
AXIS OfficeBasic User’s Manual
15
Dynamic IP Address Assignment
Obtaining an IP
Address through
DHCP
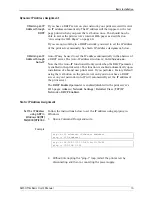
If you have a DHCP server on your network, your print server will receive
an IP address automatically. The IP address will then appear on the test
page printed when you press the test button once. You should now be
able to access the print server’s internal Web pages as described on
“Accessing the Web Pages”
on page 40.
If you are not working in a DHCP network, you need to set the IP address
of the print server manually. See
Static IP Address Assignment
, below..
Obtaining an IP
Address through
Auto-IP
Auto-IP may be used to set the IP address automatically in the absence of
a DHCP server. The Auto-IP address structure is:
169.254.xxx.xxx.
Note that the Auto-IP function will only work when the DHCP parameter
is enabled in the print server. This function is enabled automatically upon
installation of a brand new print server. If you perform a Factory Default
using the test button on the print server and you do not have a DHCP
server on your network, Auto-IP will automatically set the IP address of
the print server.
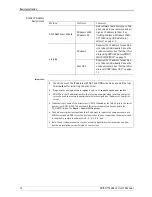
The
DHCP Enabled
parameter is enabled/disabled in the print server’s
Web pages:
Admin | Network Settings | Detailed View | TCP/IP
Network > DHCP Enabled
.
Static IP Address Assignment
Set the IP Address
using ARP in
Windows 98/NT/
Me/2000/XP/2003
Follow the instructions below to set the IP address using arp/ping in
Windows
1. Open a Command Prompt and write:
Example
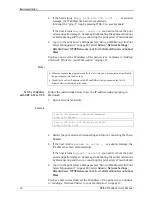
2. Without interrupting the “ping -t” loop, restart the print server by
disconnecting and then re-connecting the power supply.
arp -s <IP address> <Ethernet address>
ping -t <IP address>
arp -s 192.168.3.191 00-40-8c-10-00-86
ping -t 192.168.3.191


