background image

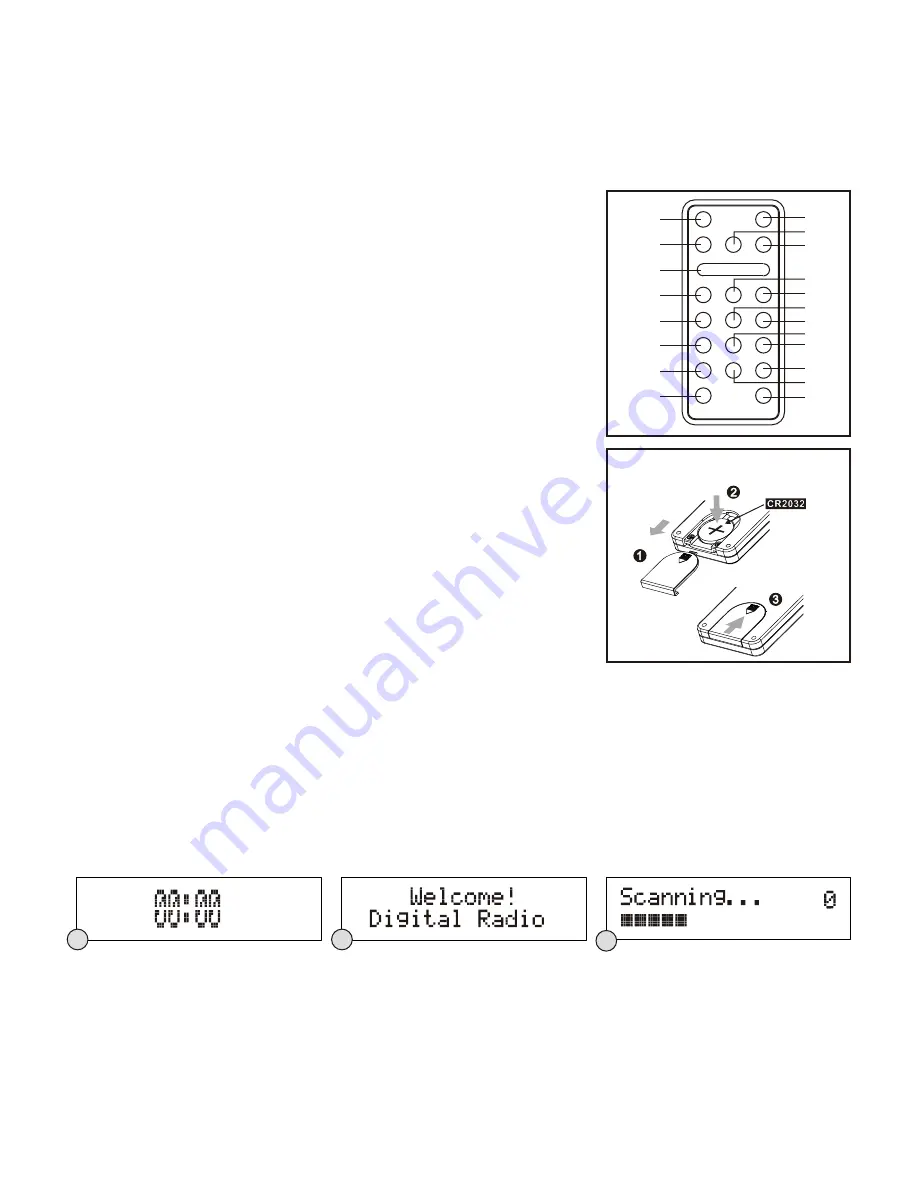
REMOTE CONTROL

1.    STANDBY BUTTON
2.    iPod/CD BUTTON
3.    SELECT/REPEAT BUTTON
4.    

SCROLL 

 BUTTON

5.    MENU/PS/FOLDER - BUTTON
6.    PROGRAM BUTTON
7.    X-BASS BUTTON
8.    VOLUME - BUTTON
9.    MUTE BUTTON
10.  DAB/FM BUTTON 

I

◀◀

/

LISTENING TO YOUR RADIO

Hints for better reception

This unit is fitted with a single lead wire DAB/FM antenna, to obtain the best performance, you should fully extend the 
wire  antenna  and  adjust  the  position  as  well  as  the  direction  until  you  find  the  best  reception.  For  ideal  DAB 
reception,  always  maintain  the  lead  wire  antenna  in  a  vertical  position  (holding  it  upward  or  downward  behind  the 
unit) is highly recommended.

Getting started  DAB mode   

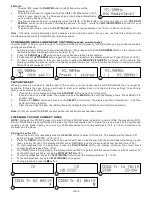
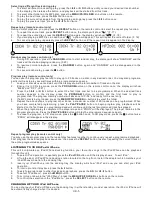
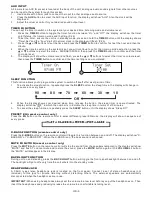
When  the  unit  is  powered  up  for  the  first  time,  it  will  be  in  standby  mode. The  display  will  show  “00:00”.  Press  the 

STANDBY

  button  once  to  switch  the  unit  on,  it  will  automatically  enter  into  the  DAB  mode  and  perform  full  scan 

function. During the scan the display will show “Scanning …” together with a slide bar that indicates the progress of 
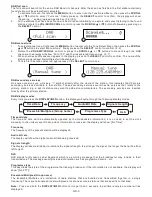
the scan and the amount of stations that have been found so far. (F. 1) (F. 2) (F. 3)

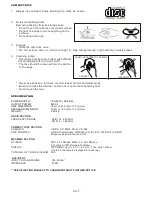
Once  the  scan  has  finished,  the  radio  will  select  the  first  alphanumerically  found  station.  You  can  now  rotate  the 

VOL/SKIP/SCROLL

 control or press the

 SCROLL 

 or 

 buttons to explore the found stations and then press on 

the 

SELECT

 control to select listening to the station.  

Note:

    If  there  is  no  stations  found  after  full  scan,  the  radio  will  enter  into  the Tune  Select  Menu  and  you  can  now 

press  the 

SCROLL


  or 

  buttons  followed  by  pressing  on  the 

SELECT

  control  to  select  “Manual  tune”  or  “Full 

scan” for stations. 


Clock setting

The  clock  will  only  set  and  be  updated  if  you  can  receive  DAB  signals  in  your  location.  In  order  for  the  clock  to 
synchronise to the current local time you must leave it one DAB station for a short period. Manual clock setting is not 

PUTTING THE BATTERY INTO THE REMOTE CONTROL UNIT

UK-2

11.     AUX BUTTON
12.    

SCROLL

 BUTTON

13.    PLAY/PAUSE BUTTON
14.    MENU/PS/ BUTTON
15.    STOP/MENU BUTTON
16.    RANDOM BUTTON
17.    BACKLIGHT


BUTTON

18.    DISPLAY/INFO BUTTON
19.    EQ BUTTON
20.     BUTTON

▶▶

I /

FEATURES AND CONTROLS

1.  


2.  


Place the battery (CR2032) into the battery compartment according to the 

polarity marking, with the “+” sign facing up.

3.  


Note:

  Remove the battery from the remote control if not in used for a long period 

of time. Do not mix normal batteries with rechargeable batteries. When the battery 

becomes  weak,  the  remote  control  will  not


be  functioned  properly,  replace  with 

new battery if that happened.

1.         

2.      
3.       

4.     

Press down of the compartment cover, and slide the cover off open the 

compartment.

Place the cover over the compartment, press down lightly, and push it upward 

until it snaps on.

BATTERY PRECAUTIONS 

Warning - Danger of explosion if battery is incorrectly replaced. Replace only 

with the same or equivalent type. 
Use only the size and type of battery specified. 

Be sure to follow the correct polarity when installing the battery as indicated in 

the battery compartment. A reversed battery may cause damage to the device. 

Battery shall not be exposed to excessive heat such as sunshine, fire or the like. 

** Battery Included **

1

2

3

4

5

6

7

8

9

10

12

11

13

14

15

17

18

20

16

19

F2

F3

F1

1.    iPod/CD BUTTON
2.    STANDBY INDICATOR
3.    STANDBY BUTTON
4.    DAB/FM BUTTON
5.    AUX BUTTON
6.    

SCROLL 

 BUTTON

7.    

SCROLL

  BUTTON  

8.    LCD DISPLAY

I

◀◀

/

▶▶

I /

9.    VOL/SKIP/SCROLL CONTROL
       & JOG MODE/SELECT BUTTON
10.  BACKLIGHT BUTTON
11.  IR SENSOR
12.  DISPLAY/INFO BUTTON
13.  TIMER BUTTON
14.  SLEEP BUTTON
15.  STOP/MENU BUTTON
16.  PLAY/PAUSE BUTTON

17.  HEADPHONE JACK
18.  CD DOOR
19.  iPod DOCKING STATION DOOR
20.  OPEN BUTTON
21.  ANTENNA
22.  AUX IN JACK
23.  AC CORD
24.  SPEAKER TERMINALS 

Summary of Contents for NE-3277

Page 1: ...User Manual NE 3277 Integrated DAB DAB FM CD MP3 Micro System w Universal iPod iPhone Docking Station NE 3277 Integrated DAB DAB FM CD MP3 Micro System w Universal iPod iPhone Docking Station ...

Page 2: ... contact the help line before you return this product back to the place of purchase Contact our Toll Free Warranty Support Help Line 1300 366 144 Email warrantyhelp awa com au Visit our web site for FAQ s or request for service www awa com au ...

Page 3: ...efer all servicing to qualified service personnel TO REDUCE THE RISK OF ELECTRIC SHOCK DO NOT REMOVE COVER OR BACK NO USER SERVICEABLE PARTS INSIDE REFER SERVICING TO QUALIFIED SERVICE PERSONNEL Conductor dangerous voltage that may be of sufficient magnitude to constitute a risk of electric shock to persons is present within this product s enclosure The owner s manual contains important operating ...

Page 4: ...nchronise to the current local time you must leave it one DAB station for a short period Manual clock setting is not PUTTING THE BATTERY INTO THE REMOTE CONTROL UNIT UK 2 11 AUX BUTTON 12 SCROLL BUTTON 13 PLAY PAUSE BUTTON 14 MENU PS FOLDER BUTTON 15 STOP MENU BUTTON 16 RANDOM BUTTON 17 BACKLIGHT BUTTON 18 DISPLAY INFO BUTTON 19 EQ BUTTON 20 VOLUME BUTTON I FEATURES AND CONTROLS 1 2 Place the batt...

Page 5: ...ary services contain extra services that relate to the primary station E g a sports station may want to add extra commentaries The secondary services are inserted directly after the primary station DAB display modes Every time you press the DISPLAY INFO button the display will cycle through the following display modes Time and date The time and date will be automatically updated by the broadcasted...

Page 6: ...m back to its original factory settings to perform a factory reset please do the following 1 Connect the unit to mains and press the STANDBY button once to turn the unit on 2 Ensure the unit is in DAB mode then press and hold the MENU button until the display shows Press SELECT to confirm reset 3 Release the MENU button and press on the SELECT control once the display will show Restarting and then...

Page 7: ...s programmed The program memory number will advance to P 02 and ready for the next entry 4 If a MP3 disc is being loaded press the MENU PS FOLDER buttons to select the folder 5 Repeat the above steps to program other tracks a maximum number of 20 tracks can be programmed When you have completed programming press the PLAY PAUSE button to begin program play playback will be started on the first trac...

Page 8: ...y press the SLEEP button the sleep time in the display will change in sequence on every press 2 When the display shows your desired sleep time release the button the sleep timer is now activated The display will show in which the number is to indicate the sleep time in terms of x10 minutes 3 To cancel the sleep function repeatedly press the SLEEP button until the display shows Sleep Off PRESET EQ ...

Page 9: ...OF TRACKS ALBUM 999 AUX INPUT INPUT VOLTAGE RANGE 350 500mV IMPEDANCE 47KΩ 1 Always use compact discs bearing the mark as shown 2 Notes on handling discs Removing the disc from its storage case Do not touch the reflective recorded surface Do not stick paper or write anything on the surface Do not bend the disc 3 Storage Store the disc in its case Do not expose discs to direct sunlight or high temp...

Page 10: ...e in respect of service outside the authorised AWA Service Centre nor pick up and delivery cost incurred Service calls arising from failure to correctly operate the product or to observe noted instructions or repair which reveals the product is in normal working order Cabinet parts user replacement batteries or leads unless the defective items are reported at the time of purchase C Service calls o...

Reviews: