background image


IMPORTANT SAFEGUARD 


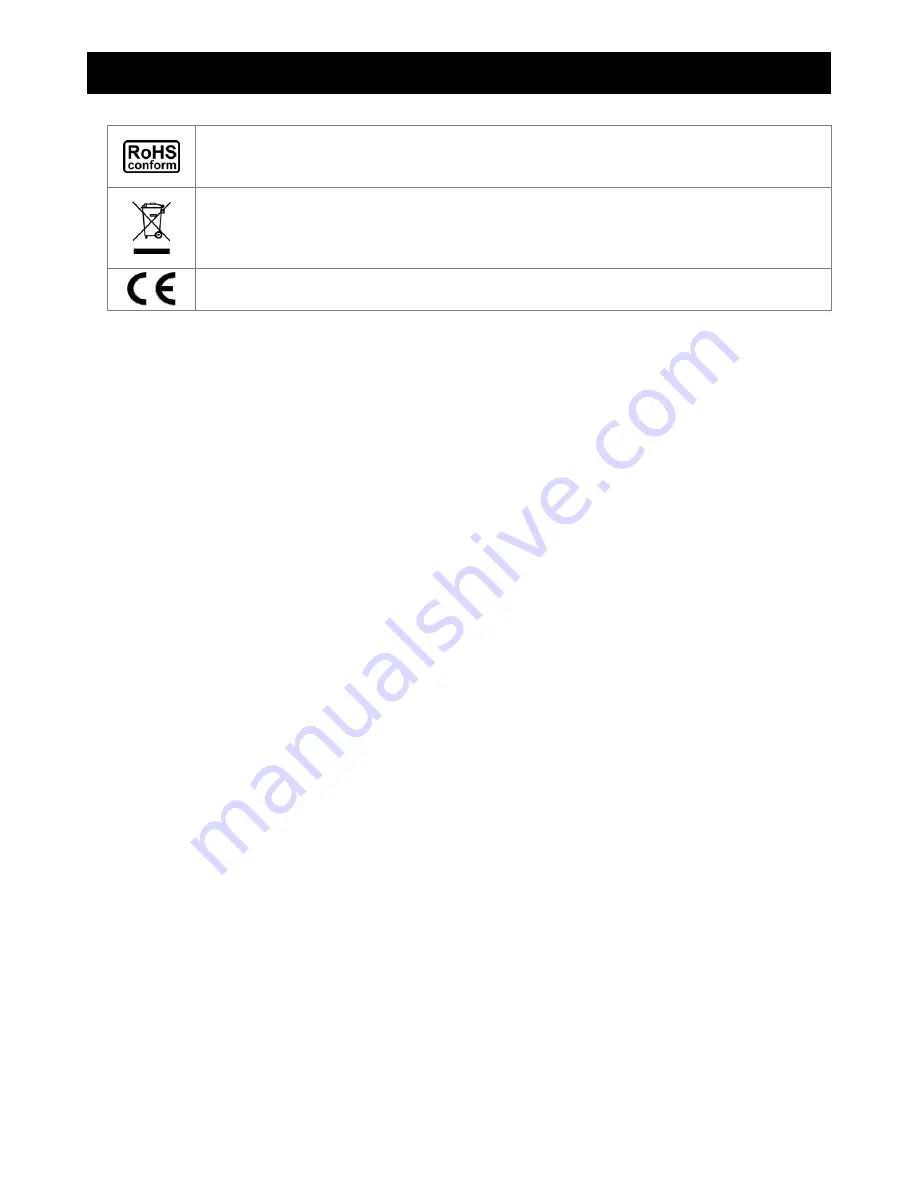
All lead-free products offered by the company comply with the requirements of the European law on 
the Restriction of Hazardous Substances (RoHS) directive, which means our manufacture processes 
and products are strictly “lead-free” and without the hazardous substances cited in the directive. 


The crossed-out wheeled bin mark symbolizes that within the European Union the product must be 
collected separately at the product end-of-life. This applies to your product and any peripherals 
marked with this symbol. Do not dispose of these products as unsorted municipal waste. Contact your 
local dealer for procedures for recycling this equipment. 


This apparatus is manufactured to comply with the radio interference requirements. 

RISK OF ELECTRIC SHOCK 

To reduce the risk of electric shock, do not expose this apparatus to rain or moisture. Only operate this apparatus 
from the type of power source indicated on the label. The company shall not be liable for any damages arising out of 
any improper use, even if we have been advised of the possibility of such damages.


About this document 

We reserve the right to revise or remove any content in this manual at any time. We do not warrant or assume any 
legal liability or responsibility for the accuracy, completeness, or usefulness of this manual. For the actual display 
and operation, please refer to your camera in hand. The content of this manual is subject to change without notice.

Precautions 

‧ 

Avoid the long-term activation for “Auto Tracking”, “Auto Pan”, and “Sequence” as it might accelerate the 
aging of the drive mechanism and optical lens. Three-month warranty applies only to certain parts related to 
these three functions. 

‧ 

Do not shoot images that are extremely bright for a long time (For example, light sources, the sun, etc.). 

‧ 

Don’t use or store the camera in the following conditions: (1) Extremely hot or cold places (operating 
temperature-10°C ~ 50°C (14°F ~ 122 °F). (2) Close to generators of powerful electromagnetic radiation such 
as radio or TV transmitters. (3) Where it is subject to fluorescent light reflections. (4) Where it is subject to 
unstable lighting (flickering, etc.) conditions. (5) Where it is subject to strong vibration. (6) Where it is near 
water or in contact with water.


‧ 

Installation should be made by qualified service personnel.


Summary of Contents for 22X series

Page 1: ..._V0 9 Outdoor PTZ Camera DVR Camera Communication System Series Please read instructions thoroughly before operation and retain it for future reference The image shown above may differ from the actual...

Page 2: ...of the possibility of such damages About this document We reserve the right to revise or remove any content in this manual at any time We do not warrant or assume any legal liability or responsibility...

Page 3: ...Auto 12 5 1 2 Indoor 1 Indoor 2 Sun Cloudy 12 5 2 Shutter Speed 12 5 2 1 Shutter Speed Options 12 5 3 Gain Gain Control 12 5 3 1 On Low Medium High 12 5 4 IRIS 13 5 4 1 Auto IRIS Level 50 250 13 5 5 B...

Page 4: ...fined Surveillance Area LIMIT 21 7 4 2 Set the Pre defined Tracking Timeout TIME 21 7 4 3 Select the Auto Tracking Mode Mode 21 7 5 Home Position 22 7 5 1 Set the Home Position 22 7 6 Auto Focus 22 7...

Page 5: ...e moving object Rigid High Speed Pan Tilt Mechanism with Two Million Rotation Test Passed for longer operating lifetime Pelco D Pelco P Support For fully compatibility Flexible Color Shutter Parameter...

Page 6: ...INSTALLATION AND SETUP 2 2 INSTALLATION AND SETUP For the installation and connection of this speed dome camera please check with qualified service personnel or installer 2 1 Installation...

Page 7: ...INSTALLATION AND SETUP 3...

Page 8: ...ot supplied in the sales package STEP 1 Get a RJ11 cable with the proper length to your connection Different RJ11 connector may have different wire layout so the connection might be different If you c...

Page 9: ...ble to DVR video input which supports DCCS technology Note For details about DVRs supporting DCCS please check with your distributor or reseller 2 DC12V Input Terminal Connect the power terminal of th...

Page 10: ...ctor may have different wire layout so the connection might be different If you cannot control the DVR after connection please reverse the RJ11 cable connection with the DVR STEP 2 Remove one end of t...

Page 11: ...ions please refer to the DVR user manual STEP 5 Set the speed dome camera at the DVR side Go to the REMOTE menu to set the speed dome camera a Select the device to PTZ b Set the ID of the camera to 00...

Page 12: ...Mode and select Track For details please refer to 7 9 Auto Mode at page 23 M MO OD DE E 1 Reset Default LIMIT 2 Pan Tilt Speed 60 3 Preset Setup TIME 4 Tracking Setup 5 s 5 Home Position Mode 6 Auto F...

Page 13: ...1 500 1 1000 1 2000 1 4000 1 10000 Gain Low Medium High IRIS BLC On Off CAMERA Sharpness Auto Low Medium High Title Name Modify New Title Position Up Down Off Pan Tilt Angle On Off Pan Tilt Graph On...

Page 14: ...nfirm the setting enter the sub menu F1 F2 F3 F4 HOME Go to the home position GOTO Go to the preset point SEQ Start sequence function Press STOP to exit the sequence mode AUTO PAN Start the pan functi...

Page 15: ...be unable to control the camera you want In the camera control mode press on the controller to access the main menu of the speed dome camera Move to CAMERA and you will see the following window C CA A...

Page 16: ...1 60 1 100 1 250 1 500 1 1000 1 2000 1 4000 1 10000 PAL 1 50 1 120 1 250 1 500 1 1000 1 2000 1 4000 1 10000 The camera has eight numerical shutter speed options The higher the number the faster the el...

Page 17: ...e function to adjust the image to compensate for an area that is overpowered by brightness because of excessive light The image will be properly exposed for clearness C CA AM ME ER RA A 1 White Balanc...

Page 18: ...OOLS and you will see the following window T TO OO OL LS S 1 Title Name Set 2 Title Position Up 3 Pan Tilt Angle On 4 Pan Tilt Graph On 5 Zoom Ratio On 6 Focus Window On 7 ID Code No 1 8 ID Code Displ...

Page 19: ...Graph 5 Zoom Ratio 6 Focus Window 7 ID Code No 8 ID Code Display 9 Tilt Limit 6 2 1 Up Down Off Select to display the camera title name on the top of Up at the bottom Down of the monitor or choose not...

Page 20: ...D Code No 8 ID Code Display 9 Tilt Limit 6 6 1 On Off Select whether to show the focus window on the monitor or not 6 7 ID Code No The camera ID code number is always 1 T TO OO OL LS S 1 Title Setting...

Page 21: ...an Tilt Angle 4 Pan Tilt Graph 5 Zoom Ratio 6 Focus Window 7 ID Code No 8 ID Code Display 9 Tilt Limit 6 9 1 On Off Select On to limit the tilt angle from 5 90 to prevent the camera view being slightl...

Page 22: ...ODE and you will see the following window M MO OD DE E 1 Reset Default Set 2 Pan Tilt Speed Fast 3 Preset Setup Group_1 4 Tracking Setup 60 5s 5 Home Position Set 6 Auto Focus PTZ 7 Calibration Start...

Page 23: ...de 7 3 Preset Setup The preset point setting is used to specify the camera position pan and tilt and the lens zoom setting You can set up to 256 preset points 8 groups each group has 32 preset points...

Page 24: ...n Turn the joystick counter clockwise to zoom out 7 3 4 Set Duration Time of the Preset Points Move to and use the up down key to select the duration second For example set the duration second as 7 an...

Page 25: ...the surveillance area will be the area starting from the center of the focus 30 to the left and 30 to the right You can also customize the surveillance area by selecting Manual Move to Manual and pres...

Page 26: ...pending on your need M MO OD DE E 1 Reset Default Always 2 Pan Tilt Speed PTZ 3 Preset Setup Z Only 4 Tracking Setup 5 Home Position 6 Auto Focus 7 Calibration 8 Auto Scan 9 Auto Mode 7 6 1 Select the...

Page 27: ...p down right left to set the right and left limit M MO OD DE E 1 Reset Default Set 2 Pan Tilt Speed 3 Preset Setup 4 Tracking Setup 5 Home Position 6 Auto Focus 7 Calibration 8 Auto Scan 9 Auto Mode 7...

Page 28: ...stylus to click the speed dome camera icon on the touch panel of the controller to enter the camera control mode as shown in the picture below In the camera control mode press on the controller to ac...

Page 29: ...ollow the order of the minimal panning route Auto Tracking Yes Baud Rate 9600 LENS Focal Length f3 9 85 9mm f3 43 mm f120 mm F number F1 6 Wide 3 7 Tele Viewing Angle 4 60 2 2 75 2 Auto Electronic Shu...

Page 30: ...Speed Fast Factory Default Preset Points The first preset position is Pan 120 Tilt 15 The second preset position is Pan 240 Tilt 15 The default pre defined surveillance area is 60 Tracking Setup The...

Page 31: ...lick to move your selection up down left right or change settings Zoom in out max Click to zoom in on the image to the largest zoom out on the image to its original size Zoom in out Click to zoom in o...

Page 32: ...a Menu Confirm your selection enter the submenu or ENTER Zoom in Zoom Zoom out Zoom Zoom Max Zoom max Zoom Min Zoom min Focus near or Audio CH Focus far or Audio CH Move up S or UP Move down T or DOWN...

Page 33: ...camera via the protocol of Pelco P or Pelco D If You Want To Press Enter camera s menu goto 95 Confirm your selection enter the submenu goto 91 Zoom in Left turn joystick Zoom out Right turn joystick...

Page 34: ...AUDIO LAN EXTERNAL I O DVR P T Z STEP 3 Change the IP address of the PC or laptop to 192 168 1 xx xx should be 1 255 except 90 because the default IP address of the controller is 192 168 1 90 STEP 4...

Reviews: