


MAIN MENU – MODE
-22-
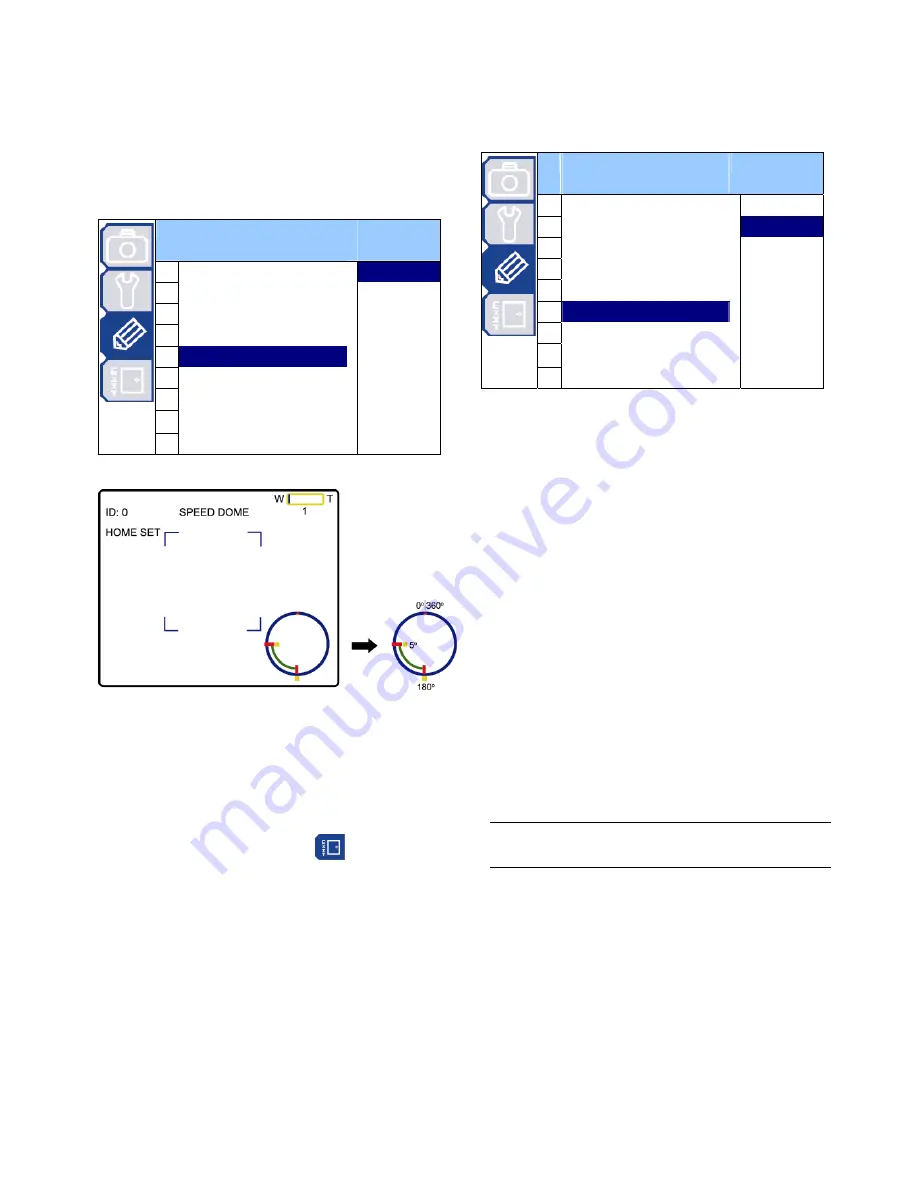
7.5 Home Position
An auto mode is a memorized, repeating series of pan,
tilt and zoom. In the home position setting mode, you
will see the message “HOME SET” on the monitor of
the speed dome camera. The default home position is
“Pan: 180
∘
; Tilt: 5
∘
”.
M
M
O
O
D
D
E
E
1 Reset
Default
Set
2 Pan / Tilt Speed
3 Preset
Setup
4 Tracking
Setup
5
Home Position
6 Auto
Focus
7 Calibration
8 Auto
Scan
9 Auto
Mode
7.5.1 Set the Home Position
In the mode of the home position setting mode,
use the joystick to specify the camera home position
(pan and tilt) and the lens zoom setting. After setup,
press the enter key on the keyboard controller to exit
the setting mode. Then, move to “
” (EXIT)
submenu to save the setting.
7.6 Auto Focus
There two types of the auto focus mode. You can
select the mode depending on your need.
M
M
O
O
D
D
E
E
1 Reset
Default
Always
2 Pan / Tilt Speed
PTZ
3 Preset Setup
Z Only
4 Tracking
Setup
5 Home
Position
6
Auto Focus
7 Calibration
8 Auto
Scan
9 Auto
Mode
7.6.1 Select the Auto Focus Mode
(1) Always:
When the auto focus mode is set to “Always”, the
camera will always focus automatically no matter the
camera is still or under panning, tilting, and zooming
operation.
(2) PTZ:
When the auto focus mode is set to “PTZ”, the
camera will focus automatically only during the panning,
tilting, and zooming operation.
(3) Z Only:
When the auto focus mode is set to “Z Only”, the
camera will focus automatically only during the
zooming operation.
7.7 Calibration
This function is used when you’re not satisfied with
the current focus in each or certain zoom ratio and
would like to adjust the focus again.
Note:
Before using this function, you need to
zoom in maximally on one object first.
Move to “Start”, and press “ENTER” to start focus
calibration from zoom ratio 1 to the maximum ratio.
Summary of Contents for 22X series
Page 7: ...INSTALLATION AND SETUP 3...


