


46
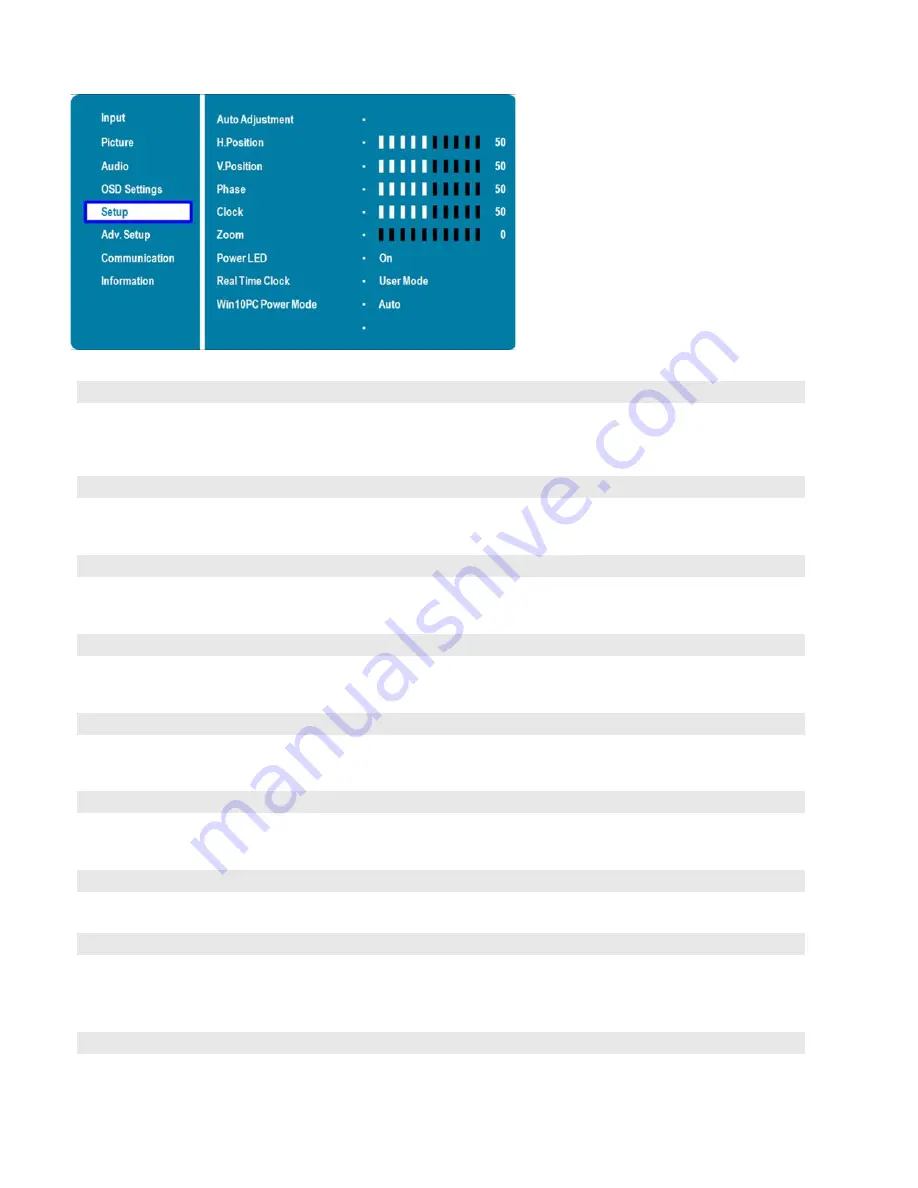
Setup Menu
Auto Adjustment
Force the display to reacquire and lock to the input signal (VGA source only).
This is useful when the signal quality is marginal. Note: This feature does not
continually reacquire the signal.
Options:
No, Yes;
Default:
No
H. Position
Adjust the horizontal position of the image (VGA source only). Press
or
to
select the desired level, and then press ENTER.
Range:
0~100;
Default:
50
V. Position
Adjust the vertical position of the image (VGA source only). Press
or
to
select the desired level, and then press ENTER.
Range:
0~100;
Default:
50
Phase
Adjust the phase of the displayed signal (VGA source only). Press
or
to
select the desired level, and then press ENTER.
Range:
0~100
Clock
Adjust the clock of the displayed signal (VGA source only). Press
or
to
select the desired level, and then press ENTER.
Range:
0~100
Zoom
Adjust the zoom (overscan) of the image. Press
or
to select the desired
level, and then press ENTER.
Range:
10 steps
Power LED
Enable or disable the status LED
Options:
On, Off;
Default:
On
Real Time Clock
Set the internal clock of the display, and to power on and off the display at
preset times if desired.
Options:
User mode, Workday mode, Everyday mode
Default:
User mode
Win10 PC Power Mode
Set Win10 PC power mode.
Options:
Auto, Manual, Off
Default:
Auto
Summary of Contents for AVF-7510
Page 1: ...Model AVF 7510 Installation Operation Manual AVF 7510 Super slim UHD LED Display...
Page 10: ...10 Notes...
Page 14: ...14 Notes...
Page 66: ...66 Notes...
Page 73: ...73 Notes...
Page 77: ...77 Appendix IV Wall Mount Safety Notes...
Page 78: ...78...
Page 81: ...81 System IP Configuration Network Status Load Default Setting...


