Connecting Serial and MIDI Port Devices
49
n
You can use the In A and Out A connector pair or the In B and Out B connector pair on the
rear of the USB-to-MIDI converter. Whichever pair you use, select the corresponding port
when you configure the device using the Controller Settings dialog box in the Avid editing
application. For information on configuring the device, see “
Using the Yamaha 01V/96 or
Yamaha 01V
” in the Help.
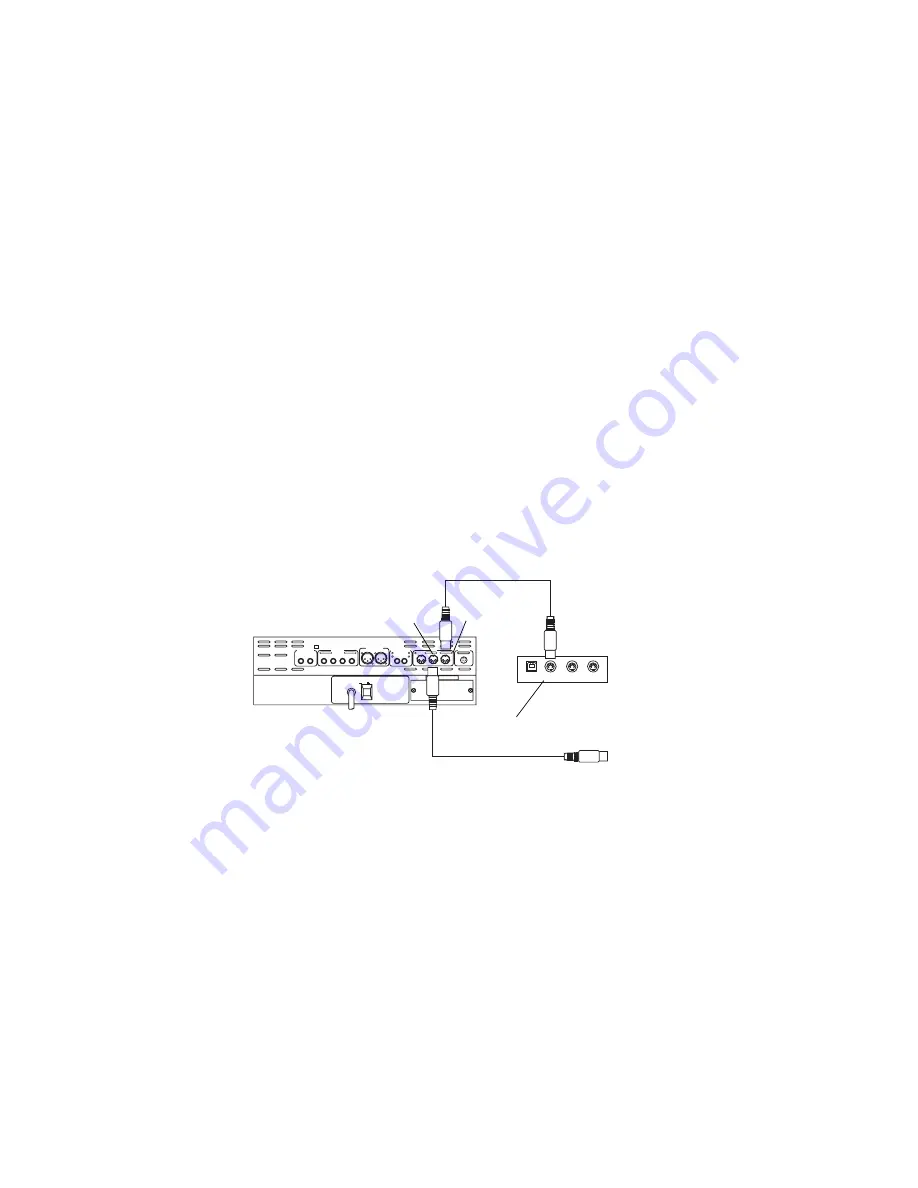
5. Plug one end of the first MIDI cable into the In A connector of the USB-to-MIDI
converter (see
“USB-to-MIDI Converter Front Panel” on page 48
).
6. Plug the other end of the cable into the MIDI OUT connector of the mixer (see the
following figure).
7. Plug one end of the second MIDI cable into the Out A connector of the USB-to-MIDI
converter.
8. Plug the other end of the cable into the MIDI IN connector of the mixer (see the
following figure).
9. Make sure button on the front of the USB-to-MIDI converter is pushed
in
(see
“USB-to-MIDI Converter Front Panel” on page 48
Yamaha Mixer Rear View
n
You must set up the mixer using its front panel. See your Avid editing application Help for
more setup instructions.
n
The Yamaha mixer can also be connected directly to a serial port. For information on
configuring the mixer when connected to a serial port, see “Using
the Yamaha 01V/96 or
Yamaha 01V
” in the Help.
MONITOR OUT
SREREO OUT
DIGITAL STEREO
OMNI OUT
COAXIAL
MIDI
TO HOST
IN
IN
OUT
OUT
THRU
R
L
R
L
4
3
2
1
POWER
OPTION 1/0
ON
OFF
In B
Out B
Out A
USB-to-MIDI
converter (rear)
Out A
MIDI OUT
MIDI IN
MIDI cable to In A
(see
Summary of Contents for Nitris
Page 58: ...58...


