© 2016 Avaya Inc. All rights reserved. NDA Confidential; use pursuant to your agreement.
Release Notes for Avaya Scopia® XT Series
Software Upgrade & Downgrade | 70
How to Upgrade XT Series to this Release
This release improves security when upgrading. Since this version, XT Series software packages
are signed by an Avaya Certificate Root Authority recognized by the XT Series. Only signed
packages will be accepted by XT Series once upgraded to this version (see XT Software Update
Verification Table).
Software upgrade packages named XT5000_Vx_y_z.exe can be used only to upgrade Avaya
XT5000/XT4x00/XTE240 Series Codec Units.
Software upgrade packages named XT7000_Vx_y_z.exe can be used only to upgrade Avaya
XT7000 Series Codec Units.
To upgrade the software of an Avaya XT Series Codec Unit:
Save the XTn000_vx.y.z.exe file containing the XT Series Software in your Windows
PC
Verify that the PC is connected to the network in wired mode (otherwise the upgrade
process can be very slow when using a wireless connection) and that it can ping XT.
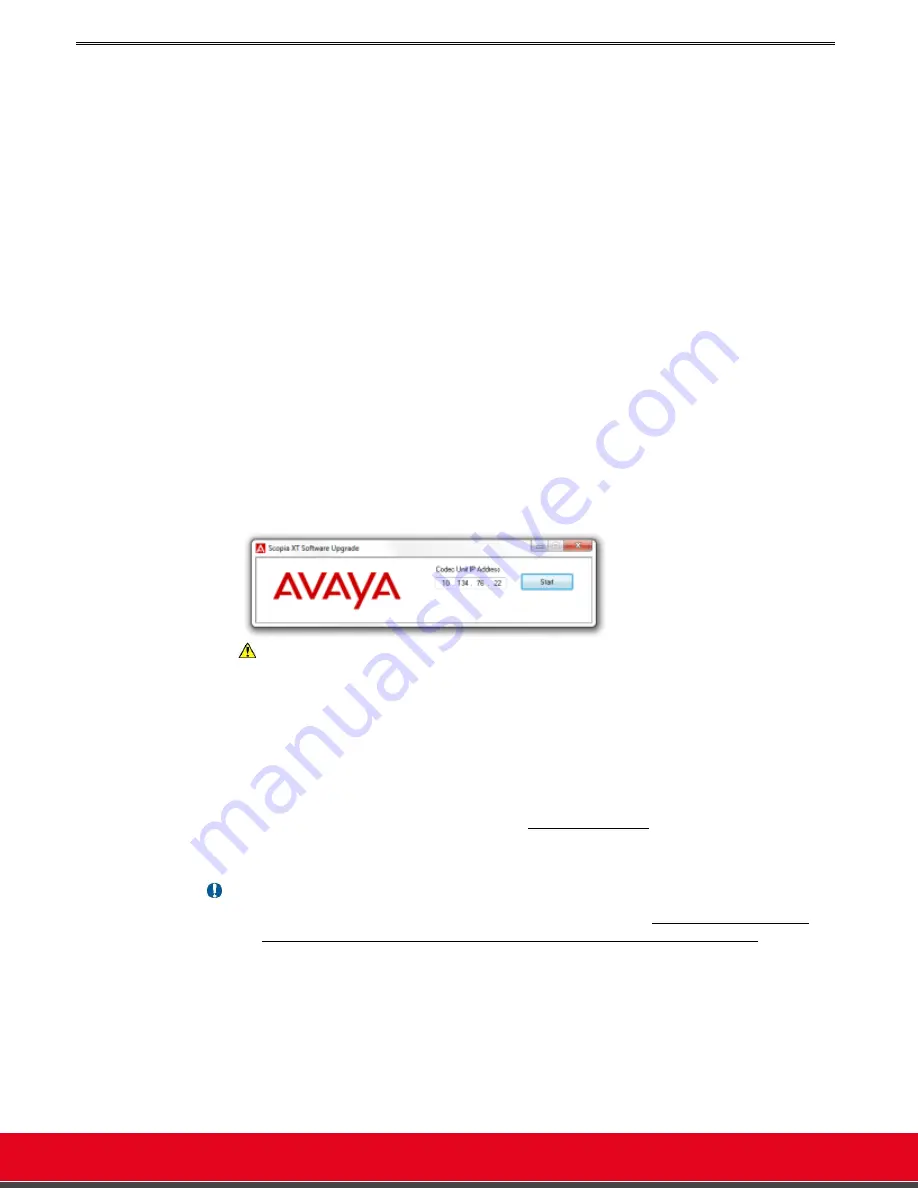
Double click the version .exe file. Below application will be launched.
Insert IP address of the XT to upgrade in the Codec Unit IP address field.
Press “Start” button in the app.
Do not turnoff or unplug XT, until it completes the upgrade.
The application will signal that the software package transfer is completed. Wait until
the XT applies the updates contained in the package and restarts. If the XT does not
restart but it shows an indication to repeat the upgrade, press the “Start” button again.
Figure 47:
Software Upgrade Application
Caution
Do not turn off the system until the upgrade procedure is completed.
The system LED may blink repeatedly while upgrading.
If you are upgrading from a 3.0/3.1 version of XT5000/XT4000, the upgrade
procedure may reboot more than once while upgrading. A 30 to 40-second interval
may occur between the reboots.
If the upgrade procedure is INTERRUPTED for any reason, do NOT restart the Codec
Unit but repeat the procedure as suggested by the Codec User Interface.
If the GLAN interface is not reachable any more, put the .exe upgrade package into a
formatted USB key and insert it into the upper USB socket.
This procedure is completed when you see the initial graphical menu displayed
continuously for at least one minute after a restart.
Important
Since version 9.0 is a Major Release for Avaya XT Series, a new license might be
required for this upgrade if the endpoint is not under Maintenance Contract.
The codec can in any case work in preview mode without a license for
30 days
(Power ON time
– countdown is suspended when the system is OFF).
Before u
pgrading it’s always suggested to back-up the previous system configuration
from Diagnostics > Utilities > Configuration > Export.
To upgrade the XT to a version 8.3.2 or higher using the USB key, a version 8.3.2
must be already installed on the XT. You cannot upgrade directly from 8.3.0.x to
8.3.2.x using the USB Key.
To upgrade from an USB key, the version file must be named XT5000 Vx_y_z.exe or
XT7000_Vx_y_z.exe. Do not change version name. A _U suffix can also be present if
the package is unsigned.


