BCM450 Hardware & Installation
NN40011-001 Issue 1.2 BCM450 Rls 6.0
65
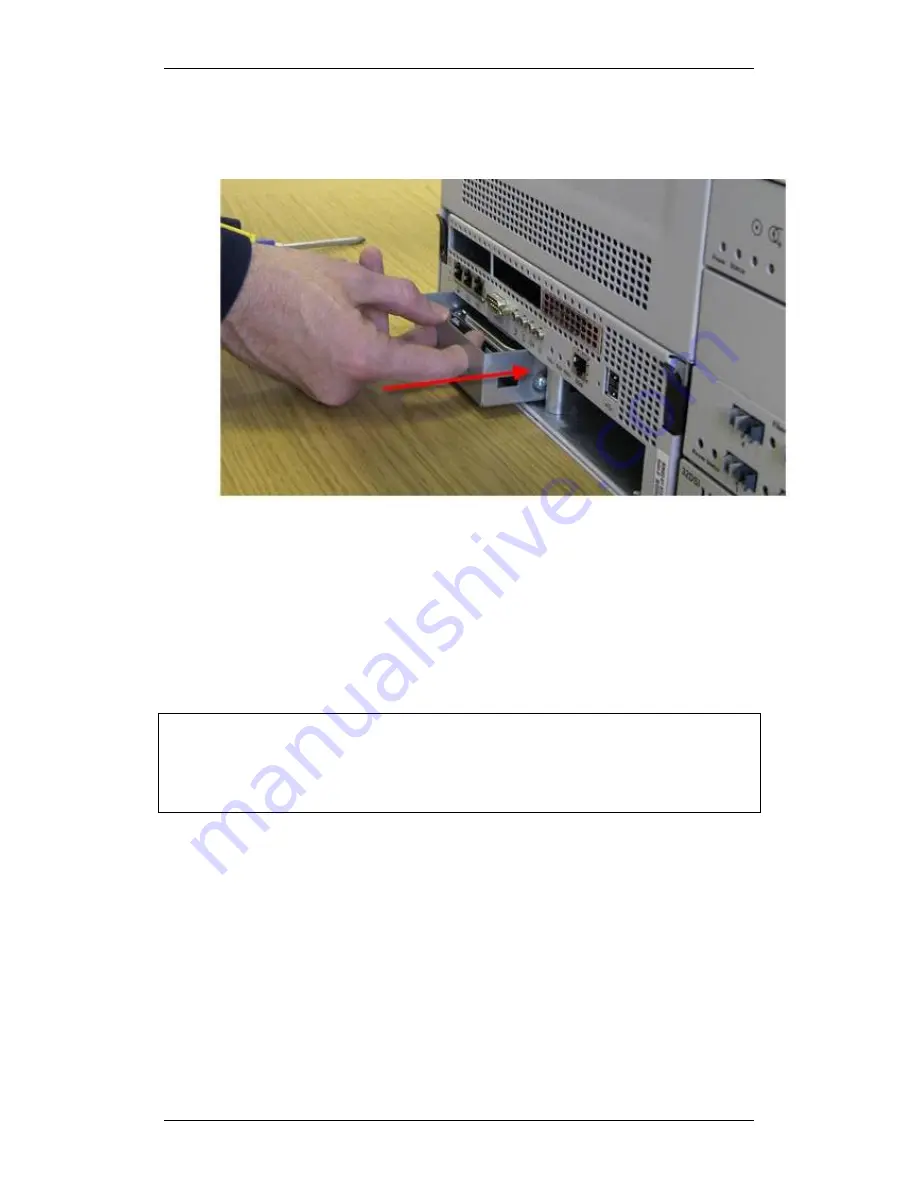
6. Push the hard disk and bracket forward into the primary hard disk bay
(the left hand slot) if replacing the primary hard drive, or the secondary
hard disk bay (the right hand slot) if replacing the secondary hard drive.
7. Ensure that the hard disk bracket is seated properly.
8. Reattach the hard disk front cover panel to the main unit of the BCM.
9. Tighten the thumb screw.
10. If you have just installed a Multi-Image hard drive in a non-RAID (i.e.
single hard drive) system, please now proceed with the
Preparing the
Multi-Image Hard Drive
section.
Note:
For RAID systems only. If you have just replaced one of the drives with
a Multi-Image hard drive, the active RAID drive will overwrite the Multi-Image
drive. If both RAID drives have failed and have been replaced by the Multi-
Image Hard Drive, proceed with the
Preparing the Multi-Image Hard Drive
section.
11. If required, perform a restore or manually reprogram the system as per
the System Start Up process (refer to the relevant
System Start Up
Guide
).
12. For RAID systems, check that the RAID service is enabled in Element
Manager. In the
Administration
tab, navigate to
System Metrics
,
Disk Mirroring
. If the
Admin Status
field reads Disabled, click the
Change
button to change the status. This will automatically reboot the
BCM.


