DIDO LT Installation Manual
24
Video Wall Functionality
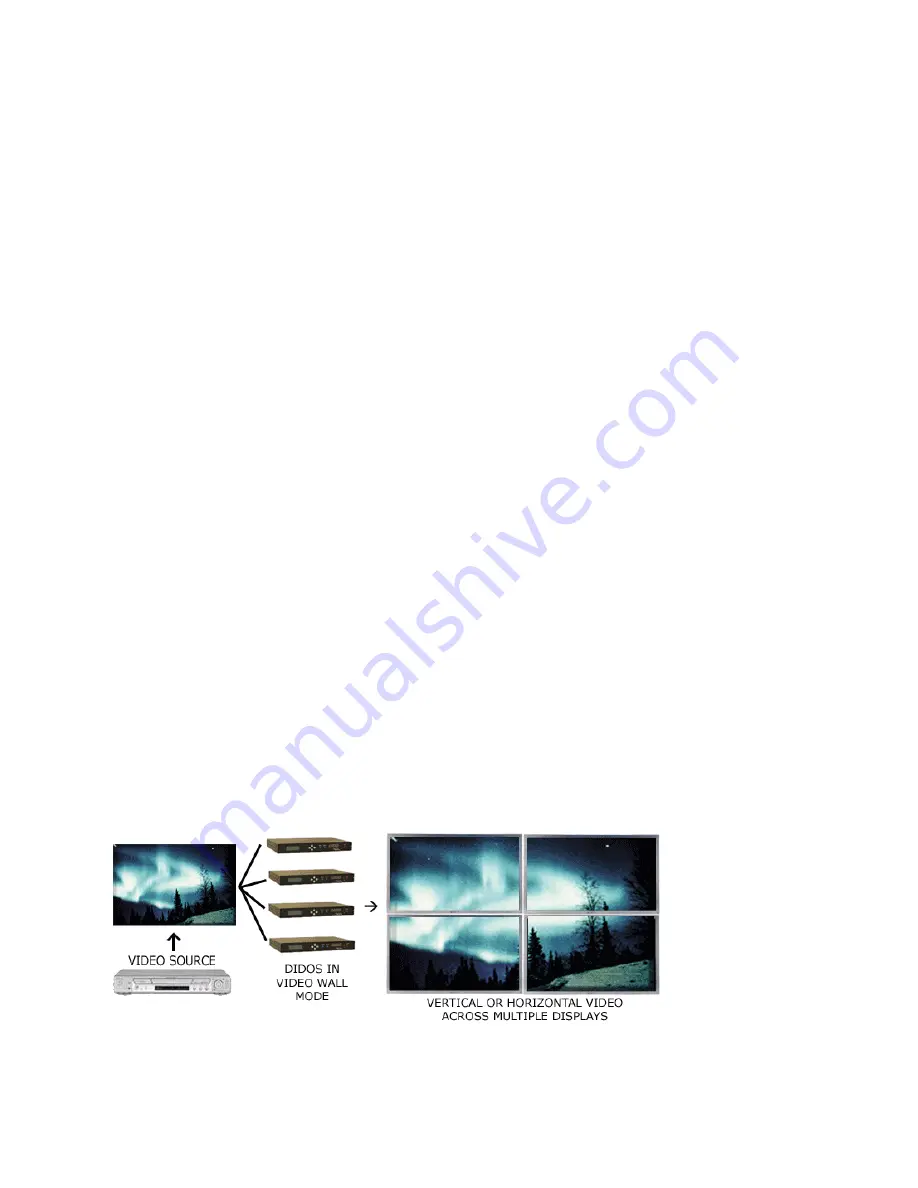
When multiple DIDO LT units are used, a very powerful but yet cost effective video wall can be created.
The DIDO LT can create video walls that have real time vertical rotation of single or multiple images. For
easy setup, the DIDO LT has a Video Wall Setup menu under Windows Setup. This menu allows a user
to enter the amount of rows and columns of the video wall as well as the current location of the DIDO LT.
Once entered, the DIDO LT will calculate the proper size for the unit which can then be saved into a
preset.
Example of 2x2 Video Wall Settings:
For this example, 4 DIDO LT units will be needed. The output of each DIDO LT will be connected to a
display that’s assigned to that specific DIDO LT. The source to be shown across the four displays will
need to be put through a distribution amplifier (D/A) to feed the same source into the four DIDO LT
units. From Video Wall Setup of each DIDO LT:
-
Set number of columns and rows to 2 (2x2).
-
Set column and row of each DIDO LT to its corresponding quadrant. In 2x2 mode, if column
and row are set to 1, then this DIDO LT will display the 1
st
quadrant. If column is set to 2 and
row is set to 1, then this DIDO LT will display the 2
nd
quadrant and so on.
Note on video wall setup:
-
Input the highest possible resolution because it will produce a better picture on the output (the
output picture will not be zoomed as much).
-
Avoid using composite video sources as the dot crawl will be magnified. S-Video, YPbPr,
RGBHV, and DVI are the better choices with DVI providing the cleanest picture.
-
Use the DVI output of the DIDO LT units because it will keep the image clean and sharp.
-
Match the output resolution of the DIDO LT to the displays native resolution.
Wire the RS-232/485 as per the connection diagram located in the back of the manual and set the address
in each DIDO LT unit so they are different from each other. This will help when using presets, IR remote
control, and RS-232 control. The DIDO LOOP KIT can be purchased separately for easy connections.
Ideally a video generator should be present with a grid pattern to set each DIDO LT unit to the
appropriate quadrant. When using the grid make certain all the boxes are square even though the screens
may be rectangular. Also, make certain the display device has all zoom modes and aspect controls set to
default positions. Using the Zoom, Size, Position, and Crop to adjust and center the picture and store it in
a preset. Even though each DIDO LT unit will be zoomed to a different area of the original image, it is
best to store it to the same preset as all the other units. When that preset is recalled, all units will go to the
appropriate area they were set for. Repeat this for each source and each effect desired.
Depending on input and output resolutions, video walls up to 32 x 32 can be created.
Summary of Contents for DIDO LT
Page 12: ...DIDO LT Installation Manual 11...
Page 43: ...DIDO LT Installation Manual 42...


