


FLEXNET – FNER Expandable (Modular) Routing Switches – Installation & Operation Manual
8-5
CHAPTER 8: ACCESS CONTROL
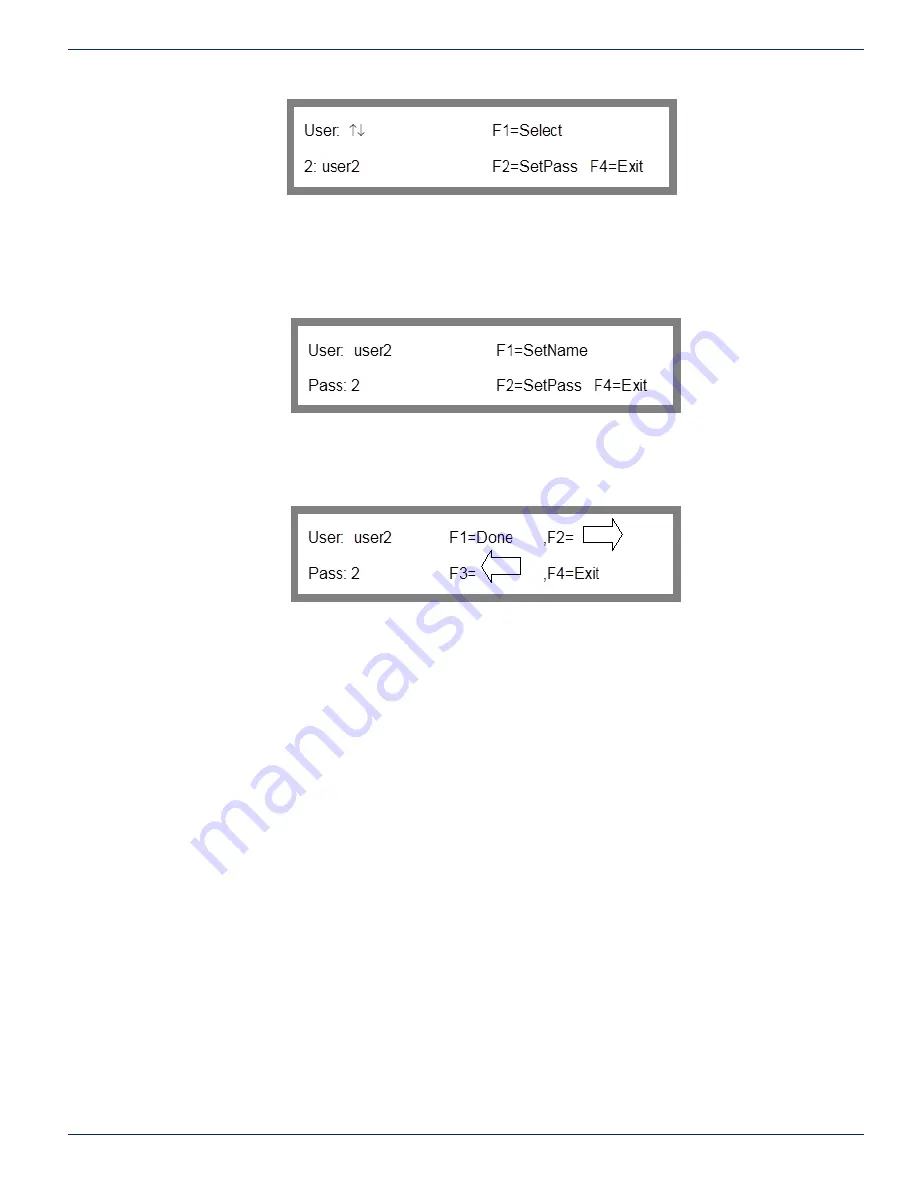
Figure 47: User Selection
In the User Selection screen, the user ID is shown followed by current username. Admin is always UID 1. You can use the
scroll keys to scroll through the available user IDs.
Use the up and down arrow keys to select the user ID whose name or password you wish to modify. As a default, the user
names “Admin” and “user2” through “user8” have already been defined when using the access control feature for the first
time.
Once the correct user ID is selected, press F1 to enter the Select Name/Password screen shown in Figure 48.
Figure 48: Select Name/Password
To change the user name, press F1. To change the password, press F2. This will display either the Change User Name or
the Change Password screen. They are both identical except for the cursor location. The screen is shown in Figure 49.
Figure 49: Change User Name/Password
Use the F2 and F3 keys to position the cursor at a particular character position, then use the up and down arrow keys to scroll
through a list of alphanumeric characters. Repeat this process as often as necessary until the desired name or password has
been entered, then press F1 to save it and return to the Set Name/Password Screen. Pressing F4 will exit without making
any changes.
8.9.2 Valid Passwords & Length
A user name can consist of up to 14 alphanumeric characters and must begin with a letter. A password can also consist of
up to 14 alphanumeric characters and can begin with any alphanumeric character. Usernames are not allowed to start with
a number. Once the user name and password has been specified, press F1 to enter the information, then press F4 to return
to the user selection screen whereby you can choose another user whose name or password you want to change. From the
User Selection Screen, press F4 to return to the Setup Menu.
8.10
Defining Group Output Permissions
Permission for each output for each group is assigned through the Set Access menu option.
8.10.1 Set Access
The Set Access menu option in the setup directory is where Admin sets permissions for the groups.
To get to the Set Access screen from the main menu: key sequence 3, 3, 2.
3. Access Control
3. Setup
2.
Set
Access


