


8-2
FLEXNET – FNER Expandable (Modular) Routing Switches – Installation & Operation Manual
CHAPTER 8: ACCESS CONTROL
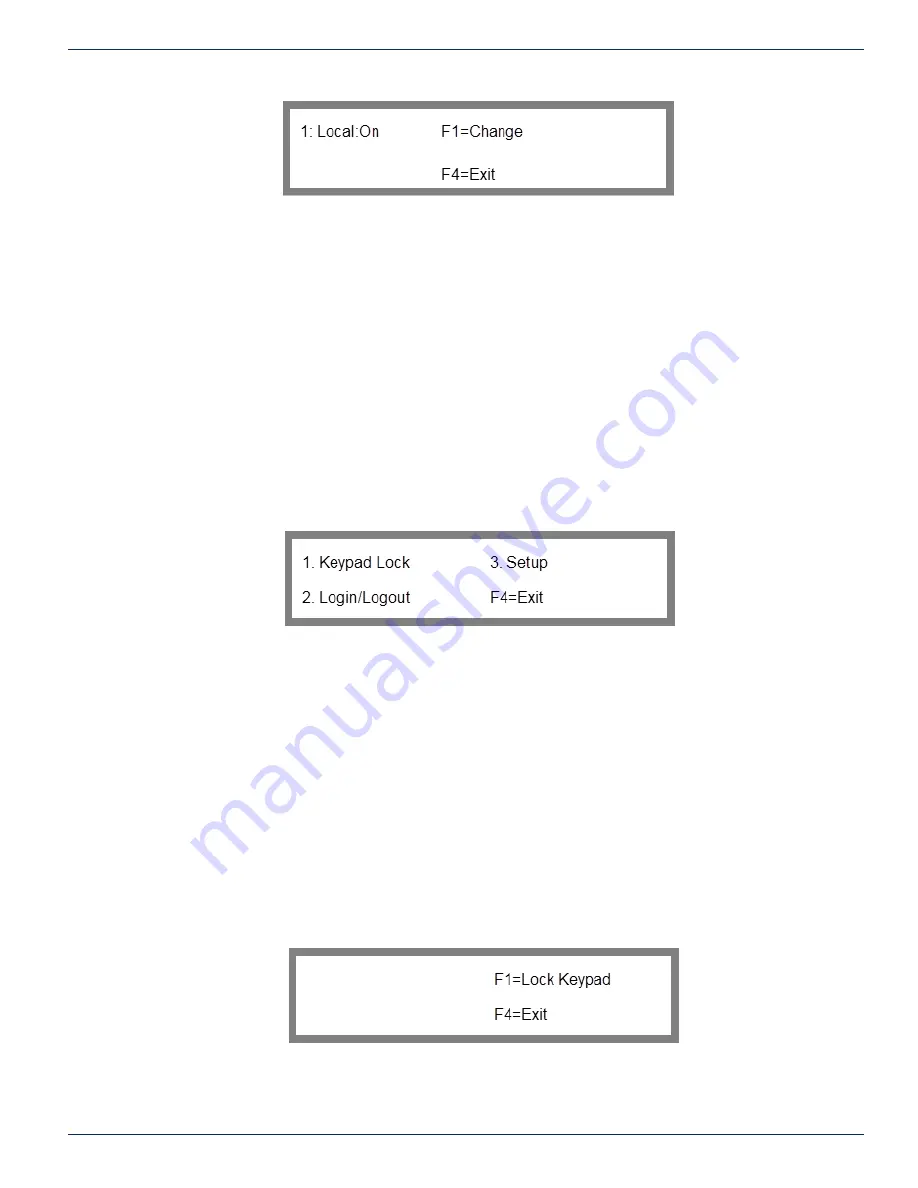
Figure 38: Port Access Control Enable/Disable
The ports for which access control can be on or off are as follows:
Local - Keypad
Remote - does not apply to SRX systems
Ctrl-In - PC Control In
COMM Port - Ethernet Port
Telnet - Telnet Console
Use the up and down scroll arrows to display the port for which access control will be configured, then press the F1 key to
toggle access control on or off for that port. Press F4 to return to the Features Menu.
Once access control is enabled for a port, it will only accept passive monitoring commands unless a valid user logs in to that
port. These commands allow for passive monitoring of the matrix but do not allow changes to be made: C, F, KS, O, OS,
and Q. All other protocol commands will return with a “command unavailable” (NAK u) response. See the 2.15.06 protocol
document for more information.
8.4 Access Control Menu
Option 3 of the main menu will load the Access Control Menu screen shown in Figure 39.
Figure 39: Access Control Menu
From this menu, you can configure various types of access controls. From this menu, pressing 1 displays the Keypad Lock
Screen that allows you to lock or unlock access to the front panel keypad. Pressing 2 displays the Login/Logout Screen
that controls access to certain capabilities based upon the particular user access group to which a user belongs. A third
option, “Setup” will only appear when you are logged into the MPC 128 as “Admin”. It enables the administrator to define and
configure the access capabilities for the various users. Pressing F4 returns you to the Main Menu.
8.5 Keypad Access Control
The first and simplest part of access control is locking the keypad. This is done simply to prevent someone from bumping into
the MPC 128 keypad and accidentally changing a setting. When the keypad is locked, only the exact key sequence of 857
will allow the user back into the system from the keypad. Keypad lock does not disable any port access in any way.
8.5.1 Keypad Lock
Option 1 in the Access control menu will load the lock keypad screen shown in Figure 40.
To get to the Lock keypad screen from the main menu: key sequence 3, 1
3. Access Control
1. Keypad Lock
Figure 40: Lock Keypad
From the Keypad Lock Screen, press F1 to lock the keypad or press F4 to return to the Access control screen.
When enabled, the phrase “Keypad Locked” will be displayed on the screen to indicate that the lock is in effect. The screen
will look like Figure 41.


