Upgrading the MERLIN LEGEND MAIL System
3-8
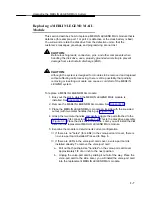
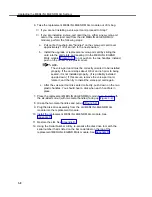
6. Take the replacement MERLIN LEGEND MAIL module out of its bag.
If you are not installing a voice-port card, proceed to Step 7.
If you are installing a voice-port card (that is, either a new voice-port
card or the voice-port card from the old MERLIN LEGEND MAIL
module), perform the following steps:
a. Pull out both pushpin-like "handles" on the voice-port card cover
approximately 1/8 of an inch to the next position.
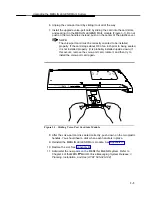
b. Install the upgrade or replacement voice-port card by sliding the
card into the card slots, and seating it in the MERLIN LEGEND
MAIL module (Figure 3-1). Do not push on the two handles; instead,
push on the center of the plastic cover.
NOTE:
The voice-port card must be correctly oriented to be installed
properly. If the card stops about 3/8 of an inch prior to being
seated, it is not installed properly. (It is probably installed
upside down.) If this occurs, remove the voice-port card,
rotate it, and then try to install the voice-port card again.
c. After the voice-port card is seated correctly, push down on the two
plastic handles. You should hear a click when each handle is in
place.
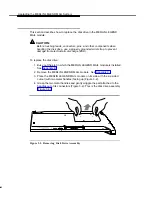
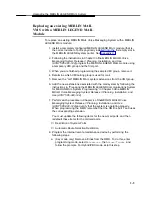
7. Place the replacement MERLIN LEGEND MAIL module on its side with
the six-sided cutout (with two metal handles) facing up (Figure 3-2).
8. Grasp the two metal handles and pull up (Figure 3-2).
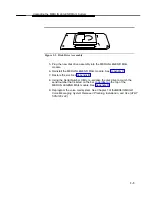
9. Plug the disk drive assembly from the old MERLIN LEGEND MAIL
module into the replacement module.
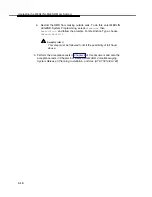
10. Install the replacement MERLIN LEGEND MAIL module. See
11. Restore the slot. See Appendix B.
12. Using the Serial Number Utility, re-serialize the disk drive to match the
serial number that is listed on the bar code label on the top of the
replacement MERLIN LEGEND MAIL module. See Appendix D.
Summary of Contents for Lucent Technologies MERLIN LEGEND
Page 53: ...Index IN 3...

