


ASUS Z9PE-D8 WS
5-37
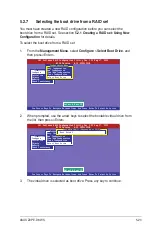
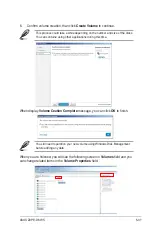
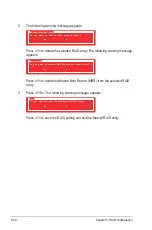
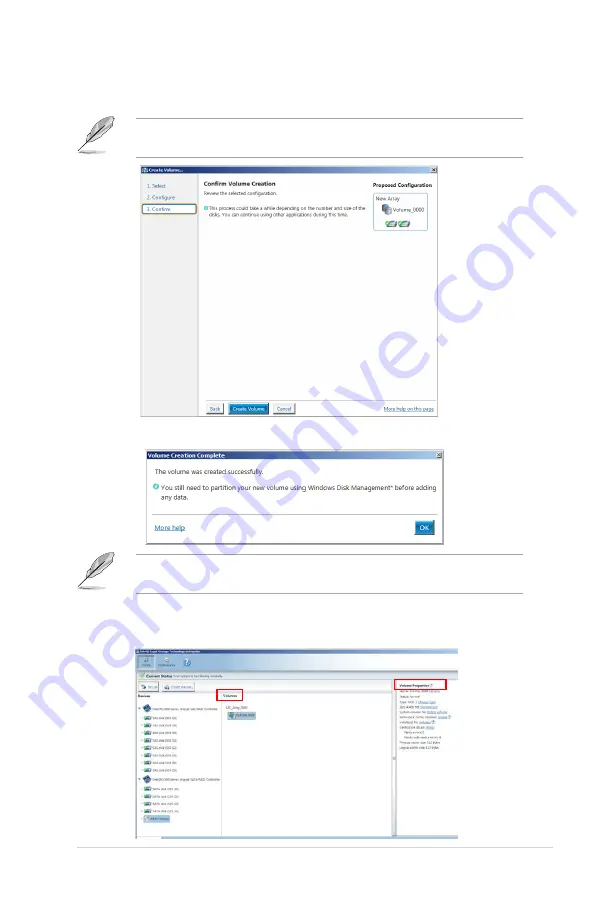
6. Confirm volume creation, than click
Create Volume
to continue.
This process could take a while depending on the number and size of the disks.
You can contuine using other applications during this time.
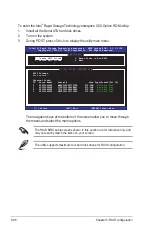
When display
Volume Ceation Complete
message, you can click
OK
to finish.
You still need to partition your new volume using Windows Disk Management
before adding any data.
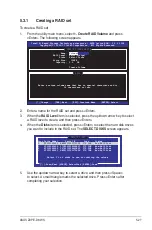
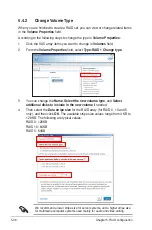
When you are finished, you will see the following screen in
Volumes
field and you
can change related items in the
Volume Properties
field.
Summary of Contents for Z9PE-D8 WS
Page 1: ...Motherboard Z9PE D8 WS ...
Page 22: ...1 8 Chapter 1 Product introduction ...
Page 27: ...ASUS Z9PE D8 WS 2 5 2 2 3 Motherboard layout Z9PE D8 WS ...
Page 51: ...ASUS Z9PE D8 WS 2 29 2 9 Connectors 2 9 1 Rear panel connectors ...
Page 64: ...2 42 Chapter 2 Hardware information ...
Page 195: ...ASUS Z9PE D8 WS 6 29 9 Click Finish to complete the installation ...
Page 222: ...Appendix summary A ASUS Z9PE D8 WS A 1 Z9PE D8 WS block diagram A 3 ...
Page 223: ...ASUS Z9PE D8 WS A 3 A 1 Z9PE D8 WS block diagram ...


