ARTURIA – ARP 2600 V – USER MANUAL
14
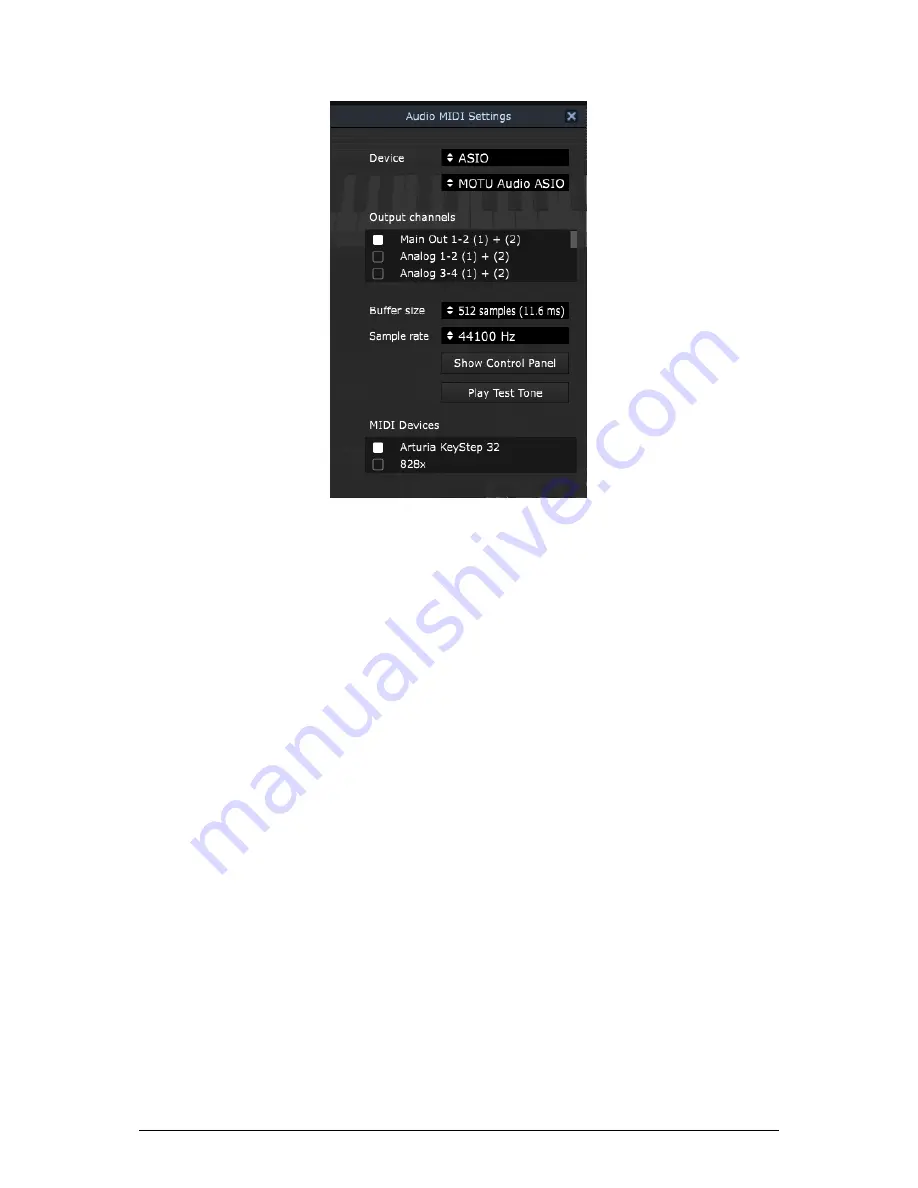
Audio and MIDI settings window
Starting from the top you have the following options:
Device lets you choose which audio driver you want to use to route
sound out of the instrument. This might be your computer’s own driver
like Windows Audio, or an ASIO driver. The name of your hardware
interface may appear in this field.
Output Channels lets you select which of the available outputs will be
used to route audio out. If you only have two outputs, only two will
appear as options. If you have more than two you can select a specific
pair of outputs.
The Buffer Size menu lets you select the size of the audio buffer your
computer uses to calculate sound. A smaller buffer means lower latency
between pressing a key and hearing the note. A larger buffer means a
lower CPU load as the computer has more time to think, but can result
in a small latency. Find the optimum buffer size for your system. A fast,
modern computer should easily be able to operate at 256 or 128 sample
buffer size without creating pops or clicks in the sound. If you are getting
clicks, try raising the buffer a little. The latency is displayed on the right
hand side of this menu.
The Sample Rate menu lets you set the sample rate at which audio is
sent out of the instrument. The options here will depend on the capability
of your audio interface hardware though even most computers’ own
hardware can operate at up to 48kHz which is perfectly fine. Higher
sample rates use more CPU power so unless you have a good reason to


