72
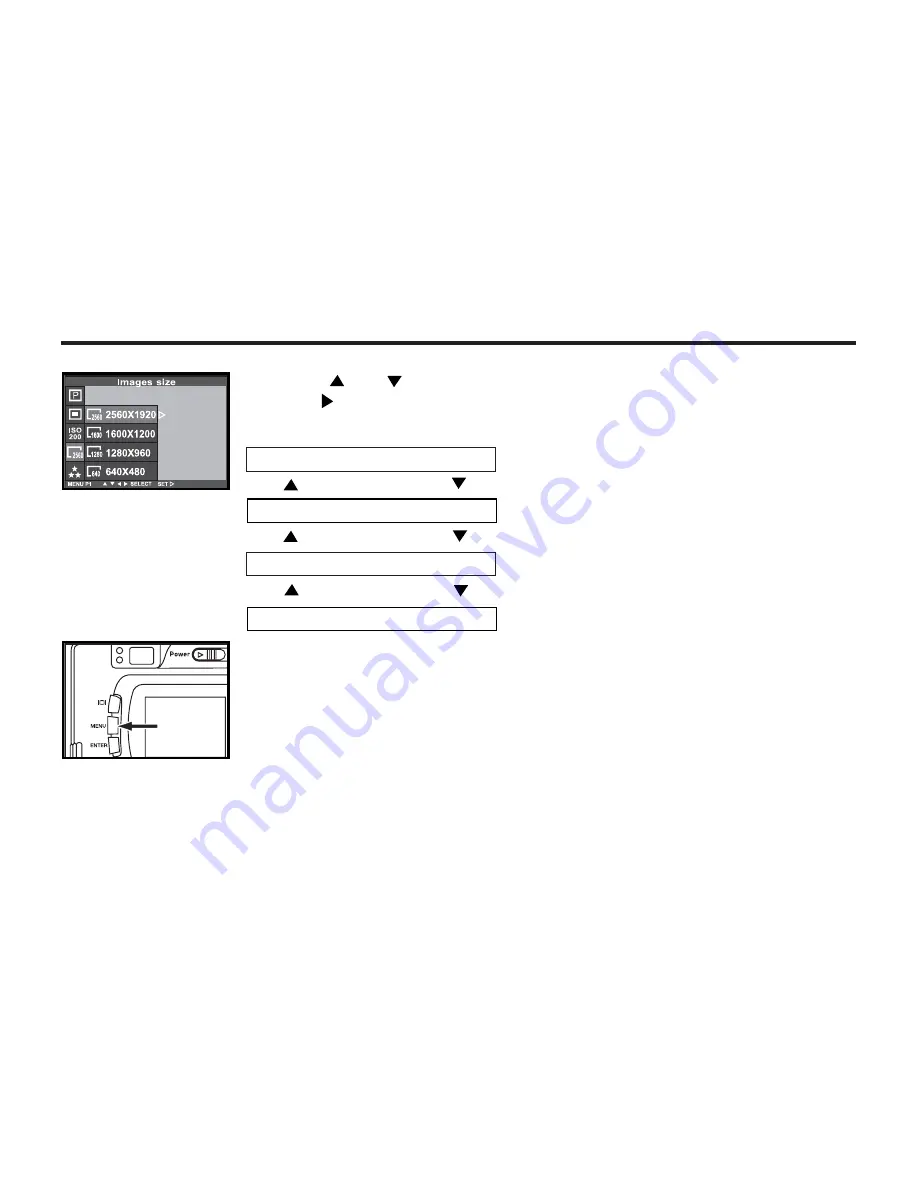
3 Press or
to
desired image size
.
P
ress
once to confirm.
• The image size changes in the fol
l
owing order.
FULL (2560X1920)
HALF (1280X960)
4
Press MEN
U to quit
.
• The LCD monitor displays the image size in the upper left corner.
• Your image size setting will not default back to original setting when the camera is turned off. It
can only be changed manually.
* Changing the image size mode affects the remaining number of images which can be recorded
onto
the card.
The data panel will show you the
number of remaining
images available. (see pg.
15 for data panel)
VGA (640X480)
LARGE (1600X1200)
Summary of Contents for DC3810
Page 12: ...12 NAMES OF PARTS CAMERA BODY Do not touch lens with fingers ...
Page 13: ...13 AF CAMERA BODY ...
Page 23: ...23 PREPARATION ...
Page 32: ...32 TAKING PICTURES ...
Page 36: ...36 THE DISPLAY OF THE CAMERA SETTINGS For details see the pages in parentheses ...
Page 47: ...47 ADVANCED OPERATIONS ...
Page 55: ...Notes ...
Page 63: ...63 SPECIFYING THE RECORDING MODE ...
Page 79: ...79 PALYBACK MODE ...
Page 91: ...91 DELETING IMAGES ...
Page 100: ...100 SPECIFYING THE PLAYBACK MODE ...
Page 113: ...113 NOTES ...
Page 114: ...114 SETUP ...
Page 136: ...136 INSTALLATION PHOTOIMPRESSION 5 Click Next 6 Click Next 7 Click Next ...
Page 137: ...137 INSTALLATION PHOTOIMPRESSION 8 Starting set up 9 Click Finish to complete installation ...
Page 143: ...143 For Apple Macintosh OS9 OS10 7 Click Install to start installation ...
Page 145: ...145 INSTALLATION VIDEOIMPRESSION1 6 4 Click Accept 5 Click Install to start installation ...
Page 147: ...147 See previous page CAUTIONS WHEN CONNECTING TO THE PERSONAL COMPUTER ...
Page 149: ...149 APPENDIX ...
Page 164: ...164 ...


