94
AR607D
NOTE: If the meter showed correct voltage but the
starter did not operate or operated slowly, the starter
motor is defective.
NOTE: If the meter showed no voltage, inspect
ground connections, starter motor lead, battery volt-
age (at the battery), starter relay, or the neutral start
relay.
REMOVING
1. Disconnect the battery.
2. Remove the nut securing the positive cable to the
starter; then remove the cable from the starter.
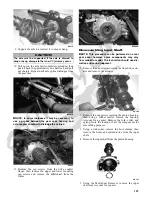
3. Remove the two cap screws securing the starter to
the crankcase; then remove the starter. Account for
an O-ring.
INSTALLING
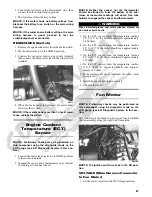
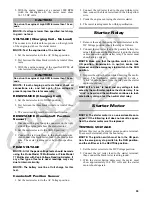
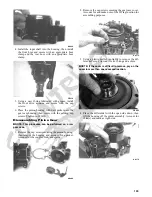
1. Apply a small amount of grease to the O-ring seal on
the starter; then install the starter into the crankcase.
Secure with two cap screws making sure the engine
ground is secured by the rear cap screws. Tighten to
8 ft-lb.
KC201A
2. Secure the positive cable to the starter with the nut.
Tighten to 8 ft-lb.
3. Connect the battery.
Electronic Control
Module (ECM)
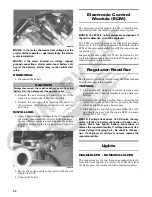
The electronic control module (ECM) is located above
the radiator under the radiator/electrical access panel.
NOTE: The ECM is not a serviceable component. If
the unit is defective, it must be replaced.
The ECM is rarely the cause for electrical problems;
however, if the ECM is suspected, substitute another
ECM of the same part number to verify the suspected one
is defective.
Diagnostic Trouble Codes (DTC) can be cleared by fol-
lowing the procedures located in the EFI Diagnostic Sys-
tem sub-section in this section.
Regulator/Rectifier
The regulator/rectifier is located under the front rack and
front fenders above the oil cooler.
TESTING
1. Start engine and warm up to normal operating tem-
peratures; then connect a multimeter to the battery as
follows.
2. Select the DC Voltage position; then connect the red
tester lead to the positive battery post and the black
tester lead to the negative battery post.
3. Start the engine and slowly increase RPM. The volt-
age should increase with the engine RPM to a maxi-
mum of 15.5 DC volts.
NOTE: If voltage rises above 15.5 DC volts, the reg-
ulator is faulty or a battery connection is loose or cor-
roded. Clean and tighten battery connections or
replace the regulator/rectifier. If voltage does not rise,
check Voltage (Charging Coil - No Load) in this sec-
tion. If charging coil voltage is normal, replace the
regulator/rectifier.
Lights
HEADLIGHTS - RUNNING LIGHTS
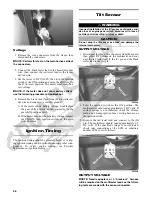
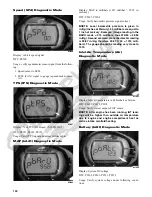
The connectors are the two 4-pin ones snapped onto the
front body/rack support. To release the connectors from
the frame, press the release tab with a small screwdriver.
CAUTION
Always disconnect the negative battery cable from the
battery first; then disconnect the positive cable.

